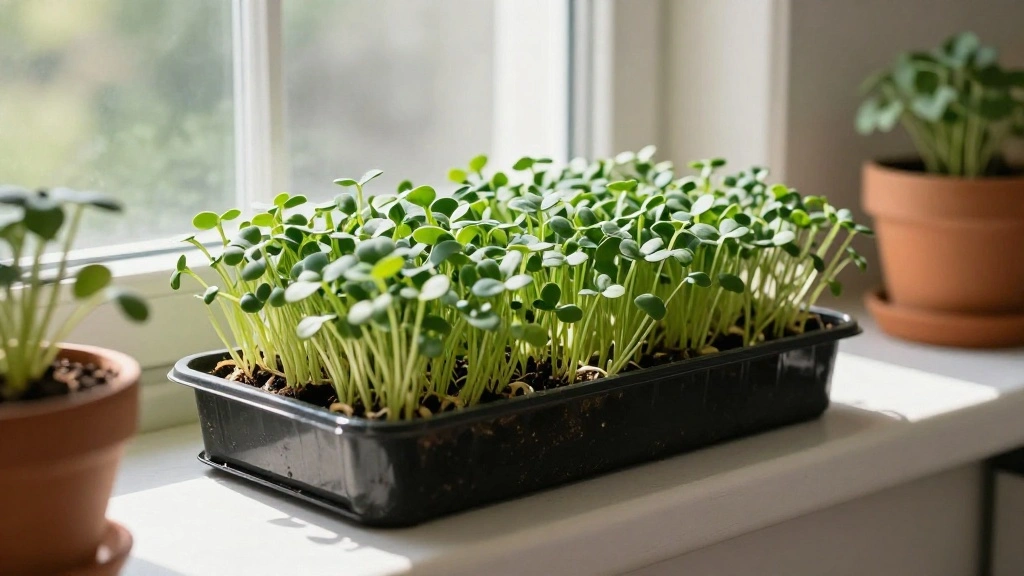
Have you ever wanted to grow your own fresh greens but thought it was too complicated or time-consuming? Growing microgreens at home is a simple, rewarding solution that can transform your meals and health! In just a week, you can cultivate vibrant little plants that are packed with flavor and nutrients, perfect for salads, sandwiches, and smoothies.
This guide will walk you through an easy, step-by-step process to help you successfully grow microgreens at home. You will learn how to set up your growing area, select the right seeds, and care for your microgreens from start to finish. By the end of this week, you’ll have your very own microgreens ready to harvest!
With a difficulty level of beginner and a time estimate of just one week, this guide is perfect for anyone looking to start a new hobby or add fresh, homegrown produce to their meals. Let’s get started!
TL;DR Summary
- Gather materials and choose microgreen seeds.
- Prepare your growing trays and soil.
- Plant the seeds and provide optimal conditions.
- Water and care for your microgreens daily.
- Harvest your microgreens in about a week!
TL;DR Summary
Editor’s Choice

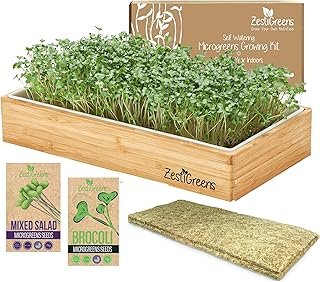
Organic Self-Watering Microgreens Growing Kit – Reusable Indoor Grow T…
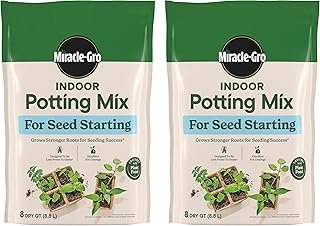
Miracle-Gro Indoor Potting Mix for Seed Starting, For Starting Vegetable…
VIVOSUN Durable Waterproof Seedling Heat Mat 10″ x 20.75″ UL & MET-Certi…
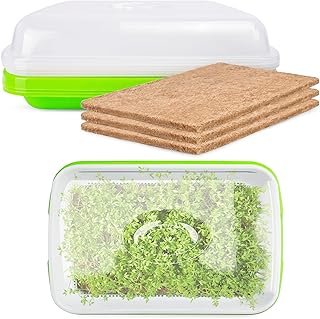
Prerequisites/Materials Needed
- Growing trays (2-3 shallow trays)
- Potting soil (1-2 bags of quality seed-starting mix)
- Microgreen seeds (choose your favorites: radish, broccoli, or pea)
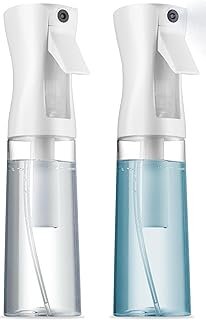
- Water spray bottle (1)
- Light source (natural light or grow lights)
- Plastic wrap or humidity dome (optional)
- Scissors (for harvesting)
Prerequisites/Materials Needed
Editor’s Choice
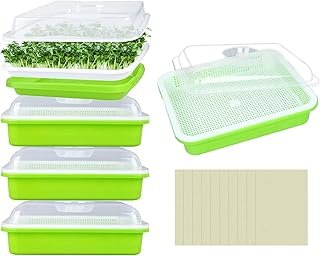
Legigo 5 Pack Seed Sprouter Trays with Lids- Soil-Free Cultivation Germi…
Miracle-Gro Indoor Potting Mix for Seed Starting, For Starting Vegetable…

Aokrean Plant Grow Light, 48 LEDs Full Spectrum Grow Lights for Indoor P…
Skill Level & Time Estimate
Skill Level: beginner
Total Time Estimate: 2-3 hours over the week
Breakdown: 30 minutes for setup, daily 5-10 minutes for care, and then 5-10 minutes for harvesting.
Skill Level & Time Estimate
Editor’s Choice
Organic Self-Watering Microgreens Growing Kit – Reusable Indoor Grow T…
Aokrean Plant Grow Light, 48 LEDs Full Spectrum Grow Lights for Indoor P…
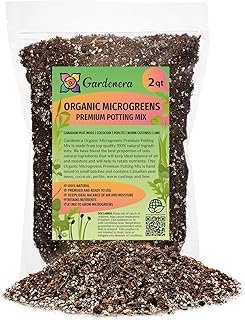
100% Natural Organic Microgreens Premium Potting Mix by Gardenera: Ideal…
Step 1: Gather Your Materials
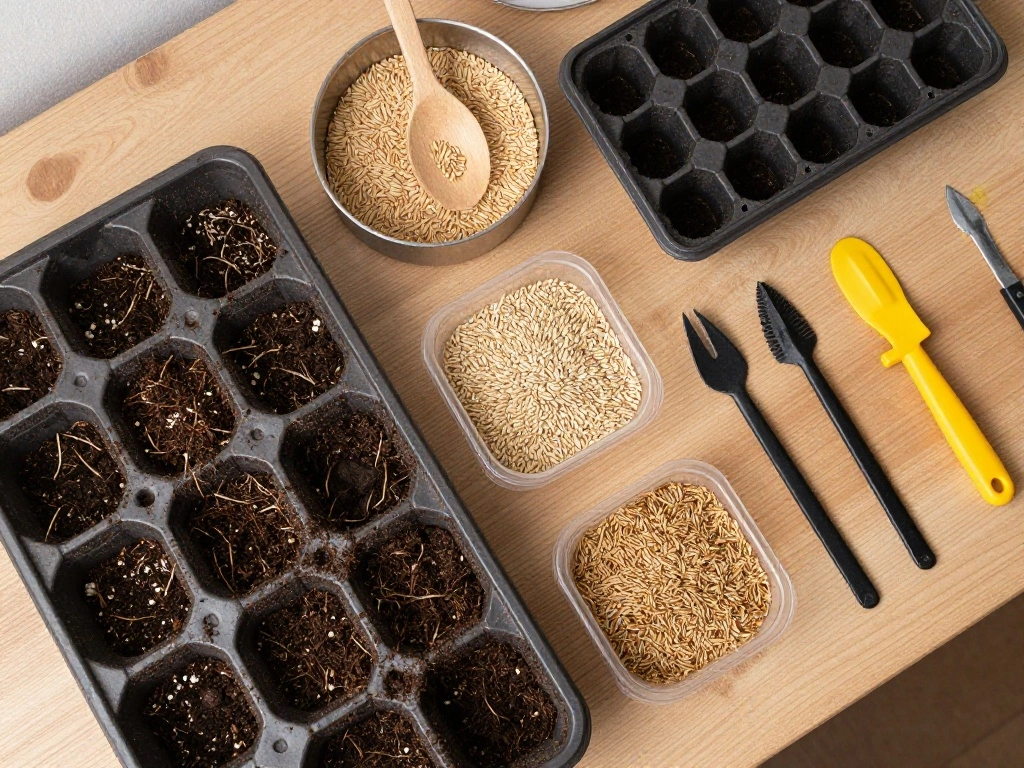
Start by collecting all the materials you need for your microgreens. Follow these steps:
- Locate shallow trays that will serve as your growing containers.
- Purchase quality seed-starting potting soil, ideally organic.
- Choose your favorite microgreen seeds; radish and pea tend to grow quickly.
Pro Tip: Using organic soil can enhance the flavor and nutritional value of your microgreens.
Why this matters: Having your materials ready ensures a smooth setup process, preventing delays in planting.
Time estimate for this step: 15-20 minutes.
Step 1: Gather Your Materials
Editor’s Choice
100% Natural Organic Microgreens Premium Potting Mix by Gardenera: Ideal…
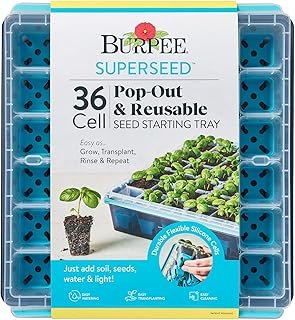
Burpee SuperSeed Seed Starting Tray | 36 Cell Reusable Seed Starter Tray…
Speckled Pea Sprouting Seeds – 5 Lbs – Certified Organic, Non-GMO Green …
Step 2: Prepare Your Growing Trays
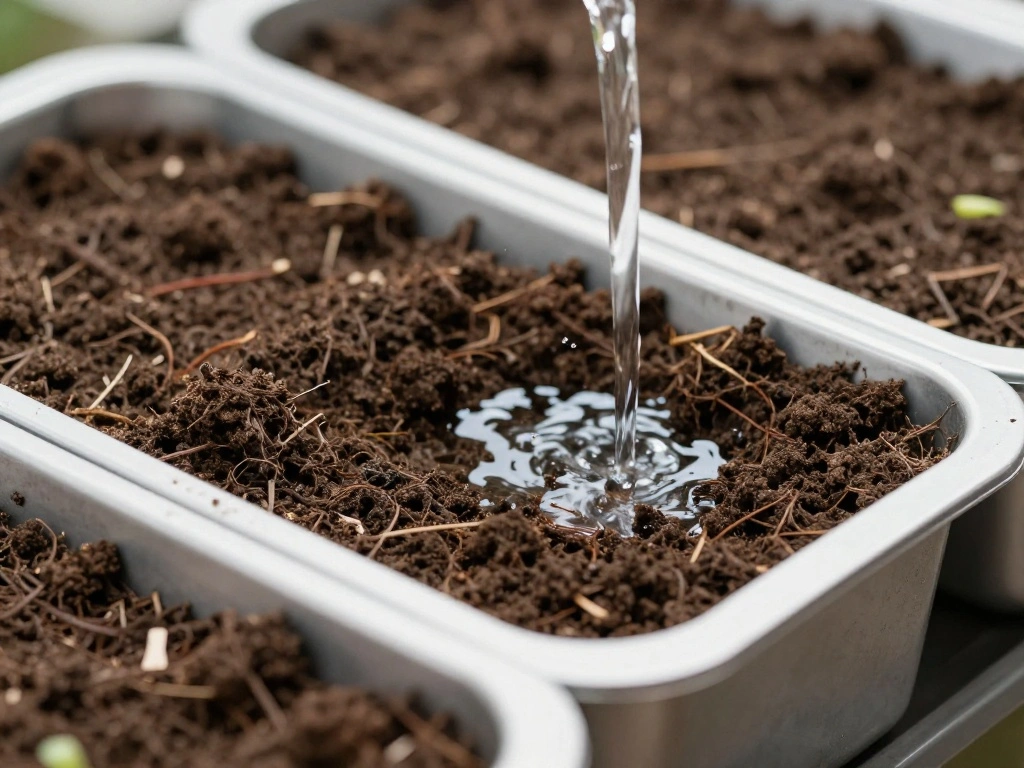
Prepare your trays for planting by following these steps:
- Fill each tray with about 1-2 inches of potting soil.
- Lightly press the soil down to create an even surface.
- Moisten the soil with a spray bottle, ensuring it’s damp but not soggy.
Warning: Avoid overwatering; too much moisture can lead to mold.
Why this matters: Properly prepared trays will help promote healthy root growth and prevent diseases.
Time estimate for this step: 15 minutes.
Step 2: Prepare Your Growing Trays
Editor’s Choice

Spray Bottle for Plants 2 Pack, 16oz – Ultra Fine Mist, Plant Mister Emp…
100% Natural Organic Microgreens Premium Potting Mix by Gardenera: Ideal…
Microgreens Growing Trays with Lids and Coconut Fiber Mat,Seed Sprouter …
Step 3: Plant the Seeds
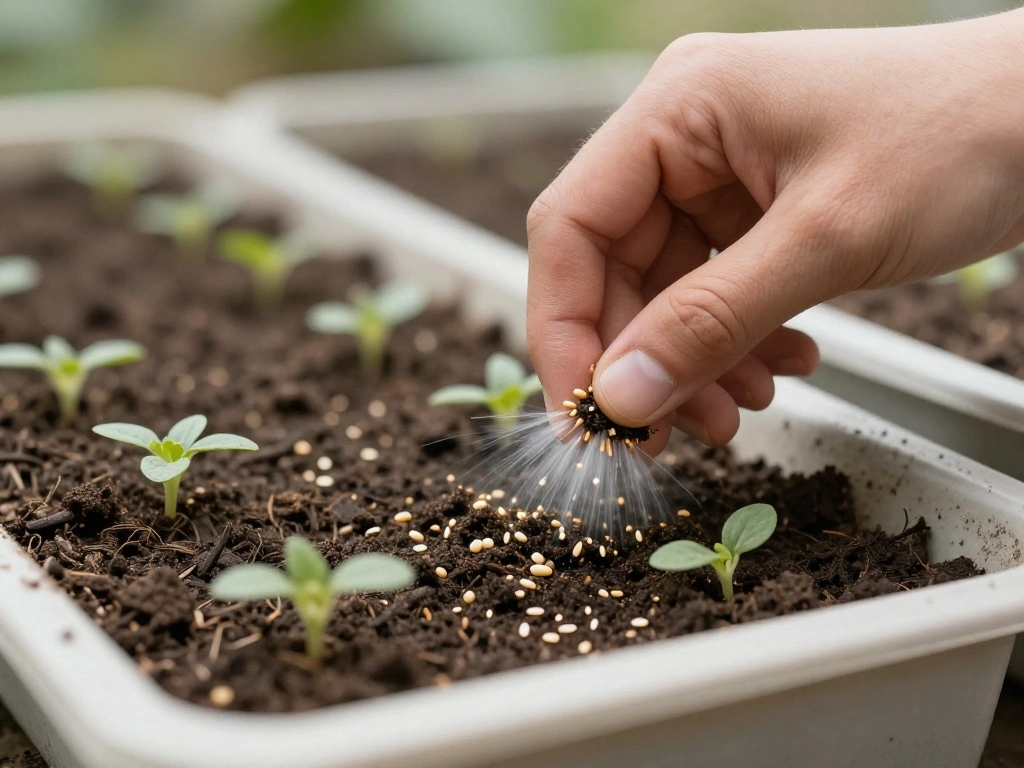
Now it’s time to plant your seeds! Follow these steps:
- Sprinkle seeds evenly over the surface of the soil.
- Lightly press the seeds into the soil; they should be covered by a thin layer of soil.
- Water the seeds gently using the spray bottle to settle them in.
Pro Tip: Use about 1-2 tablespoons of seeds per tray for a dense harvest.
Why this matters: Proper planting ensures that your microgreens have enough space and resources to thrive.
Time estimate for this step: 20-30 minutes.
Step 3: Plant the Seeds
Editor’s Choice
Legigo 5 Pack Seed Sprouter Trays with Lids- Soil-Free Cultivation Germi…
SUPER+ 2 Pack Continuous Spray Bottles – Ultra Fine Mist Sprayer | Water…

Microgreen Seeds Variety Pack – 10 Heirloom Types for Indoor Sprouting…
Step 4: Provide Optimal Growing Conditions
Your seeds need the right conditions to sprout. Follow these steps:
- Cover the trays with plastic wrap or a humidity dome to retain moisture.
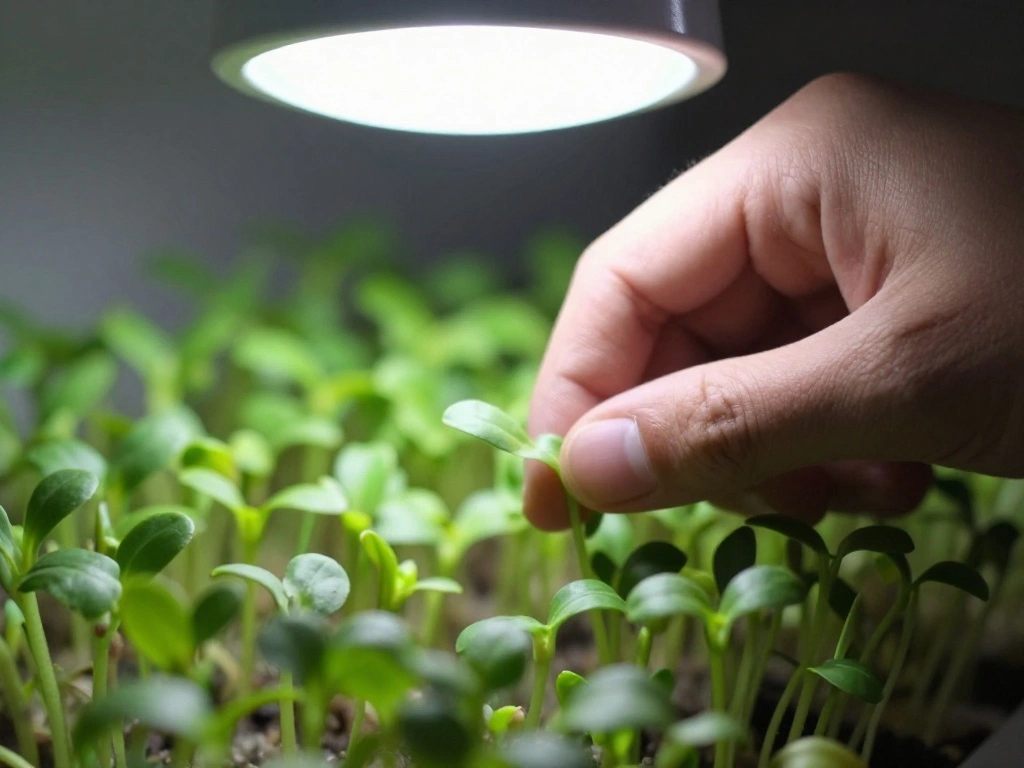
- Place the trays in a warm, bright location or under grow lights.
- Remove the cover after 3-5 days once seedlings start to emerge.
Warning: Don’t expose seedlings to direct sunlight initially; it can scorch them.
Why this matters: Proper conditions will help your seeds germinate faster and grow stronger.
Time estimate for this step: 15 minutes.
Step 4: Provide Optimal Growing Conditions
Editor’s Choice
Aokrean Plant Grow Light, 48 LEDs Full Spectrum Grow Lights for Indoor P…

RooTrimmer 13 Inch Humidity Domes Garden Cloches for Plant Protection, P…
Burpee SuperSeed Seed Starting Tray | 36 Cell Reusable Seed Starter Tray…
Step 5: Water and Care for Your Microgreens

Daily care is essential for your microgreens. Follow these steps:
- Check the soil moisture daily; it should feel damp but not soaked.
- Water with a spray bottle as needed, focusing on the soil, not the leaves.
- If using grow lights, keep them on for 12-16 hours daily.
Pro Tip: Rotate your trays every couple of days to ensure even light exposure.
Why this matters: Consistent care leads to healthy, vibrant microgreens ready for harvest in a week.
Time estimate for this step: 5-10 minutes daily.
Step 5: Water and Care for Your Microgreens
Editor’s Choice

Teyssor Spray Bottles Water Spray Bottle 2 Packs- BPA Free -10 oz/300 ml…
Aumtrly Grow Light, Full Spectrum Desktop Plant Lights for Indoor Growin…
XLUX Long Probe Deep Use Soil Moisture Meter, Water Monitor Indicator Se…
Step 6: Monitor Growth and Adjust Conditions
As your microgreens grow, keep an eye on their health. Follow these steps:
- Look for signs of yellowing or wilting leaves; this could indicate insufficient light or water.
- Adjust the light height or watering schedule as necessary.
- Ensure good air circulation to prevent mold growth.
Warning: Mold can develop if air circulation is poor; avoid overcrowding.
Why this matters: Monitoring growth allows you to intervene early and ensure a successful harvest.
Time estimate for this step: 5 minutes daily.
Step 6: Monitor Growth and Adjust Conditions
Editor’s Choice
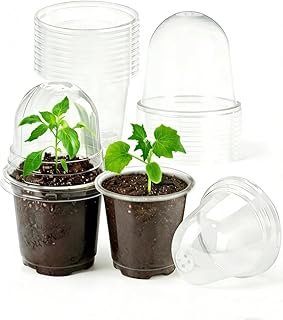
JOPY 4 Inch Plastic Nursery Pots with Humidity Dome for Plants Clear See…
Aokrean Plant Grow Light, 48 LEDs Full Spectrum Grow Lights for Indoor P…
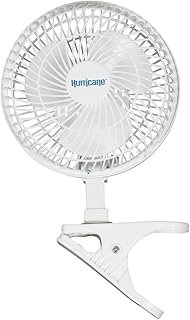
Hurricane Classic 6 Inch Clip Fan, 2 Speed Portable Desk Table Fan with …
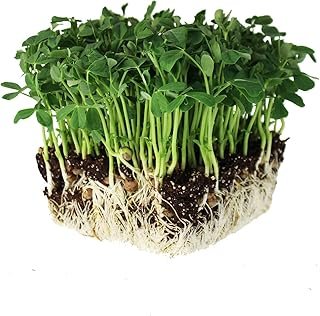
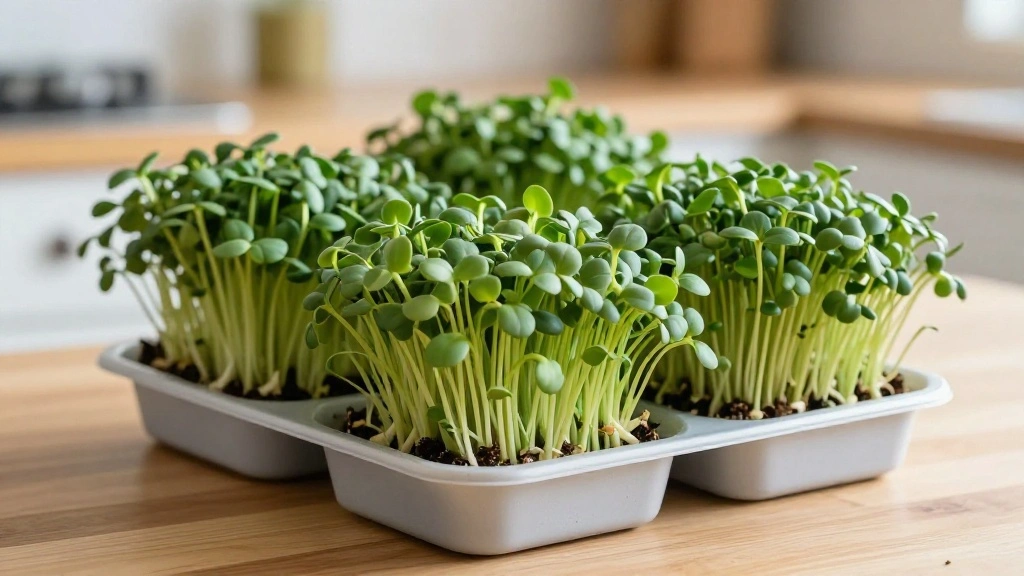
Step 7: Harvest Your Microgreens
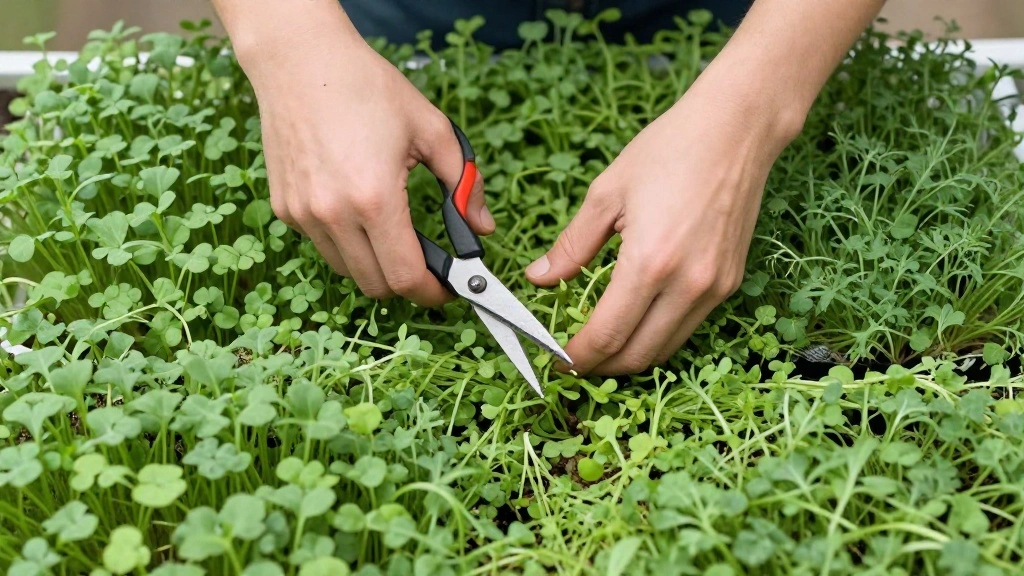
Your microgreens are ready for harvest after about a week! Follow these steps:
- Use scissors to cut the greens just above the soil line.
- Rinse your microgreens gently under cool water.
- Store them in a sealed container in the refrigerator.
Pro Tip: Harvest in the morning for the best flavor.
Why this matters: Proper harvesting techniques ensure you get the freshest, tastiest microgreens while promoting regrowth if desired.
Time estimate for this step: 10-15 minutes.
Step 7: Harvest Your Microgreens
Editor’s Choice
Organic Self-Watering Microgreens Growing Kit – Reusable Indoor Grow T…
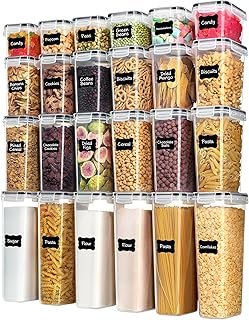
Airtight Food Storage Containers with Lids, Vtopmart 24 pcs Plastic Kitc…
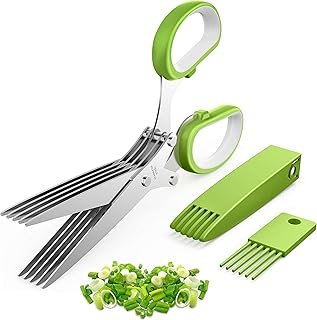
2026 Upgraded Herb Scissors, Effortless Herb Shears Cutter Tool with Sha…
Pro Tips
- Seed Variety: Experiment with different seeds like sunflower or basil for unique flavors.
- Soil Quality: Quality soil can significantly affect growth; choose organic options.
- Temperature: Keep your growing area at around 70°F (21°C) for optimal germination.
- Lighting: If using grow lights, consider a timer to automate light cycles.
- Storage: Store unused seeds in a cool, dark place to maintain their viability.
Pro Tips
Editor’s Choice

Microgreen Seeds Variety Pack – 10 Heirloom Types for Indoor Sprouting…
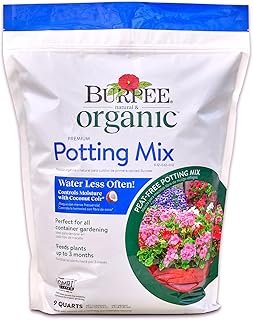
Burpee, 9 Quarts | Premium Organic Potting Natural Soil Mix Food Ideal f…

GooingTop LED Grow Light,6000K Full Spectrum Clip Plant Growing Lamp wit…
Common Mistakes to Avoid
Warning: Don’t overwater your microgreens; it can lead to mold and root rot. To avoid this, always check the soil moisture before watering.
Warning: Avoid using garden soil; it can introduce pests and diseases. Use quality seed-starting mix instead.
Warning: Don’t neglect light; insufficient light will cause leggy, weak plants. Make sure they get enough direct light or supplement with grow lights.
Common Mistakes to Avoid
Editor’s Choice
Aokrean Plant Grow Light, 48 LEDs Full Spectrum Grow Lights for Indoor P…
XLUX Long Probe Deep Use Soil Moisture Meter, Water Monitor Indicator Se…
100% Natural Organic Microgreens Premium Potting Mix by Gardenera: Ideal…
Troubleshooting Section
Problem: Seeds are not germinating.
Solution: Ensure the soil is consistently moist and check the temperature; seeds may need warmer conditions.
Problem: Microgreens are leggy.
Solution: Increase light exposure; they need more direct sunlight or closer grow lights.
Problem: Leaves are yellowing.
Solution: This may indicate nutrient deficiency or overwatering; adjust your watering schedule and ensure good soil quality.
Troubleshooting Section
Editor’s Choice
GooingTop LED Grow Light,6000K Full Spectrum Clip Plant Growing Lamp wit…
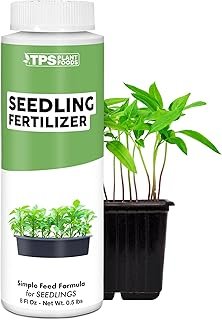
Seedling Fertilizer – Liquid Plant Food for Strong Root Development & …
VIVOSUN Durable Waterproof Seedling Heat Mat 10″ x 20.75″ UL & MET-Certi…
Variations/Alternative Methods
If you’re looking for different methods to grow microgreens, consider:
- Hydroponics: Grow microgreens in water with added nutrients; this method can yield faster growth.
- Soil-less Mix: Use coconut coir or peat instead of traditional soil for a cleaner option.
- Outdoor Gardening: If you have space, you can grow microgreens in a garden bed; just ensure they are shaded from harsh sun.
Variations/Alternative Methods
Editor’s Choice
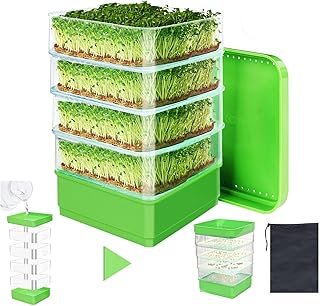
4-Tier Seed Sprouting Kit with Drain Holes and Drain Tray, Upgrade Stack…
4-Tier Seed Sprouting Kit with Drain Holes and Drain Tray, Upgrade Stack…
Miracle-Gro Indoor Potting Mix for Seed Starting, For Starting Vegetable…
FAQs
- What if I don’t have a sunny window? Use grow lights to provide adequate lighting for your microgreens.
- How long should I water my microgreens? Water until the soil is evenly moist, typically a few seconds with a spray bottle.
- Is it safe to eat microgreens raw? Yes, microgreens are safe and often more nutritious than mature greens.
- What if my microgreens grow too tall? You may need to adjust your light source closer to prevent legginess.
- Can I reuse the soil? It’s best to use fresh soil for each batch to prevent diseases.
FAQs
Editor’s Choice
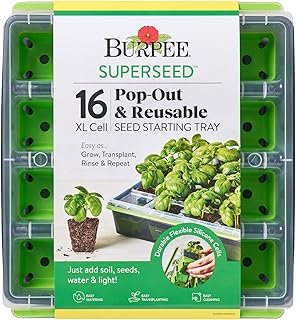
Burpee SuperSeed Starting Tray | 16 XL Cell | Reusable & Dishwasher Safe…
GooingTop LED Grow Light,6000K Full Spectrum Clip Plant Growing Lamp wit…
Teyssor Spray Bottles Water Spray Bottle 2 Packs- BPA Free -10 oz/300 ml…
Conclusion
Congratulations on growing your first batch of microgreens! You’ve taken a step towards fresh, homegrown nutrition that can enhance your meals. Now that you know how to grow microgreens at home, consider experimenting with different varieties and flavors.
As your gardening skills improve, you may want to explore larger gardening projects, such as growing herbs or vegetables. Keep learning, and enjoy the bounty of your microgreen garden!