
In today’s fast-paced world, having fresh herbs at your fingertips can enhance your cooking and elevate your meals. Yet, most people find it challenging to maintain a garden due to limited space or time. This guide tackles that issue by showing you how to build a DIY wall-mounted herb garden in just one afternoon.
By the end of this project, you’ll have a beautiful and functional herb garden that not only saves space but also adds a touch of greenery to your home. You will learn how to select materials, construct the garden, and even maintain it for optimal growth.
Designed for beginners, this guide will walk you through each step clearly and simply, ensuring that you can successfully complete the project in an estimated total time of 2-3 hours. So roll up your sleeves and let’s get started on creating your own wall-mounted herb garden!
TL;DR Summary
- Build a wall-mounted herb garden in one afternoon.
- Gather simple materials and tools.
- Follow easy step-by-step instructions for assembly.
- Enjoy fresh herbs for your cooking!
TL;DR Summary
Editor’s Choice
Seed Needs Herb Seeds Variety Pack Culinary Herb Collection (12 Individu…
Raised Garden Beds with 6 Garden Planter Boxes Indoor Outdoor Vertical R…
Burpee, 9 Quarts | Premium Organic Potting Natural Soil Mix Food Ideal f…
Prerequisites/Materials Needed
- Wooden pallets or boards (1-2, depending on size)
- Planter boxes (4-6, depending on desired herbs)
- Potting soil (1 bag)
- Herb seeds or seedlings (basil, parsley, cilantro, etc.)
- Wood screws (1 box)
- Drill (1)
- Measuring tape (1)
- Sandpaper (1 sheet)
- Paint or wood sealant (optional)
- Level (1)
Prerequisites/Materials Needed
Editor’s Choice
Winlyn Rustic Wooden Planter Box 17.3″ L x 3.9″ W x 3.9″ H Brown Rectang…
Burpee, 9 Quarts | Premium Organic Potting Natural Soil Mix Food Ideal f…
Treaton, Heavy-Duty 2-Way Entry Wooden Pallet – 31x24x5”, Industrial…
Skill Level & Time Estimate
Skill Level: beginner
Total time estimate: 2-3 hours
Breakdown of time:
- Gather materials: 30 minutes
- Assembling the frame: 1 hour
- Planting herbs: 30 minutes
- Final adjustments: 30 minutes
Skill Level & Time Estimate
Editor’s Choice
Burpee, 9 Quarts | Premium Organic Potting Natural Soil Mix Food Ideal f…
HOME GROWN Herb Seeds for Planting 15-Pack Massive Seed Count 4,300+ See…
Wall Hanging Planters for Outdoor Plants 16 Inch Large Metal Fence Pots …
Step 1: Choose a Location

Start by selecting the perfect spot for your wall-mounted herb garden. Look for an area that receives at least 6-8 hours of sunlight each day, as this is essential for healthy herb growth. Consider using a wall in your kitchen or near a window.
- Measure the wall space to ensure it can accommodate your garden.
- Check for nearby water access for easy watering.
- Make sure the area is easily accessible for regular harvesting.
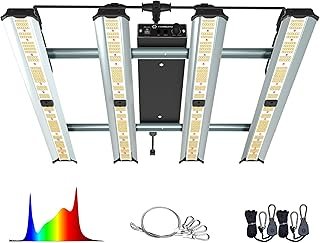
Pro Tip: If indoor light is limited, you can supplement with grow lights.
Time estimate: 15 minutes
Step 1: Choose a Location
Editor’s Choice
Aokrean Plant Grow Light, 48 LEDs Full Spectrum Grow Lights for Indoor P…
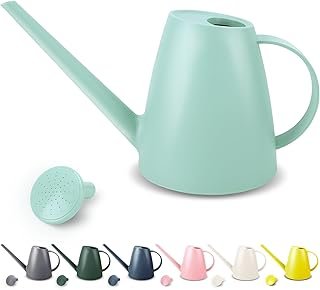
Watering Can for Indoor and Outdoor Plants – Long Spout Water Can for Ga…
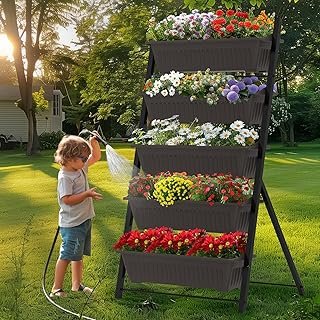
TOREVSIOR 5-Tier Vertical Raised Garden Bed, Vertical Garden Planter wit…
Step 2: Gather Your Materials
Next, gather all the materials you’ll need for the project. This ensures you have everything on hand and minimizes interruptions during construction.
- Collect wooden pallets or boards for the frame.
- Purchase planter boxes that fit your chosen herbs.
- Gather potting soil and seeds or seedlings.
Pro Tip: Choose herbs that you frequently use in cooking for maximum benefit.
Time estimate: 30 minutes
Step 2: Gather Your Materials
Editor’s Choice
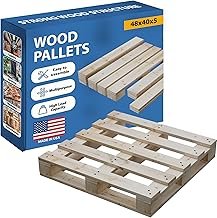
Greaton, 48x40x5 Wooden Pallet Kit, Heavy-Duty Industrial Grade Pinewood…
Burpee, 9 Quarts | Premium Organic Potting Natural Soil Mix Food Ideal f…

Yaheetech 43.5″ L×16″ W×14″ H Wooden Raised Garden Bed, Horticul…
Step 3: Prepare the Wood
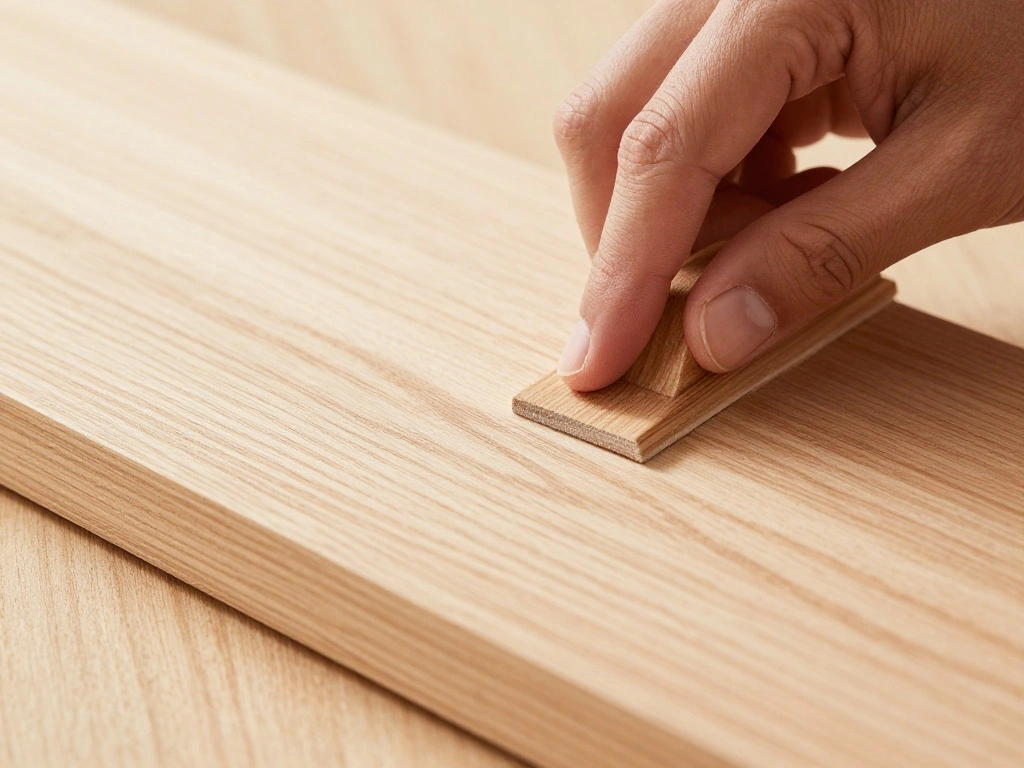
Before assembling your herb garden, prepare your wooden pallets or boards. This step is crucial for ensuring durability and aesthetics.
- Use sandpaper to smooth any rough edges on the wood.
- If desired, apply paint or wood sealant for added protection from moisture.
- Allow any treatments to dry completely before proceeding.
Warning: Ensure that any paint or sealant is non-toxic and safe for plants.
Time estimate: 30 minutes
Step 3: Prepare the Wood
Editor’s Choice
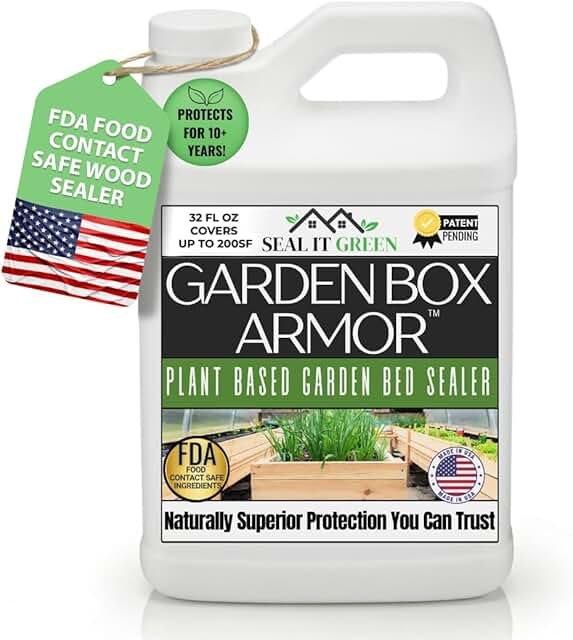
Garden Box Sealer | FDA Food Contact Safe Plant-Based Wood Sealant for R…
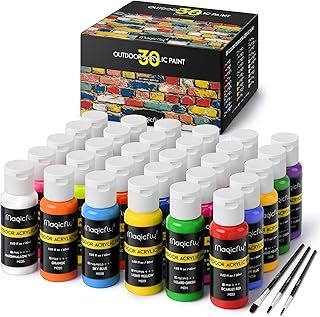
Magicfly Outdoor Acrylic Paint, Set of 30 Colors/Tubes (60 ml, 2 oz.) wi…

VIBRATITE 48 Pieces Wet Dry Sandpaper, 320 to 10000 Fine Grit Sand Paper…
Step 4: Construct the Frame
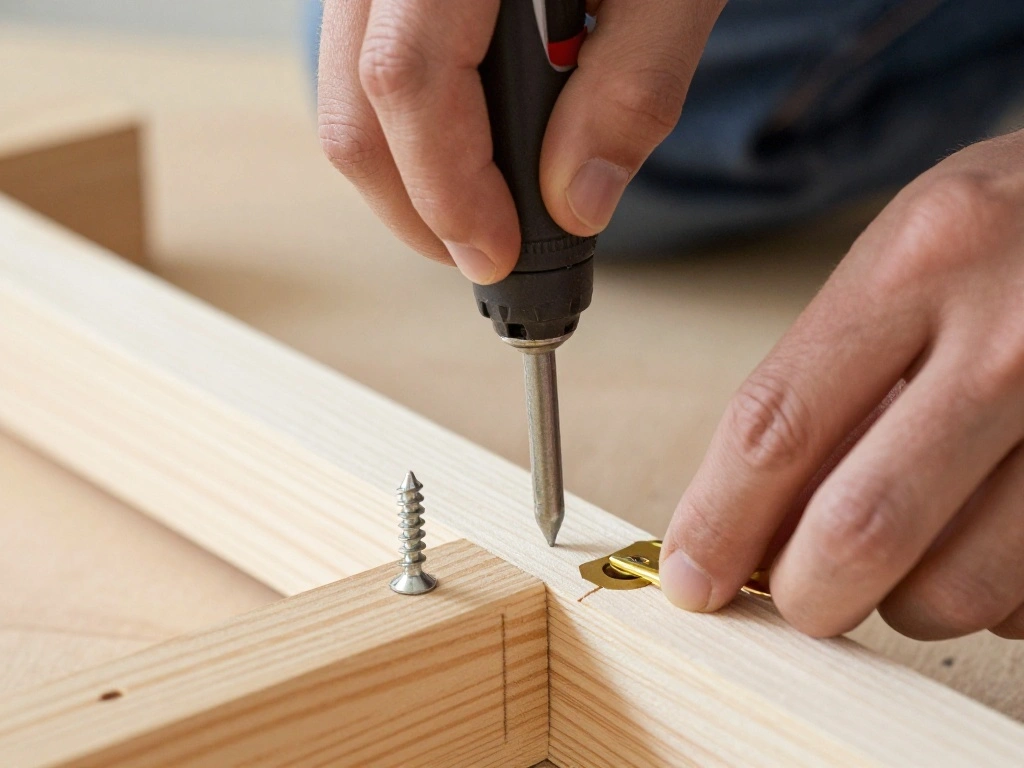
Now it’s time to assemble the frame for your wall-mounted herb garden. This step gives your garden structure and support.
- Using a drill, attach the wooden boards together to form a rectangular frame.
- Ensure the frame is sturdy and level as you work.
- Secure the frame with wood screws, checking that it’s tight and stable.
Pro Tip: Consider adding vertical supports for larger frames.
Time estimate: 45 minutes
Step 4: Construct the Frame
Editor’s Choice

DEWALT 20V Max Cordless Drill Driver Set, 2 Speed, High Performance Moto…

Laser Level Line Tool, Multipurpose Laser Level Kit Standard Cross Line …
JEGONFRI High Hardness Wood Screws Assortment Kit, 209 pcs, Phillips Dri…
Step 5: Attach Planter Boxes
With the frame constructed, it’s time to attach the planter boxes. This is where your herbs will thrive!
- Position the planter boxes in the desired arrangement on the frame.
- Use a drill to secure each planter box to the frame.
- Ensure all boxes are level and evenly spaced for a neat appearance.
Pro Tip: Consider staggered heights for visual interest.
Time estimate: 30 minutes
Step 5: Attach Planter Boxes
Editor’s Choice
DEWALT 20V Max Cordless Drill Driver Set, 2 Speed, High Performance Moto…
Torpedo Level Magnetic, Firecore 9 Inch Shockproof Small Leveler Tool wi…
VIVOSUN Self-Watering Planters, 6-Pack 10.5 Inch Compact Rectangular Win…
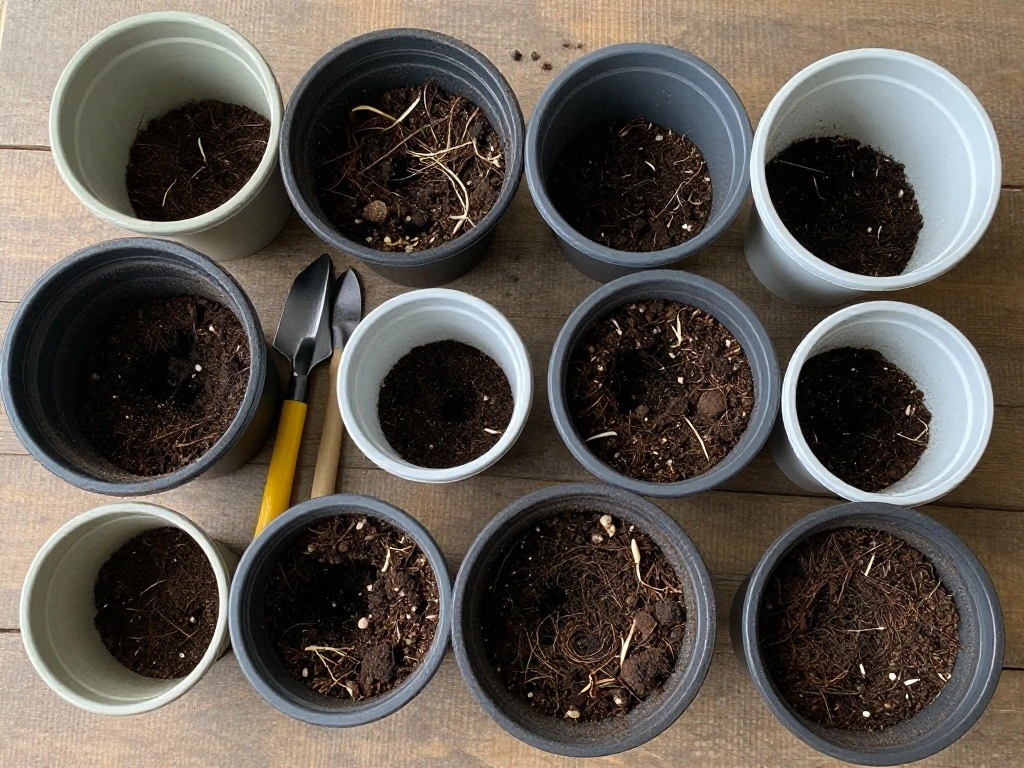
Step 6: Fill Planter Boxes with Soil
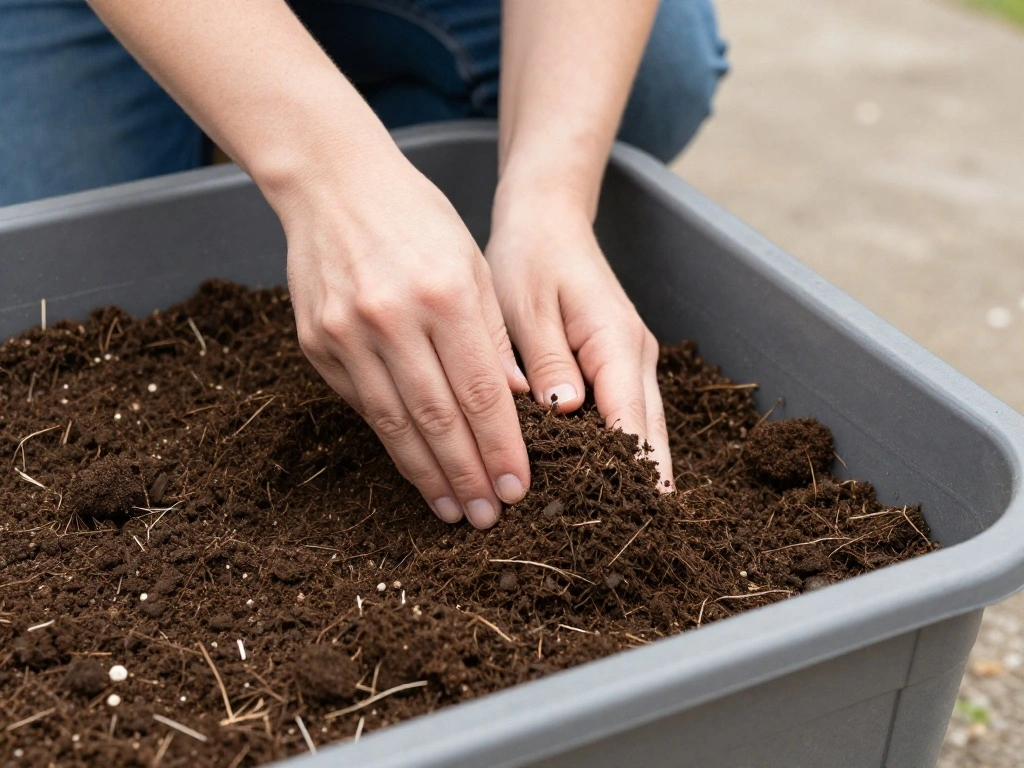
Once the planter boxes are securely attached, fill them with potting soil to prepare them for planting.
- Pour potting soil into each planter box, leaving about an inch of space at the top.
- Lightly pack the soil to ensure it’s settled but not too compacted.
- Check for any gaps or inconsistencies in soil levels.
Warning: Avoid over-filling the boxes to prevent soil spillage.
Time estimate: 20 minutes
Step 6: Fill Planter Boxes with Soil
Editor’s Choice
Burpee, 9 Quarts | Premium Organic Potting Natural Soil Mix Food Ideal f…

WZQH Leather Work Gloves for Men or Women. Large Glove for Gardening, Ti…

Rocklin™ Lawn Leveling Rake | Stainless Steel Leveling Tool | Level So…
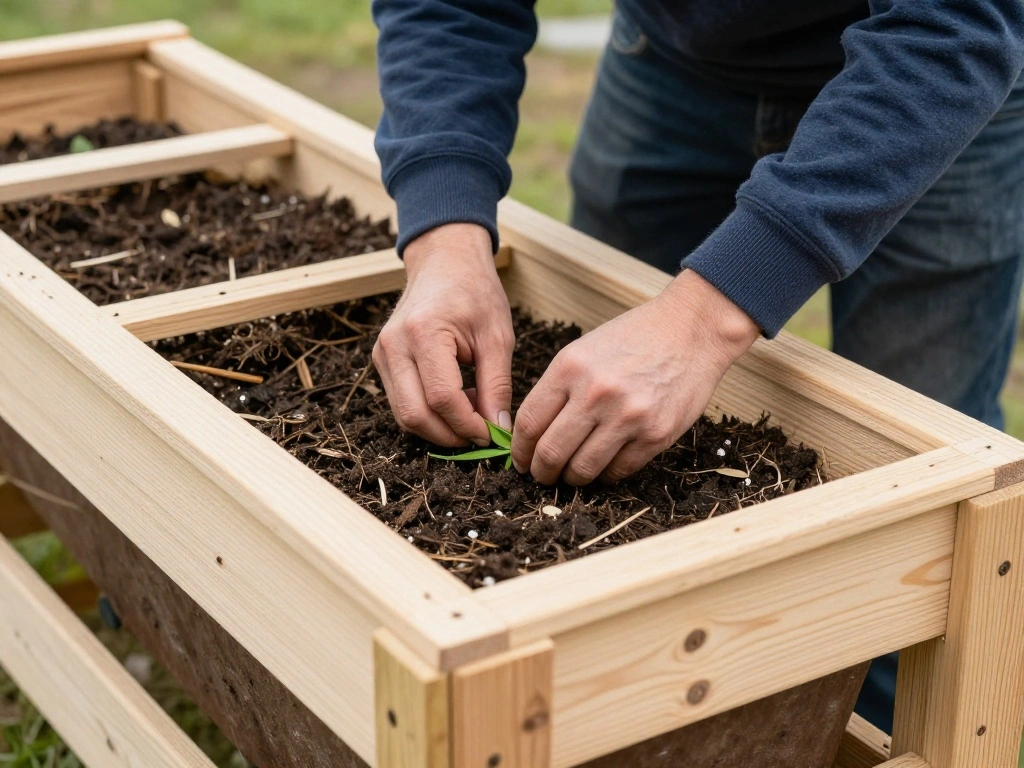
Step 7: Plant Your Herbs
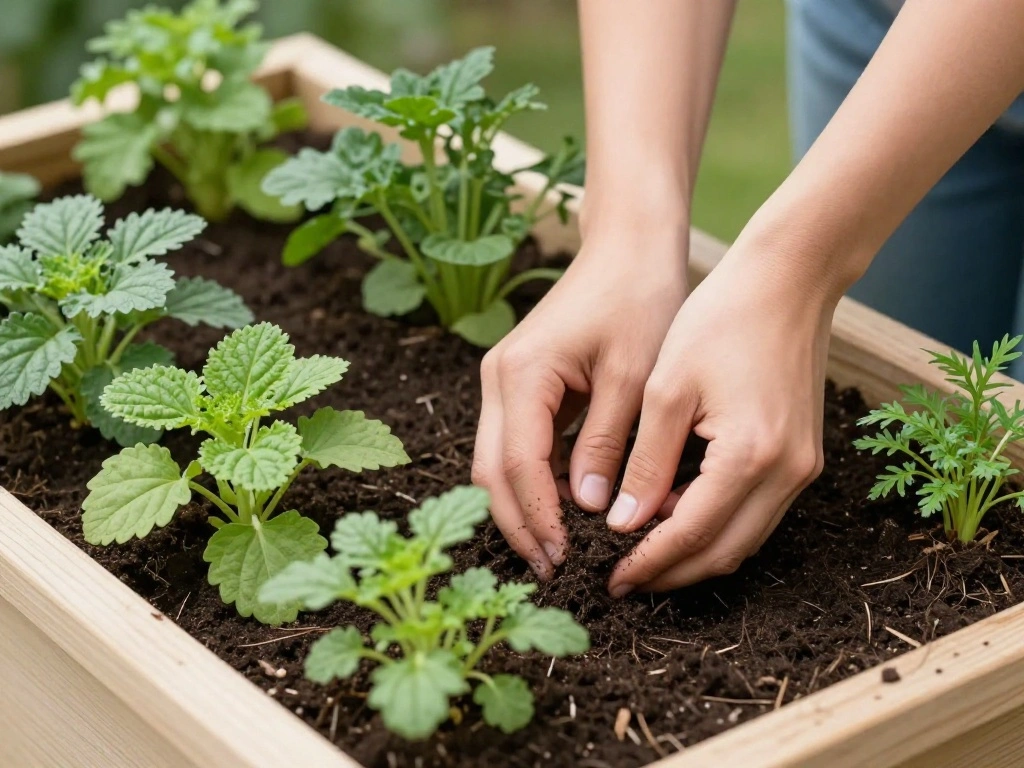
Now it’s time to plant your chosen herbs! This is the most rewarding part of the project.
- Make small holes in the soil for your seeds or seedlings.
- Place seeds or seedlings into the holes, ensuring they are spaced appropriately.
- Cover the seeds lightly with soil and water them gently.
Pro Tip: Label your herbs to keep track of what you’ve planted.
Time estimate: 30 minutes
Step 7: Plant Your Herbs
Editor’s Choice
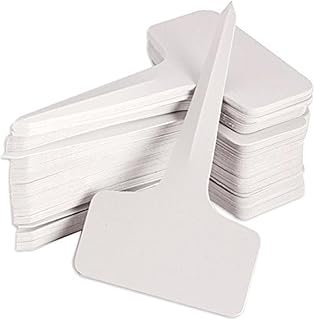
KINGLAKE 100 Pcs 6 x10cm Plastic Plant T-Type Tags Nursery Garden Labels
Watering Can for Indoor and Outdoor Plants – Long Spout Water Can for Ga…
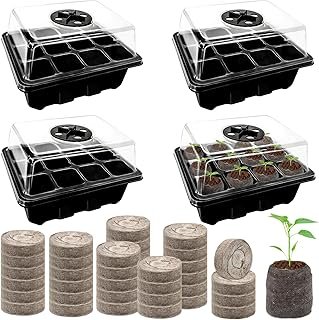
Halatool 4 Pack Seed Starter Tray with 50 PCS Peat Pellets, 48 Cells Bla…
Step 8: Secure the Garden to the Wall
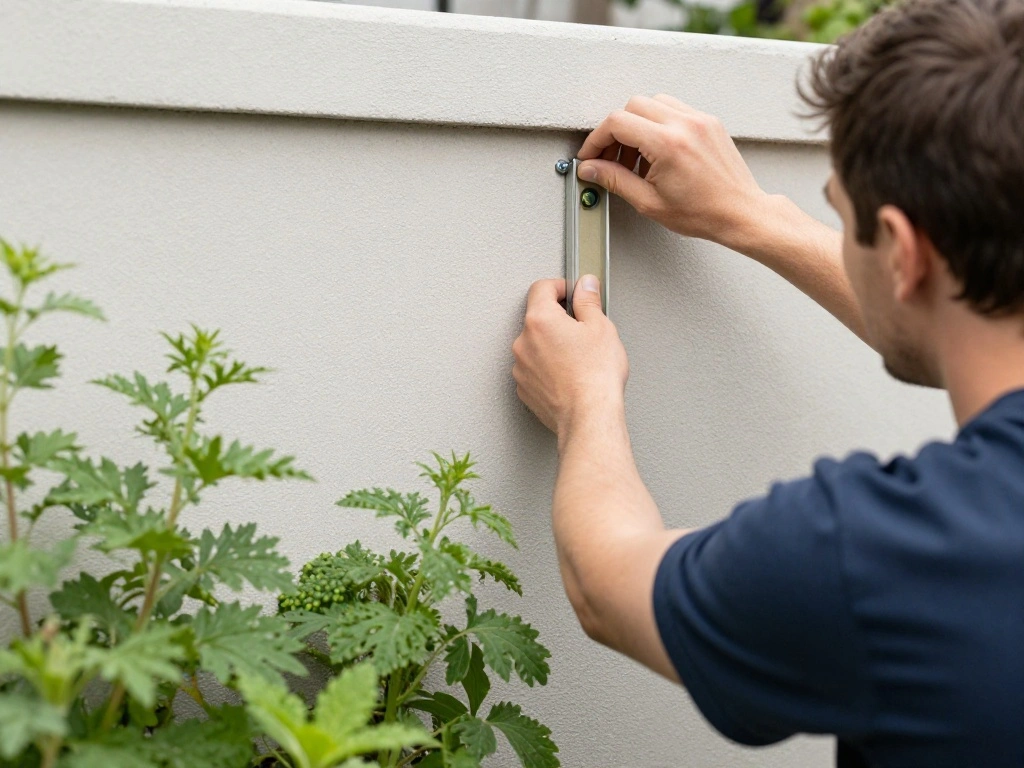
To finish, securely mount the herb garden onto the wall. This is crucial for stability and safety.
- Use a level to ensure the garden is straight before mounting.
- Drill screws into the wall through the frame for a secure hold.
- Double-check the stability of the garden before releasing it.
Warning: Ensure screws are anchored into wall studs for maximum support.
Time estimate: 30 minutes
Step 8: Secure the Garden to the Wall
Editor’s Choice
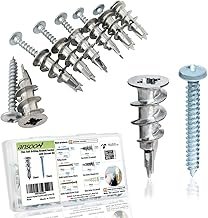
Zinc Self-Drilling Drywall Anchors with Screws Kit, 25 Heavy Duty Metal …

Stud Finder Wall Scanner Detector – 5 in 1 Electronic Wall Wood Metal St…
Torpedo Level Magnetic, Firecore 9 Inch Shockproof Small Leveler Tool wi…
Step 9: Water and Maintain Your Garden
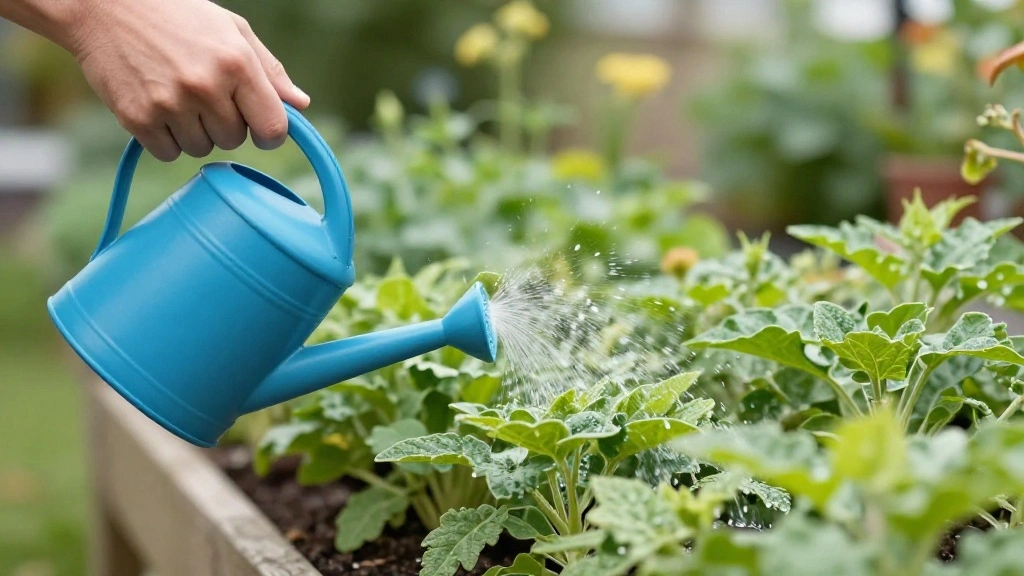
Your wall-mounted herb garden is complete! Now, it’s important to take care of your new plants to ensure they thrive.
- Water your herbs as needed, keeping the soil moist but not soggy.
- Check for pests or diseases regularly.
- Harvest herbs as they grow to encourage further growth.
Pro Tip: Regularly rotate your herbs to ensure they receive even sunlight exposure.
Time estimate: Ongoing care
Step 9: Water and Maintain Your Garden
Editor’s Choice

XLUX Soil Moisture Meter (Since 2015) – Durable 304 Stainless Steel Prob…

BioAdvanced Organics Brand Tomato, Vegetable & Fruit Plant Bug Spray, Re…
Pro Tips
- Choose the Right Herbs: Opt for herbs that you use frequently, like basil, mint, or rosemary.
- Seasonal Planting: Rotate herbs seasonally to keep your garden productive year-round.
- Fertilize Occasionally: Use an organic fertilizer to boost growth every few weeks.
- Pruning: Regularly prune your herbs to keep them healthy and encourage bushy growth.
- Sunlight Check: If herbs lean towards one side, they may need more light; rotate them to prevent that.
Pro Tips
Editor’s Choice

Make Good PlantPod Luxe – Self-Watering Wall Planters (Set of 6) – Easy …

Back to The Roots Organic All-Purpose Plant Food (5 lb. Value Size), Pre…

Fiskars Bypass Pruning Shears, 5/8″ Cut Capacity Gardening Scissors, Sel…
Common Mistakes to Avoid
Warning: Avoid these common pitfalls to ensure your garden thrives:
- Overwatering: This can lead to root rot. Only water when the top inch of soil is dry.
- Choosing the Wrong Herbs: Avoid herbs that require different care or light conditions than your environment.
- Neglecting Sunlight: Ensure your garden is in a spot that receives adequate sunlight.
Common Mistakes to Avoid
Editor’s Choice
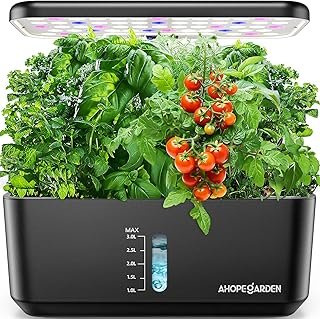
Ahopegarden Indoor Garden Hydroponics Growing System: 10 Pods Plant Germ…
Aokrean Plant Grow Light, 48 LEDs Full Spectrum Grow Lights for Indoor P…
XLUX Long Probe Deep Use Soil Moisture Meter, Water Monitor Indicator Se…
Troubleshooting Section
Problem: Herbs are wilting.
Solution: Check for proper watering; adjust as necessary.
Problem: Soil is too dry.
Solution: Water immediately and ensure consistent watering schedule.
Problem: Pests are present.
Solution: Use organic pest control methods to address the issue.
Problem: Herbs are not growing.
Solution: Evaluate sunlight exposure and adjust location if needed.
Troubleshooting Section
Editor’s Choice
Aokrean Plant Grow Light, 48 LEDs Full Spectrum Grow Lights for Indoor P…
Bonide Captain Jack’s Neem Oil, 32 oz Ready-to-Use Spray, Multi-Purpose …
YAMRON 4-in-1 Soil Moisture Meter, Digital Plant Temperature/Soil Moistu…
Variations/Alternative Methods
If you want to explore different styles for your herb garden, consider these alternatives:
- Vertical Planters: Use tiered vertical planters for a more compact design.
- Hanging Planters: Suspend planters from the ceiling or wall for a unique look.
- Window Boxes: Install window boxes on your windowsill for easy access.
Variations/Alternative Methods
Editor’s Choice
Stackable Vertical Planter Tower, 4 Tier Strawberry Planter,16 Plant Sit…
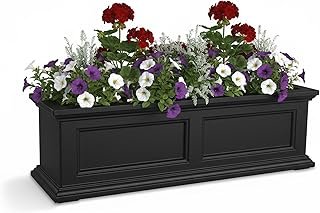
Mayne Fairview 3ft Durable Self Watering Window Box Planter with Wall Mo…
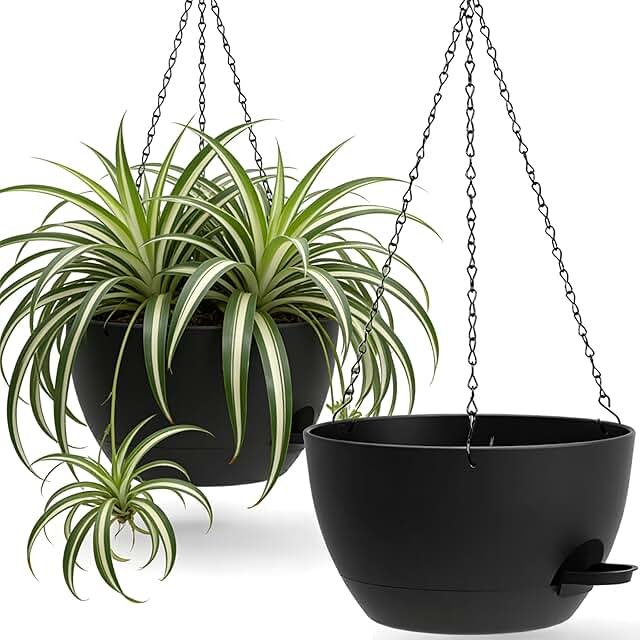
UOUZ 13 Inch 2 Pack Large Self Watering Hanging Planters for Indoor Outd…
FAQs
- What if I don’t have enough sunlight? Consider using grow lights to supplement natural light.
- How long should I wait to harvest my herbs? Most herbs can be harvested once they reach 6-8 inches tall.
- Is it safe to use chemicals on my plants? Always opt for organic solutions to avoid chemicals in your food.
FAQs
Editor’s Choice
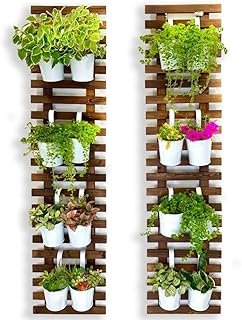
ShopLaLa Wall Planter – 2 Pack, Wooden Hanging Large Planters for Indoor…
FARMLITE LED Grow Lights for Indoor Plants Full Spectrum Growing Light B…
Organic Liquid Indoor Plant Food, Houseplant, Tropical & All-Purpose Ind…
Conclusion
Congratulations on completing your DIY wall-mounted herb garden! You’ve transformed a simple wall into a thriving green space. Enjoy the satisfaction of using fresh herbs in your meals, and take pride in your handiwork.
As you continue to care for your garden, consider expanding it or trying new herbs. Explore other gardening projects and get inspired to bring more nature into your home.