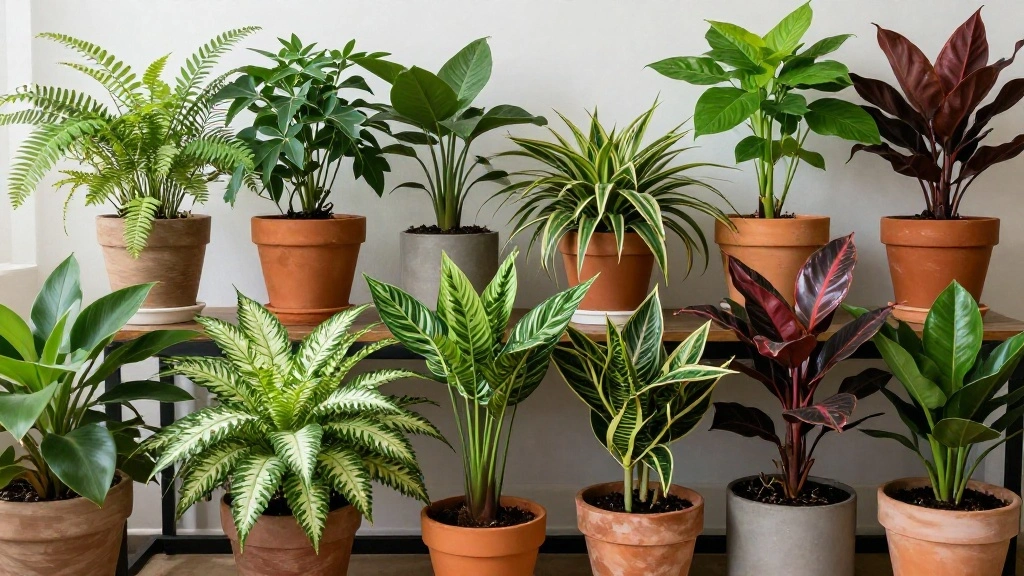
Houseplants can brighten up any space, but when they start showing signs of distress, it can be alarming. Many plant owners struggle to decipher these warning signals, leading to poor care decisions. Do you want to ensure your beloved plants thrive? This guide will help you recognize 12 key warning signs that your houseplant may be in trouble.
By the end of this article, you will be able to identify various signs of distress in your plants, understand their meanings, and take appropriate actions to restore their health. You’ll learn how to address issues such as yellowing leaves, wilting, and pest infestations. The good news? You don’t need to be a plant expert to follow this guide. Skill Level: Beginner and Time Estimate: 1-2 hours to master these essential skills.
Get ready to transform your green thumb skills and ensure your plants flourish. Let’s dive into the fascinating world of plant care!
TL;DR Summary
- Learn to identify 12 warning signs that indicate your houseplant is in distress.
- Understand the meaning behind each sign and the appropriate actions to take.
- Gain confidence in your ability to care for your houseplants and keep them thriving.
TL;DR Summary
Editor’s Choice
Miracle-Gro Indoor Plant Food for All Plants, Liquid Plant Food for Hous…
XLUX Long Probe Deep Use Soil Moisture Meter, Water Monitor Indicator Se…
Aokrean Plant Grow Light, 48 LEDs Full Spectrum Grow Lights for Indoor P…
Prerequisites/Materials Needed
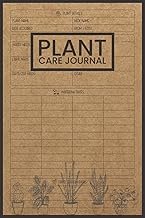
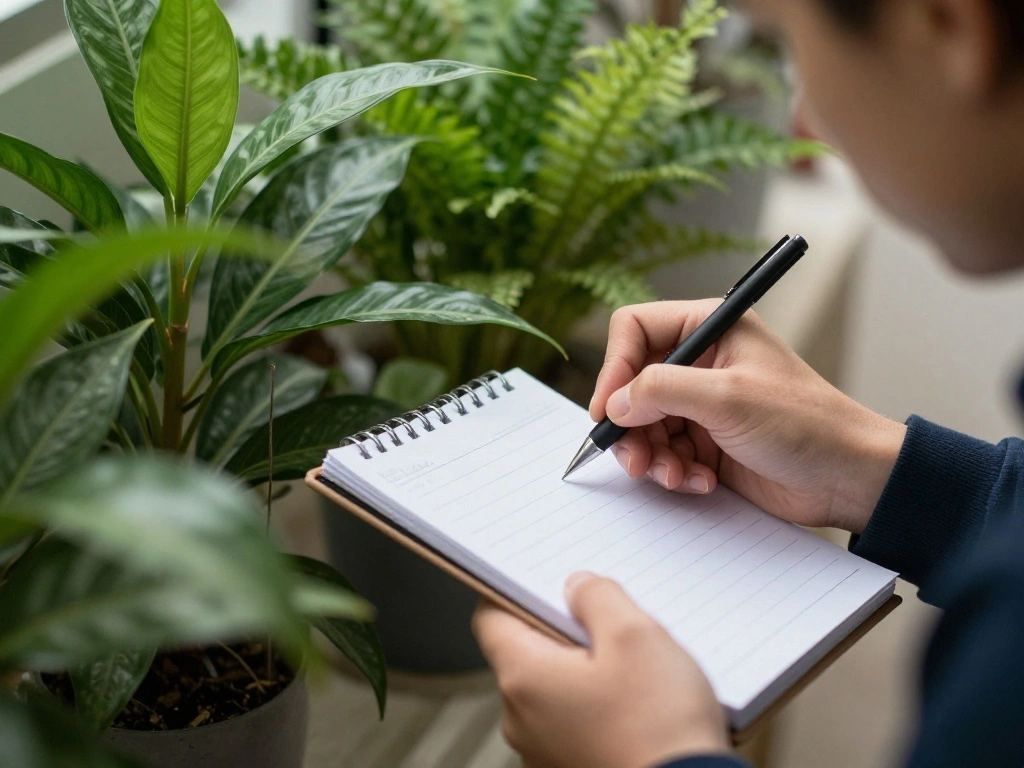
- A notebook or digital note-taking app
- A camera or smartphone for documenting plant conditions
- Basic plant care supplies (water, soil, fertilizer, pruning shears)
- A magnifying glass (optional, for inspecting pests)
Prerequisites/Materials Needed
Editor’s Choice

4K Digital Camera for Photography, 2026 Latest WiFi 64MP Vlogging Camera…
Plant Care Journal: Houseplant Journal and Log Book to Keep Track of You…

JARLINK 30X 60X Illuminated Jewelers Loupe Magnifier, Foldable Jewelry M…
Skill Level & Time Estimate
Skill Level: Beginner
Total time estimate: 1-2 hours. Here’s a breakdown:
- Identifying signs: 15-30 minutes
- Researching solutions: 30-60 minutes
- Implementing care steps: 15-30 minutes
Skill Level & Time Estimate
Editor’s Choice
Miracle-Gro Indoor Plant Food for All Plants, Liquid Plant Food for Hous…
XLUX Long Probe Deep Use Soil Moisture Meter, Water Monitor Indicator Se…
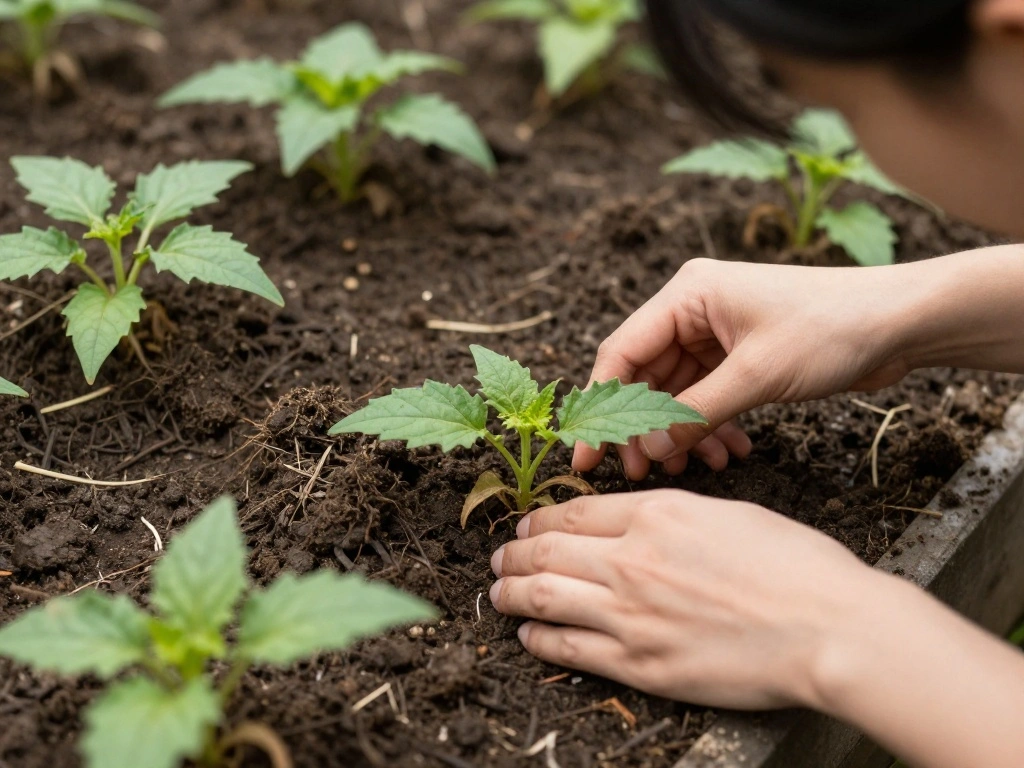
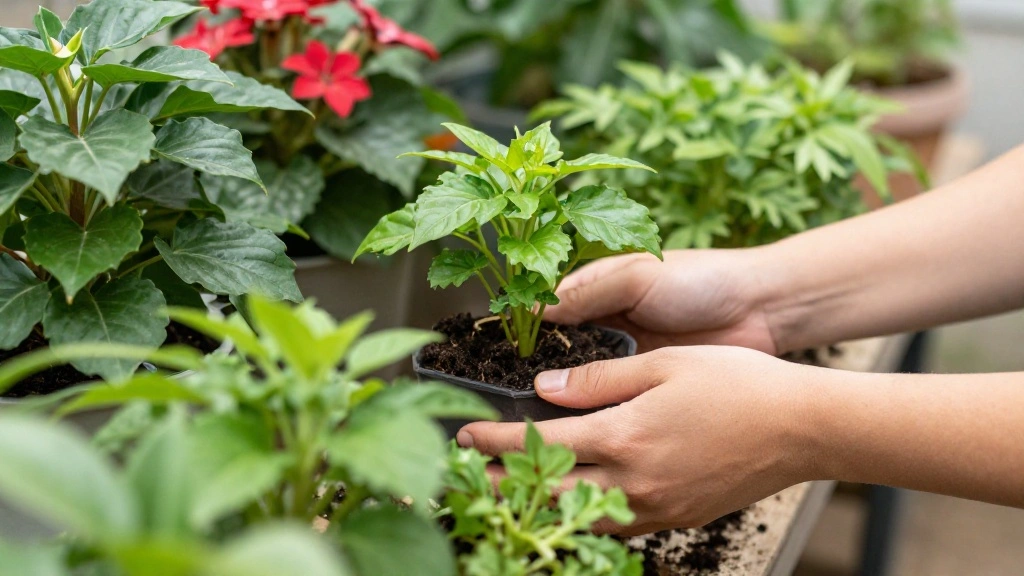
Step 1: Observe Your Plant Regularly
Start by observing your plant closely. Regular inspections help you catch problems early. Follow these steps:
- Choose a consistent time each week for your plant check-up.
- Look for changes in color, leaf texture, and growth patterns.
- Take notes on any unusual observations.
Pro Tip: Keep a journal to track your plant’s health over time. Why this matters: Early detection of issues can save your plant. This step should take approximately 15-30 minutes.
Step 1: Observe Your Plant Regularly
Editor’s Choice
XLUX Long Probe Deep Use Soil Moisture Meter, Water Monitor Indicator Se…
JARLINK 30X 60X Illuminated Jewelers Loupe Magnifier, Foldable Jewelry M…
Houseplant Journal: Log Watering, Light, Soil Mix, Repotting, Propagatio…
Step 2: Check for Yellowing Leaves
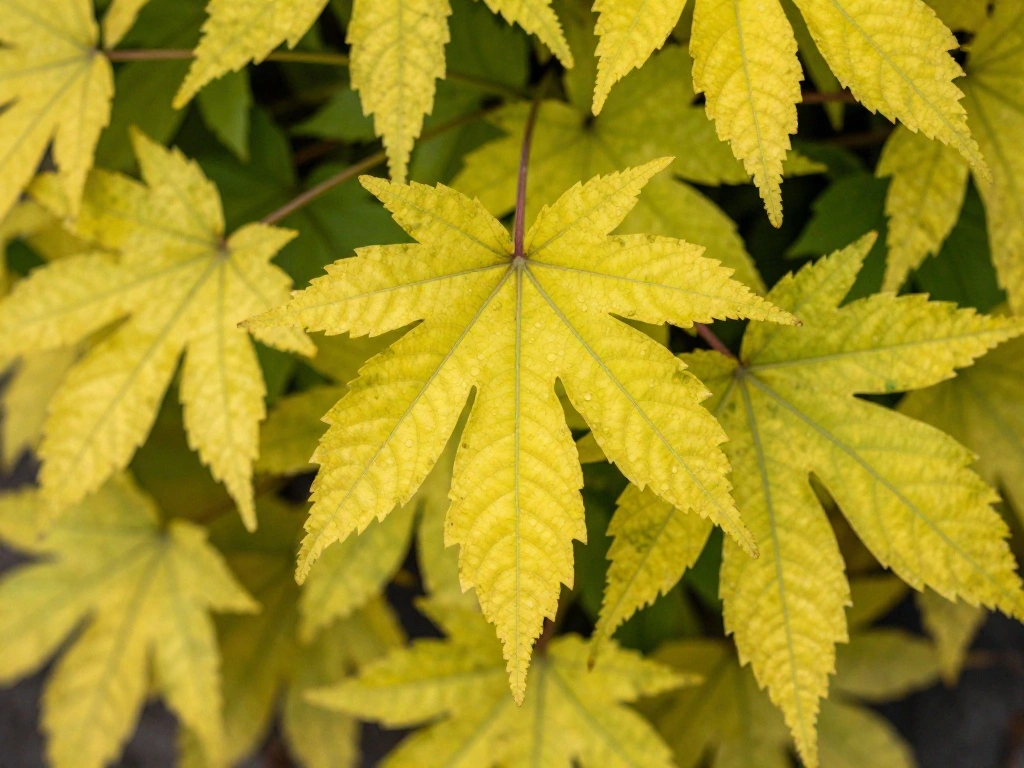
Yellowing leaves can indicate several problems, including overwatering or nutrient deficiency. Here’s what to do:
- Examine the overall plant health. Is it drooping or wilting?
- Check soil moisture. Is it too wet or too dry?
- If overwatered, allow the soil to dry out. If undernourished, consider adding fertilizer.
Warning: Don’t fertilize a dry plant; it can cause more stress. Why this matters: Yellow leaves are an early sign that your plant needs immediate attention. This step takes about 15-20 minutes.
Step 2: Check for Yellowing Leaves
Editor’s Choice
Watering Can for Indoor and Outdoor Plants – Long Spout Water Can for Ga…
Miracle-Gro Water Soluble All Purpose Plant Food – Fertilizer For All In…
XLUX Long Probe Deep Use Soil Moisture Meter, Water Monitor Indicator Se…
Step 3: Look for Wilting Leaves or Stems
Wilting can occur due to underwatering or overwatering. Follow these steps to diagnose the issue:
- Check the soil moisture level by inserting your finger about an inch deep.
- If it’s dry, water the plant thoroughly.
- If the soil is soggy, allow it to dry and consider repotting in fresh soil.
Pro Tip: Use a moisture meter for accurate readings. Why this matters: Wilting indicates that your plant is in distress and needs immediate care. Expect to spend about 15-20 minutes on this step.
Step 3: Look for Wilting Leaves or Stems
Editor’s Choice
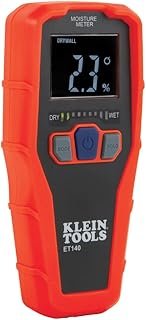
Klein Tools ET140 Pinless Moisture Meter for Non-Destructive Moisture De…
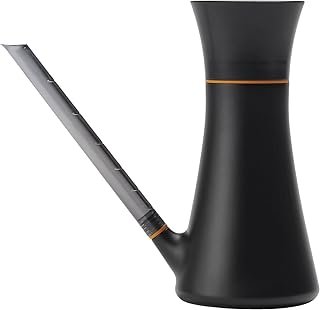
Fiskars Indoor Watering Can, Long Reach Spout for Precision Hydration on…
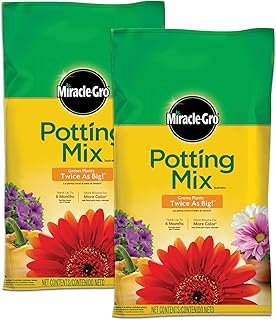
Miracle-Gro Potting Mix – For Container Plants, Flowers, Vegetables, Shr…
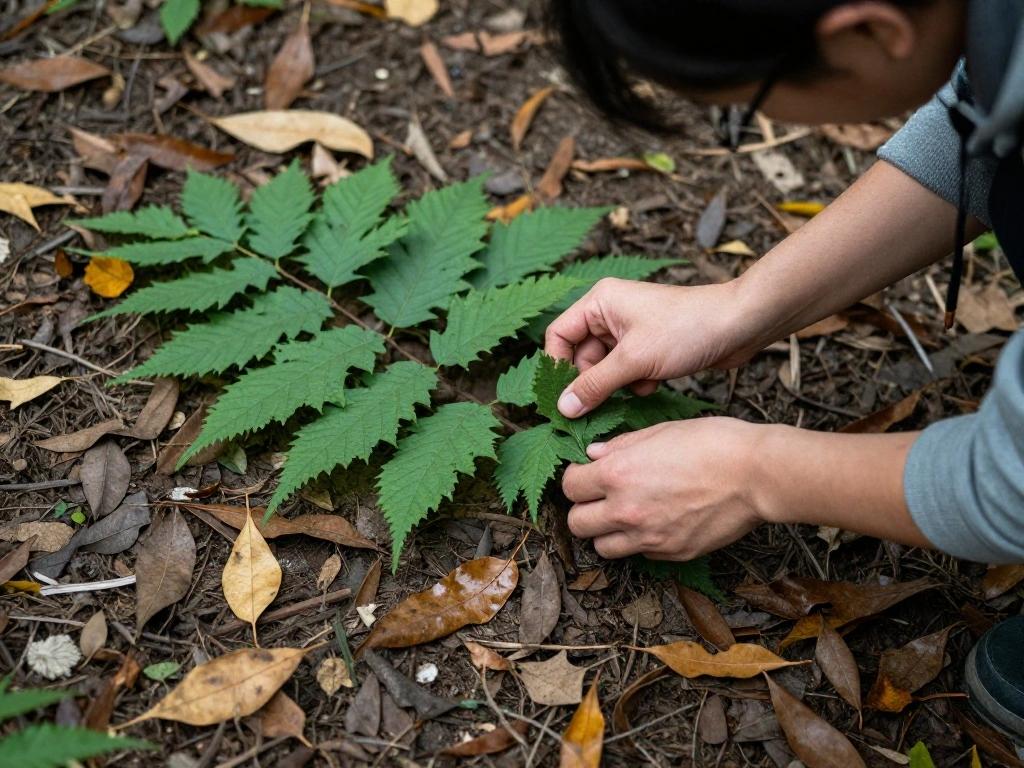
Step 4: Inspect for Pests
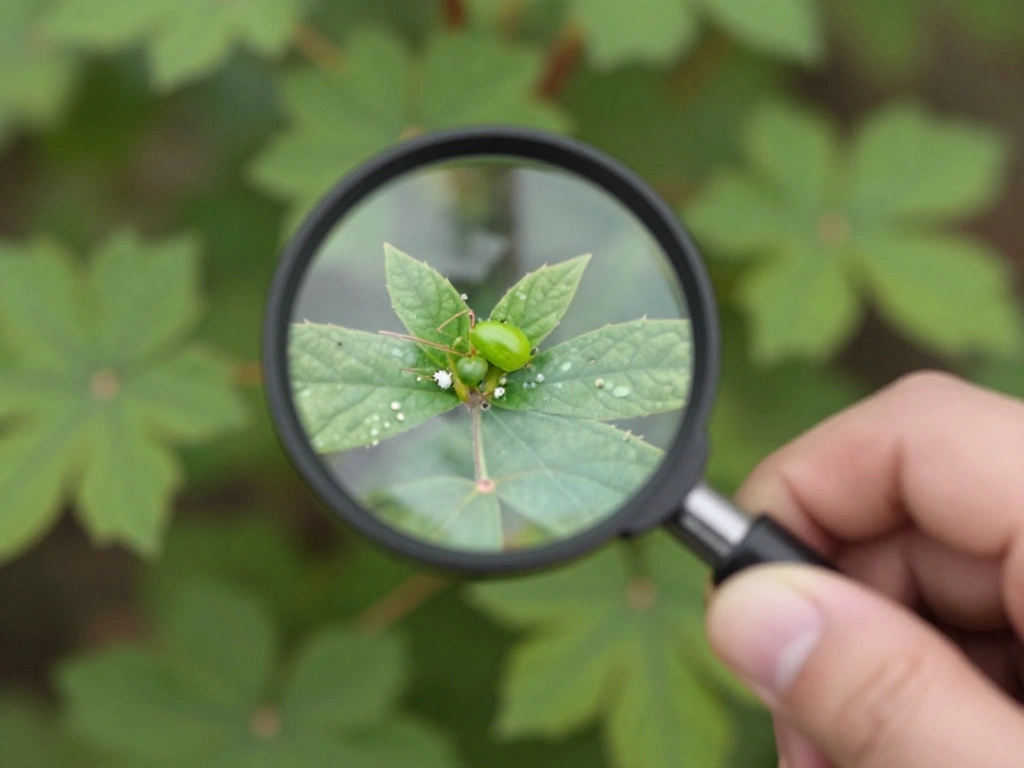
Pests can severely affect your plant’s health. To inspect for pests:
- Look under leaves and around the soil for signs of insects or webs.
- Use a magnifying glass to identify small pests like spider mites or aphids.
- If pests are found, treat with insecticidal soap or neem oil.
Warning: Always test a small area of the plant before applying any treatment. Why this matters: Detecting pests early can prevent a larger infestation. This inspection should take around 20-30 minutes.
Step 4: Inspect for Pests
Editor’s Choice
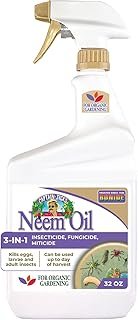
Bonide Captain Jack’s Neem Oil, 32 oz Ready-to-Use Spray, Multi-Purpose …
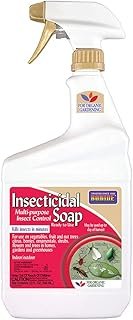
Bonide Insecticidal Soap, 32 oz Ready-to-Use Spray Multi-Purpose Insect …

10X 30X Handheld Magnifying Glass for Reading – 110mm Diameter, PMMA Len…
Step 5: Assess Leaf Drop
If your plant is dropping leaves, it could be due to environmental changes or stress. Here’s how to assess:
- Identify recent changes (e.g., location, temperature, watering schedule).
- Check if the plant is getting adequate light.
- Adjust care as needed, ensuring consistent conditions.
Pro Tip: Keep your plant in a stable location to minimize shock. Why this matters: Leaf drop can signal distress and needs immediate attention. Spend about 15-20 minutes on this step.
Step 5: Assess Leaf Drop
Editor’s Choice
Plant Care Journal: Houseplant Journal and Log Book to Keep Track of You…
XLUX Long Probe Deep Use Soil Moisture Meter, Water Monitor Indicator Se…
Aokrean Plant Grow Light, 48 LEDs Full Spectrum Grow Lights for Indoor P…
Step 6: Monitor for Discoloration

Discoloration can indicate nutrient deficiencies. Here’s how to identify and address it:
- Look for brown or black spots on leaves.
- Research common deficiencies based on leaf color changes.
- Adjust your watering and fertilization routine accordingly.
Warning: Over-fertilizing can harm your plant. Why this matters: Identifying nutrient needs early can help restore health. This step should take around 20-30 minutes.
Step 6: Monitor for Discoloration
Editor’s Choice
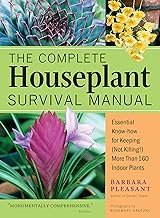
The Complete Houseplant Survival Manual: Essential Gardening Know-how fo…
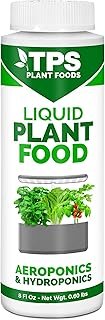
Liquid Plant Food for use in AeroGarden, IDOO and Hydroponic Growing Sys…
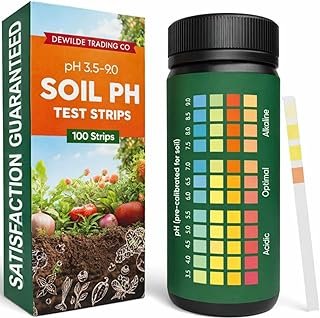
Soil pH Paper Test Kit – 100 Tester Strips (3.5-9 Range) – Use for T…
Step 7: Check for Root Rot
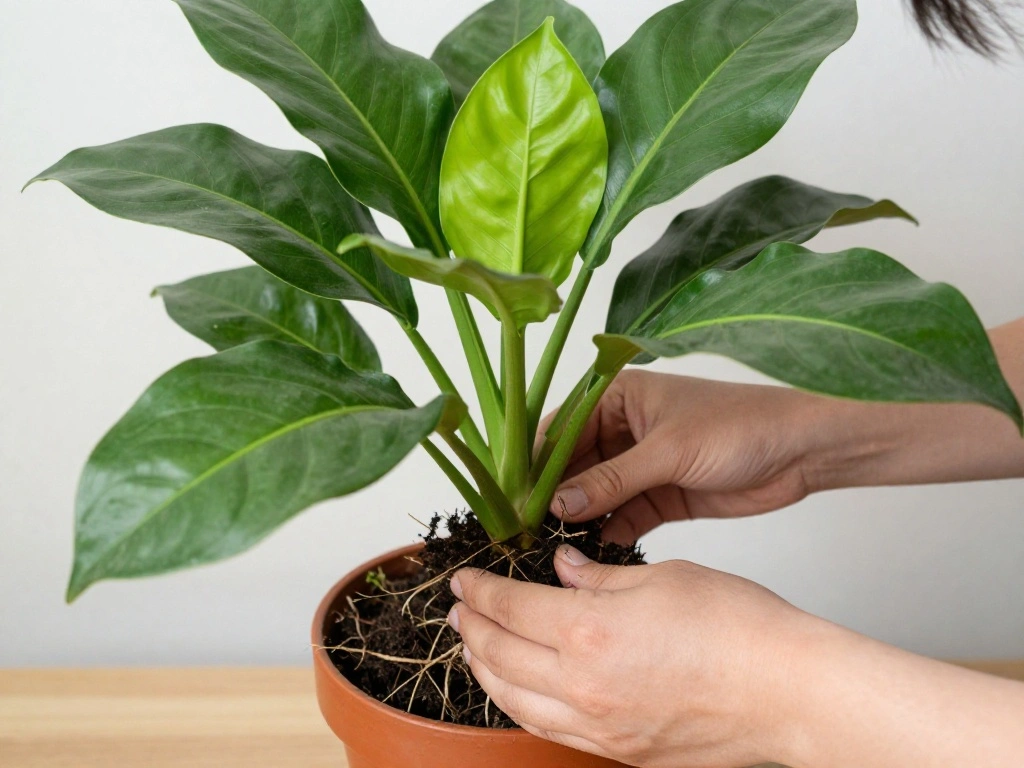
Root rot is a serious condition that can kill your plant. Here’s how to check for it:
- Gently remove the plant from its pot.
- Inspect the roots. Healthy roots are white and firm; rotten roots are brown and mushy.
- If rot is present, trim the damaged roots and repot in fresh soil.
Warning: Be gentle while handling roots to avoid additional damage. Why this matters: Root health is crucial for overall plant vitality. This process will take approximately 30-45 minutes.
Step 7: Check for Root Rot
Editor’s Choice
XLUX Long Probe Deep Use Soil Moisture Meter, Water Monitor Indicator Se…
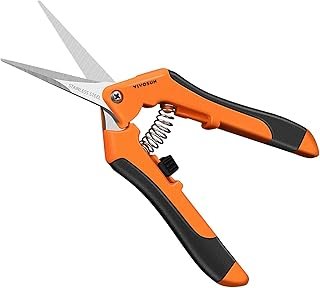
VIVOSUN 6.5 Inch Gardening Scissors Hand Pruner Pruning Shear with Strai…
Burpee, 9 Quarts | Premium Organic Potting Natural Soil Mix Food Ideal f…
Step 8: Evaluate Environmental Conditions
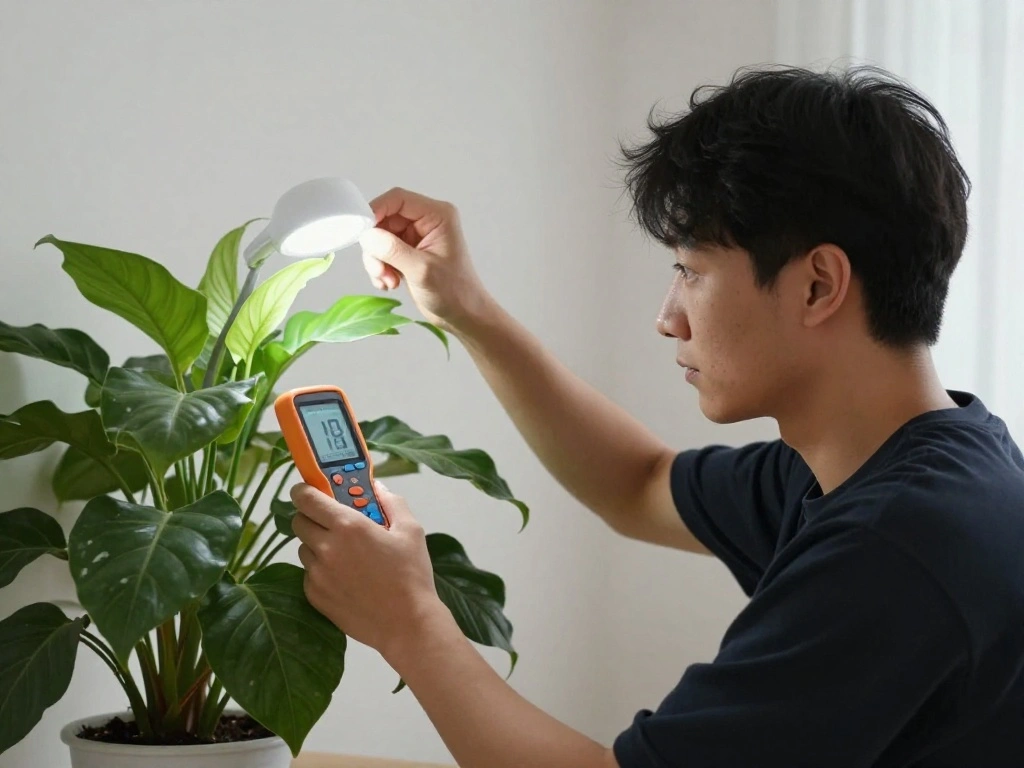
The environment plays a huge role in plant health. Here’s how to evaluate it:
- Check light levels in the room. Is it too dim or too bright?
- Assess humidity levels and consider using a humidifier if necessary.
- Adjust the plant’s location as needed for optimal growth.
Pro Tip: Use a light meter to measure light levels accurately. Why this matters: Proper environmental conditions are vital for plant health. Expect this evaluation to take about 20-30 minutes.
Step 8: Evaluate Environmental Conditions
Editor’s Choice
Light Meter Digital Illuminance Meter Handheld Ambient Temperature Measu…
LEVOIT Top Fill Humidifiers for Bedroom, 2.5L Tank for Large Room, Easy …
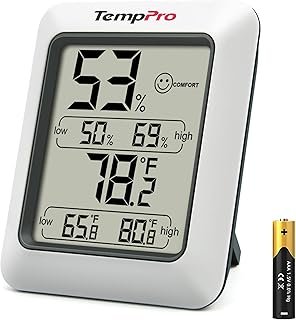
TempPro TP50 Digital Hygrometer Indoor Thermometer Room Thermometer and …
Step 9: Research and Implement Solutions

Once you have identified the issues, it’s time to research solutions. Follow these steps:
- Look up the specific needs of your plant species.
- Find solutions for the issues you’ve identified (e.g., watering adjustments, pest treatments).
- Implement the changes gradually and monitor the plant’s response.
Pro Tip: Consult plant care books or reputable online sources for accurate information. Why this matters: Effective solutions can restore your plant’s health. This research and implementation phase may take around 30-60 minutes.
Step 9: Research and Implement Solutions
Editor’s Choice
XLUX Long Probe Deep Use Soil Moisture Meter, Water Monitor Indicator Se…
More Than Just a Plant: How to Care for Your Plants as They Care for You

Earth’s Ally 3-in-1 Insecticide, Miticide, Fungicide for Plants – Copper…
Pro Tips
- Seasonal Awareness: Be aware that plants often have different needs in different seasons, such as increased watering in summer.
- Proper Potting: Use pots with drainage holes to prevent root rot.
- Consistent Care: Create a regular care schedule to monitor and maintain plant health.
- Fertilization Schedule: Fertilize during the growing season, but avoid fertilizing dormant plants in winter.
- Plant Companions: Some plants thrive better together, so consider companion planting for optimal care.
Pro Tips
Editor’s Choice
Klein Tools ET140 Pinless Moisture Meter for Non-Destructive Moisture De…

Espoma Organic 8 Ounce Concentrated Indoor! Plant Food – Indoor Plant Fe…
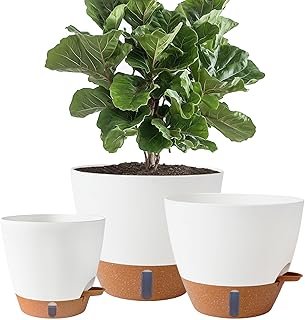
8/10/12 Inch Self Watering Pots for Indoor/Outdoor Plants – Large Plasti…
Common Mistakes to Avoid
Warning: Overwatering can lead to root rot. Always check soil moisture before watering. Warning: Ignoring pests can lead to infestations. Regularly inspect your plants. Warning: Changing environmental conditions too quickly can shock your plants. Make adjustments gradually.
Common Mistakes to Avoid
Editor’s Choice
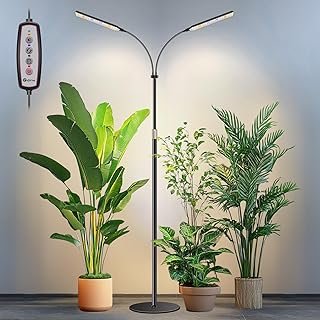
Kullsinss Black Floor Grow Lights for Indoor Plants, 2-Heads Full Spectr…
XLUX Long Probe Deep Use Soil Moisture Meter, Water Monitor Indicator Se…
Bonide Captain Jack’s Neem Oil, 32 oz Ready-to-Use Spray, Multi-Purpose …
Troubleshooting Section
Problem: Leaves turning yellow.
Solution: Check moisture levels and adjust watering accordingly.
Problem: Wilting leaves.
Solution: Ensure proper watering and humidity levels.
Problem: Pest infestation.
Solution: Inspect and treat with insecticidal soap.
Problem: Leaves dropping.
Solution: Assess environmental changes and stabilize conditions.
Problem: Root rot.
Solution: Trim damaged roots and repot in fresh soil.
Troubleshooting Section
Editor’s Choice

EcoLogic Home Insect Control 64 Ounces, Ready-To-Use Spray, Kills Ants, …
XLUX Long Probe Deep Use Soil Moisture Meter, Water Monitor Indicator Se…
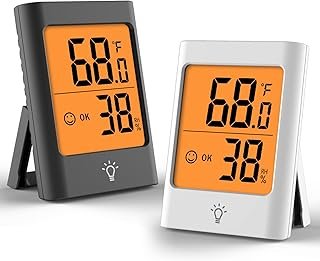
Indoor Thermometer for Home, 2pack Hygrometer Humidity Meter Humidity Se…
Variations/Alternative Methods
- Hydroponics: Consider growing plants in water for a unique approach. Great for herbs and small plants.
- Soil-less Mixes: Explore using soil alternatives like coconut coir or peat moss for specific plant needs.
- Terrariums: Create a closed environment for moisture-loving plants, which can simplify care.
Variations/Alternative Methods
Editor’s Choice
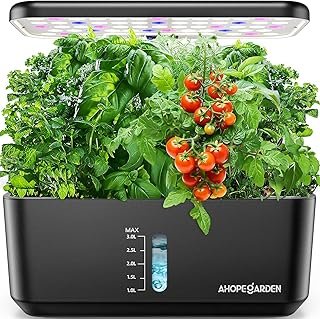
Ahopegarden Indoor Garden Hydroponics Growing System: 10 Pods Plant Germ…
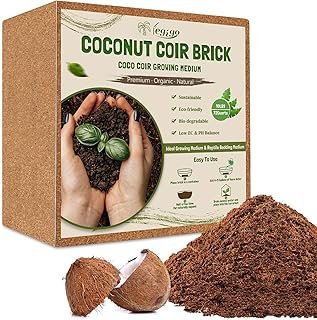
Legigo 10LBS Organic Coco Coir Brick for Plants- 100% Natural Compressed…
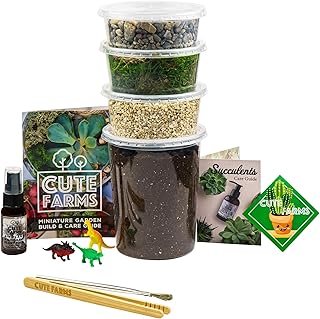
Cute Farms Terrarium Starter Kit | Moss, Vermiculite, Soil, Pebbles, Pla…
FAQs
What if I don’t have a moisture meter? You can use your finger to check soil moisture.
How long should I wait to see changes after adjusting care? It can take a few weeks for plants to respond to care changes.
Is it safe to use tap water for my plants? Most houseplants thrive on tap water, but let it sit out for 24 hours to evaporate chlorine.
What if I notice pests on my plant? Treat immediately with insecticidal soap or neem oil.
Can I use regular potting soil for all plants? No, different plants have different soil requirements, so research your specific plant needs.
FAQs
Editor’s Choice
Watering Can for Indoor and Outdoor Plants – Long Spout Water Can for Ga…
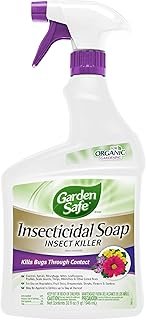
Garden Safe Brand Insecticidal Soap Insect Killer, 32 Fluid Ounces, For …
XLUX Long Probe Deep Use Soil Moisture Meter, Water Monitor Indicator Se…
Conclusion
Congratulations on taking the first step towards becoming a more attentive plant parent! By recognizing the warning signs and understanding their meanings, you have equipped yourself with the knowledge to care for your houseplants effectively.
Now that you’ve learned how to read your plants, consider exploring more advanced topics like propagation or creating a plant care schedule. Remember, every plant has its own unique needs, so continue to observe and learn. Keep nurturing your green thumb!