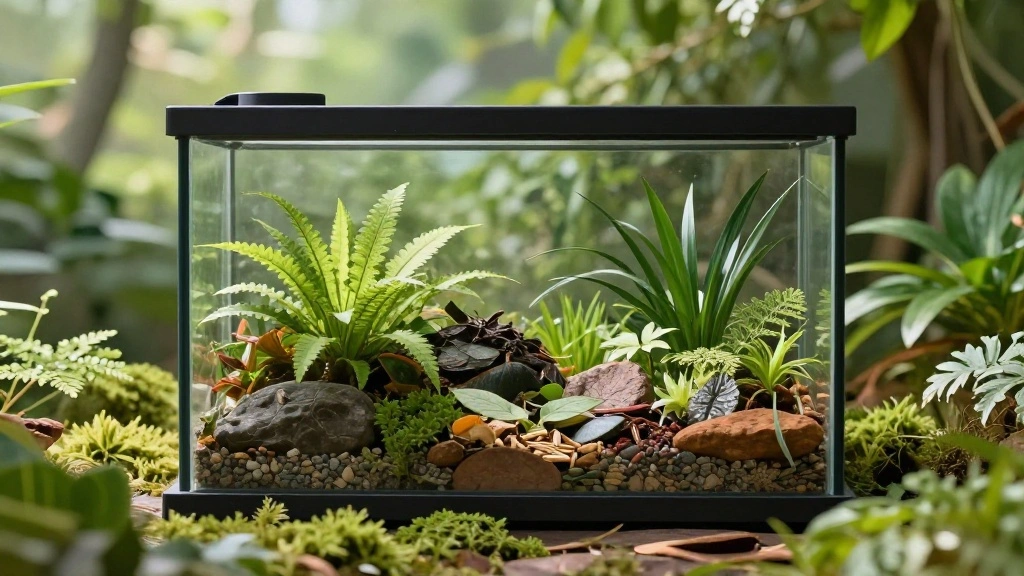
Do you want to bring a touch of nature indoors but struggle to keep plants alive? You’re not alone! Many people find it challenging to maintain houseplants due to busy lifestyles, lack of light, or forgetfulness when it comes to watering. Fortunately, there’s a solution: a closed terrarium that takes care of itself!
In this guide, you’ll learn how to create a self-sustaining closed terrarium that requires minimal maintenance. By following these simple steps, you’ll create a miniature ecosystem that thrives on its own, providing you with a beautiful green space in your home.
This guide is designed for beginners and will take approximately 2-3 hours to complete. You’ll discover essential tips for selecting plants, layering soil, and creating the right environment for your terrarium. Get ready to embark on a fun and rewarding project that will enhance your living space!
TL;DR Summary
- Create a closed terrarium that requires little maintenance.
- Learn to choose the right plants and materials.
- Follow six easy steps to build your terrarium.
- Enjoy a self-sustaining ecosystem in your home!
TL;DR Summary
Editor’s Choice

WGVI Clear Slant Cut Bowl Glass Vase, Glass Terrarium, Candy Dish, Glass…
Mini Terrarium Plants (2 Plants) Fairy Garden Plants (Assorted Varieties…
Soil Sunrise Terrarium Potting Soil Mix (4 Quarts) w/Blended Filtering C…
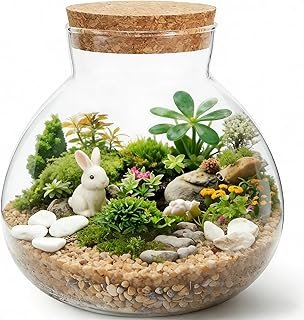
Prerequisites/Materials Needed
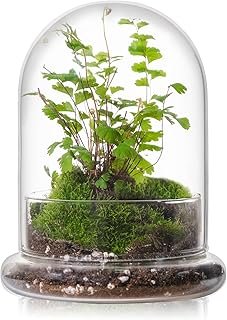
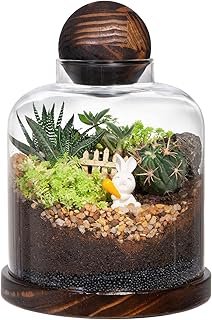
- Container: Glass jar or terrarium container (with a lid) – at least 10 inches tall.
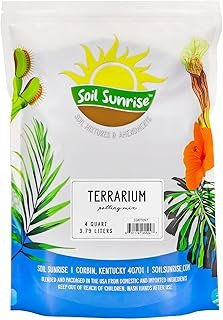
- Soil: Potting soil or terrarium soil – 1 bag (1-2 liters).
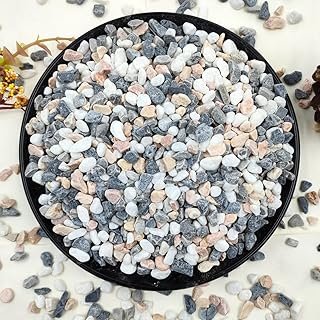
- Gravel: Small pebbles or aquarium gravel – 1 cup.
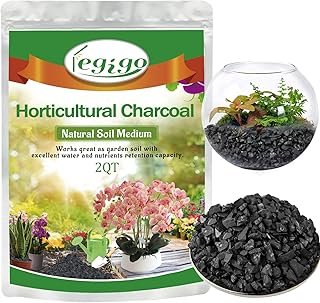
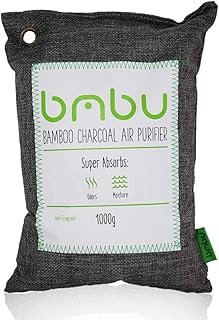
- Activated charcoal: 1 cup (optional, for odor control).
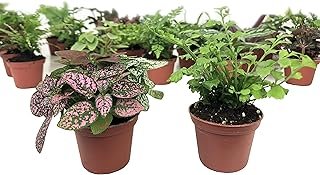
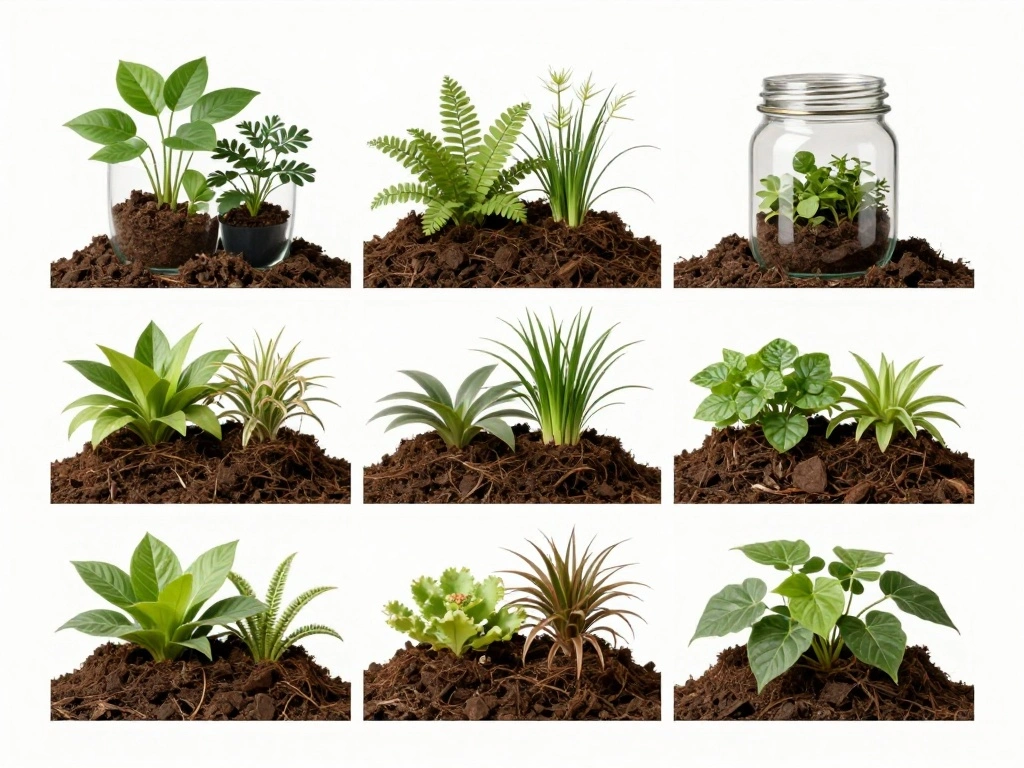
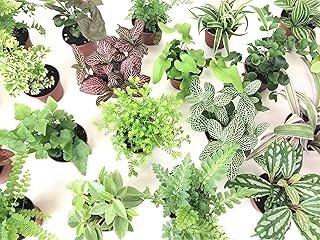
- Plants: Choose 2-4 small plants (e.g., ferns, moss, or succulents).
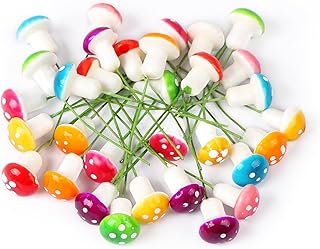
- Decorative elements: Optional items like stones, figurines, or driftwood.
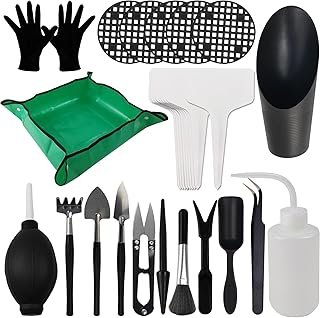
- Tools: Spoon, tweezers, small shovel, and scissors.
Prerequisites/Materials Needed
Editor’s Choice
Legigo 2 QT Horticultural Charcoal- Natural Charcoal for Plants, Biochar…
WHJY 6 inches Glass Cloche for Indoor Plants Small Terrarium Glass Cloch…
Soil Sunrise Terrarium Potting Soil Mix (4 Quarts) w/Blended Filtering C…
Skill Level & Time Estimate
Skill Level: beginner
Total time estimate: 2-3 hours
Breakdown: 30 minutes for preparation, 1-2 hours for assembly, and 30 minutes for arranging and final touches.
Skill Level & Time Estimate
Editor’s Choice
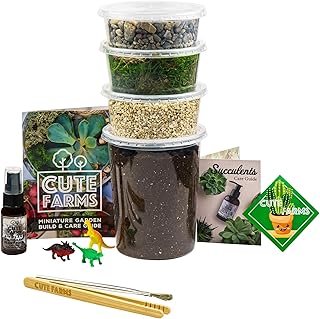
Cute Farms Terrarium Starter Kit | Moss, Vermiculite, Soil, Pebbles, Pla…

NOW Foods Supplements, Activated Charcoal Made from Coconut Shells, Non-…
Yangbaga Large Glass Terrarium Succulent Plant Terrarium House for Plant…
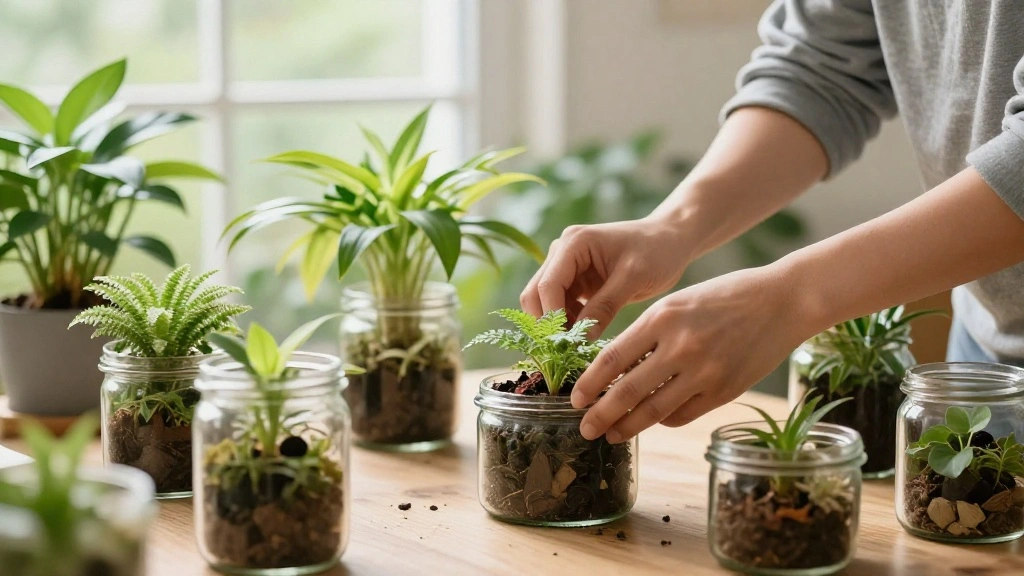
Step 1: Gather Your Materials
Start by gathering all the materials needed for your terrarium. This ensures that you have everything at hand when you start assembling. Follow these steps:
- Collect your glass container and clean it thoroughly to remove any dust or residues.
- Gather your soil, gravel, and plants. Ensure the plants are healthy and suitable for a closed environment.
- Set up your workspace in a well-lit area to make the assembly process easier.
Pro Tip: Arrange your materials in the order you will use them; this speeds up the process. Why this matters: Having everything ready minimizes chaos and helps you focus on creating your terrarium.
Estimated time: 30 minutes.
Step 1: Gather Your Materials
Editor’s Choice
Yangbaga Large Glass Terrarium Succulent Plant Terrarium House for Plant…
Soil Sunrise Terrarium Potting Soil Mix (4 Quarts) w/Blended Filtering C…
Mini Terrarium Plants (6 Plants) (2″ Pots) Fairy Garden Plants Assorted …
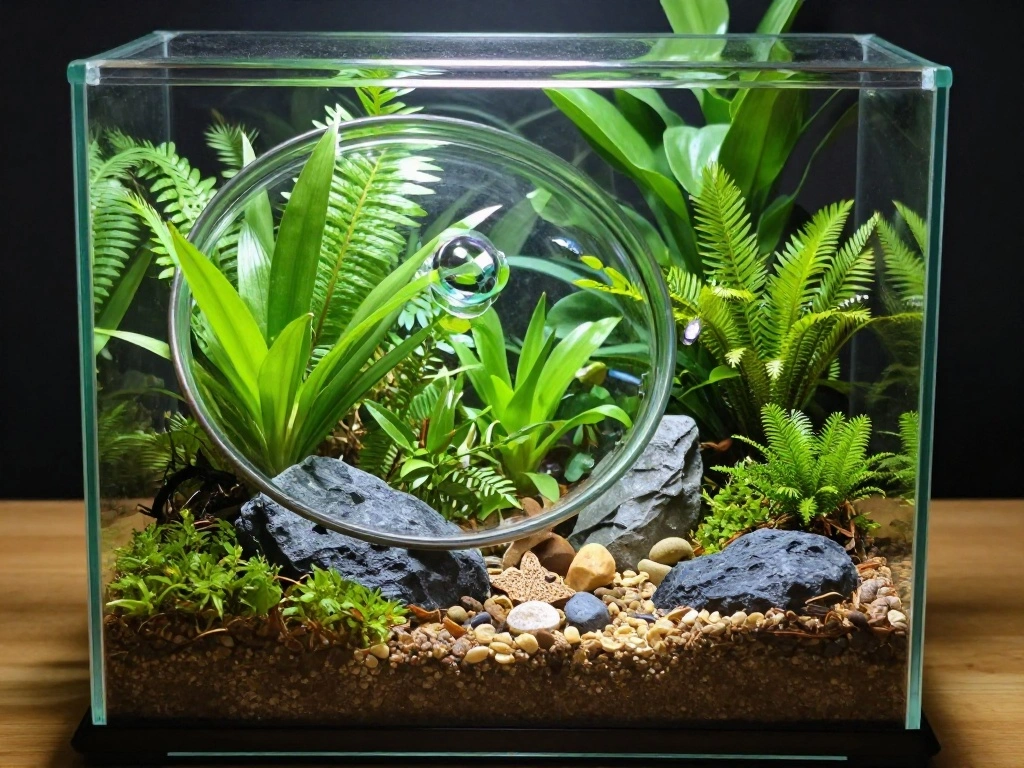
Step 2: Create the Base Layer
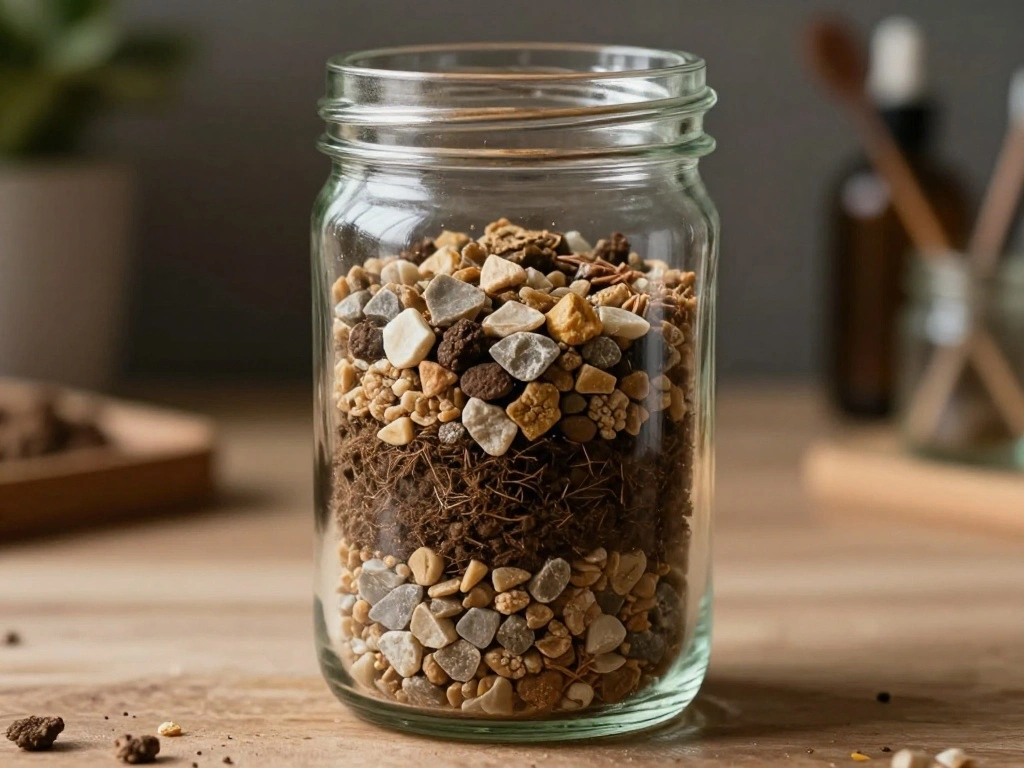
The first layer of your terrarium is crucial for drainage and overall health of the plants. Follow these steps to create the base:
- Pour a layer of gravel into the bottom of the jar, about 1-2 inches deep.
- Next, add a thin layer of activated charcoal if desired to help filter the air and prevent odors.
- Finally, add a layer of potting soil on top of the gravel, approximately 2-3 inches deep.
Pro Tip: Use a spoon to help guide the soil and gravel into the corners of the container. Why this matters: Proper layering prevents water from pooling at the bottom, which can lead to root rot.
Estimated time: 30 minutes.
Step 2: Create the Base Layer
Editor’s Choice

GloFish Aquarium Gravel, Fish Tank Gravel, Black With Fluorescent Accent…
1000g Large Bamboo Charcoal Air Purifier Bag – Car Deodorizer Freshener …
Soil Sunrise Terrarium Potting Soil Mix (4 Quarts) w/Blended Filtering C…
Step 3: Arrange Your Plants
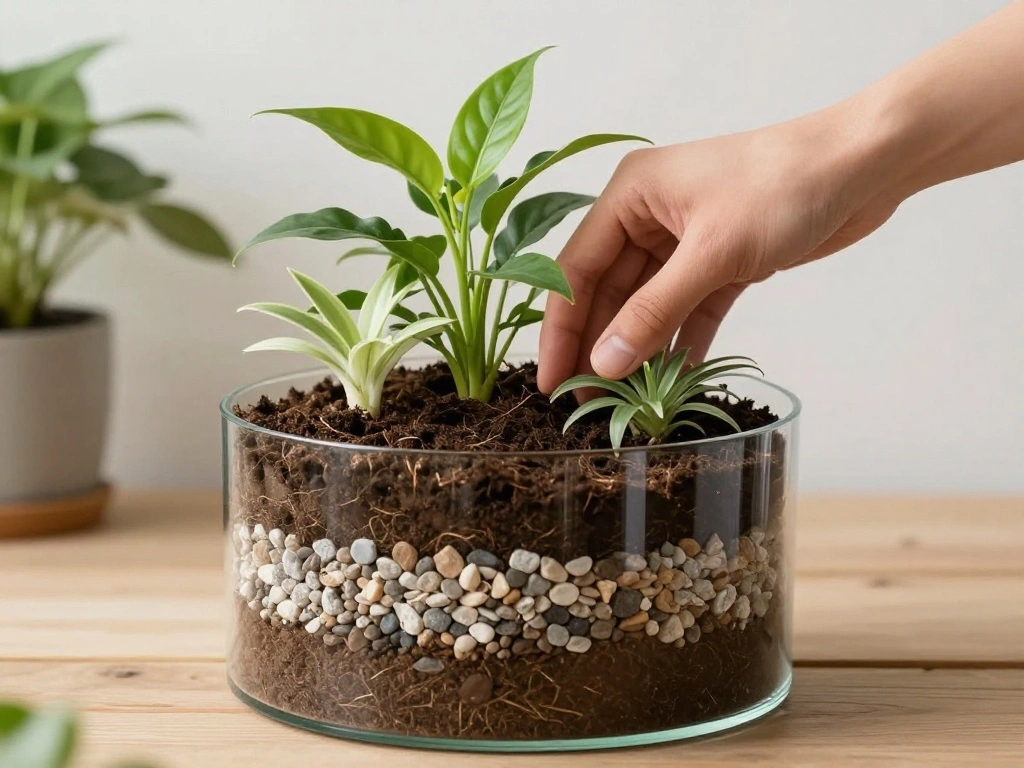
Choosing and placing your plants creatively is essential for a beautiful terrarium. Follow these steps:
- Remove your plants from their pots gently to avoid damaging the roots.
- Make small holes in the soil with your fingers or a spoon where you will place each plant.
- Carefully place the plants into the holes and pack the soil around them to secure them in place.
Warning: Avoid overcrowding your plants; they need space to grow. Why this matters: Adequate spacing allows for healthy growth and air circulation, reducing the risk of mold.
Estimated time: 30-45 minutes.
Step 3: Arrange Your Plants
Editor’s Choice
Mini Terrarium Plants (6 Plants) (2″ Pots) Fairy Garden Plants Assorted …
Soil Sunrise Terrarium Potting Soil Mix (4 Quarts) w/Blended Filtering C…
TIHOOD 30PCS/Set Mini Garden Hand Transplanting Succulent Tools Set, 19….
Step 4: Add Decorative Elements
Enhance the aesthetic appeal of your terrarium with decorative elements. Here’s how:
- Select stones, figurines, or driftwood that complement your plants.
- Carefully arrange them around the plants, considering balance and visual interest.
- Ensure that decorations do not obstruct plant growth or airflow.
Pro Tip: Use a variety of textures and colors to make your terrarium visually interesting. Why this matters: Decorative elements add personality and charm to your closed terrarium.
Estimated time: 30 minutes.
Step 4: Add Decorative Elements
Editor’s Choice
MIDELONG Mini Mushrooms Tiny Figurines Miniatures Colorful Mushrooms Gar…
YISZM 2LB Succulent and Cactus Gravel Pebbles, 1/5 Inch Natural Decorati…
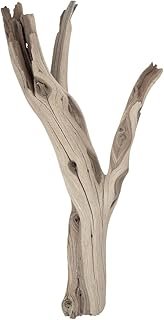
Koyal Wholesale 12” Driftwood Terrarium Decor, Clean California Manzan…
Step 5: Seal the Terrarium
The final step is to seal your terrarium, creating a self-sustaining environment. Follow these steps:
- Carefully place the lid on your glass jar or container.
- If your container doesn’t have a lid, consider covering it with plastic wrap for a similar effect.
- Position your terrarium in a location with indirect sunlight.
Warning: Don’t place your terrarium in direct sunlight, as this can overheat the plants. Why this matters: Sealing the terrarium helps maintain humidity levels, allowing the ecosystem to thrive.
Estimated time: 15 minutes.
Step 5: Seal the Terrarium
Editor’s Choice
NUOBESTY Glass Terrarium Jar with Cork Lid, 6×6.3 Inch Closed Terrarium …
winemana 6 Pack Large High Silver Reflective Mylar Film, 83x 63 in, High…
Step 6: Monitor and Maintain
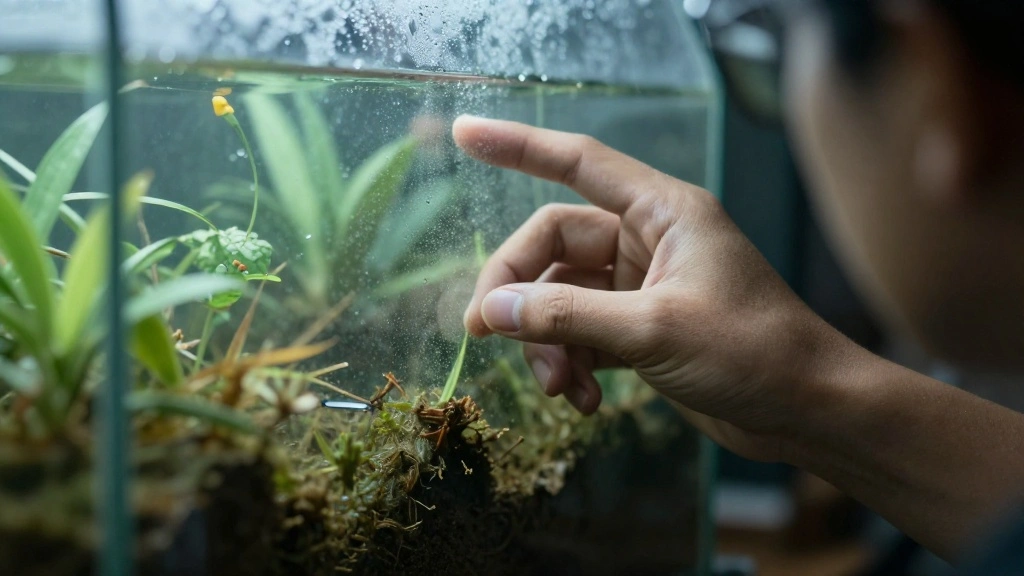
Your closed terrarium is now complete, but monitoring is essential for its health. Here’s what to do:
- Check the moisture level inside by observing the condensation on the glass.
- If the glass is too foggy, leave the lid off for a few hours to let excess moisture escape.
- Water sparingly if the soil appears dry; a few drops should suffice.
Pro Tip: Keep a journal to track the growth and changes in your terrarium over time. Why this matters: Regular monitoring helps you understand the needs of your plants and maintain a healthy ecosystem.
Estimated time: 15 minutes.
Step 6: Monitor and Maintain
Editor’s Choice

The Complete Reptile & Terrarium Journal: A Detailed Logbook for Trackin…

Klein Tools ET140 Pinless Moisture Meter for Non-Destructive Moisture De…
WHJY 6 inches Glass Cloche for Indoor Plants Small Terrarium Glass Cloch…
Pro Tips
- Choose the Right Plants: Select plants that thrive in humidity, such as ferns and mosses.
- Keep It Clean: Wipe the glass regularly to prevent algae growth and maintain visibility.
- Be Patient: It takes time for plants to establish themselves in a new environment.
- Experiment: Try different plant combinations and decorations to find what looks best to you.
- Use a Humidity Gauge: This helps you monitor the environment more accurately.
Pro Tips
Editor’s Choice

TempPro TP50 Digital Hygrometer Indoor Thermometer Room Thermometer and …

Sprayway Glass Cleaner Foaming Aerosol Spray, 19oz, Pack of 2 | Ammonia-…
Mini Terrarium Plants (6 Plants) (2″ Pots) Fairy Garden Plants Assorted …
Common Mistakes to Avoid
Warning: Overwatering can lead to mold and plant death. Always check moisture before adding water.
Warning: Using large plants or too many plants can overcrowd the terrarium. Stick to small varieties for best results.
Warning: Placing the terrarium in direct sunlight can overheat it. Position it in a spot with indirect light.
Warning: Forgetting to monitor the humidity can cause problems. Regular checks are essential for a healthy ecosystem.
Common Mistakes to Avoid
Editor’s Choice
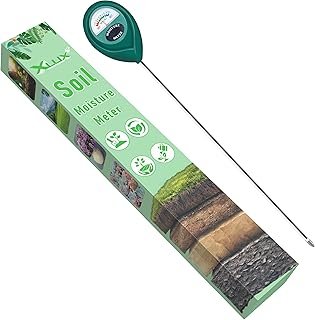
XLUX Long Probe Deep Use Soil Moisture Meter, Water Monitor Indicator Se…
Mini Terrarium Plants (2 Plants) Fairy Garden Plants (Assorted Varieties…
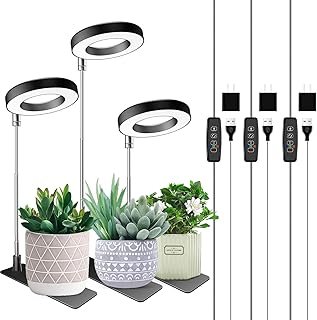
Aokrean Plant Grow Light, 48 LEDs Full Spectrum Grow Lights for Indoor P…
Troubleshooting Section
Problem: Plants are wilting.
Solution: Check moisture levels; if too dry, add a few drops of water.
Problem: Mold is appearing in the terrarium.
Solution: Remove moldy plants and improve airflow by slightly opening the lid.
Problem: The terrarium is too cloudy.
Solution: Remove the lid for a few hours to let excess moisture escape.
Problem: Plants are growing too tall.
Solution: Prune regularly to maintain size and health.
Problem: Excessive condensation.
Solution: Remove the lid for a few hours to balance humidity.
Troubleshooting Section
Editor’s Choice
Zilla Fresh Air Screen Cover, Secure and Durable Metal Mesh Cover for Re…
Legigo 2 QT Horticultural Charcoal- Natural Charcoal for Plants, Biochar…
XLUX Long Probe Deep Use Soil Moisture Meter, Water Monitor Indicator Se…
Variations/Alternative Methods
1. Open Terrarium: For plants that thrive in dry conditions, consider an open terrarium. This allows for more air circulation and is easier to maintain for certain succulents.
2. Layering Techniques: Experiment with different soil layers, such as adding sand or coco coir for drainage and aeration.
3. Seasonal Themes: Change your terrarium decorations to fit the seasons for a fresh look throughout the year.
Variations/Alternative Methods
Editor’s Choice
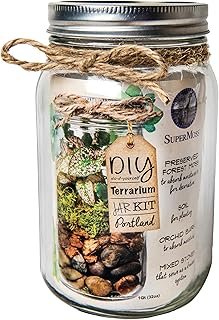
Portland Terrarium kit – DIY Mason Jar Terrarium Kit

3lb Cactus Pea Gravel Rocks,1/5 Inch Pebbles for Indoor Plants, Natural …
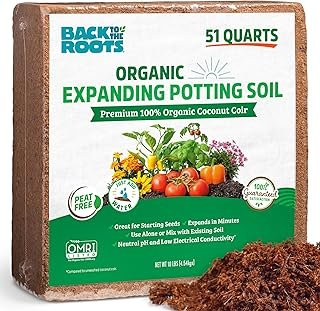
Back to The Roots Organic Coir, 51 Quart Expanding Soil, Great for Seeds…
FAQs
What if I don’t have a glass container? You can use any clear container, like a plastic or acrylic box, as long as it allows light in.
How long should I wait before watering? Wait at least two weeks after setting up your terrarium before adding more water.
Is it safe to place the terrarium on a windowsill? Only if it gets indirect sunlight; direct sunlight can overheat the plants.
What if my plants start to die? Check for overwatering or insufficient light. Adjust conditions as necessary.
Can I use flowers in the terrarium? It’s best to use long-lasting plants; cut flowers will wilt quickly in a closed environment.
FAQs
Editor’s Choice

Small Garden Tools – 3 Pcs Mini Garden Tools Set with Small Trowel, Mini…
Cute Farms Terrarium Starter Kit | Moss, Vermiculite, Soil, Pebbles, Pla…
Soil Sunrise Terrarium Potting Soil Mix (4 Quarts) w/Blended Filtering C…
Conclusion
Congratulations on creating your own closed terrarium! You’ve successfully built a self-sustaining ecosystem that will bring life to your space. Enjoy watching your plants thrive with minimal maintenance.
As you gain more experience, consider experimenting with different plants and designs or even creating multiple terrariums. Check out local plant shops for unique varieties to add to your collection. Keep nurturing your green thumb!