
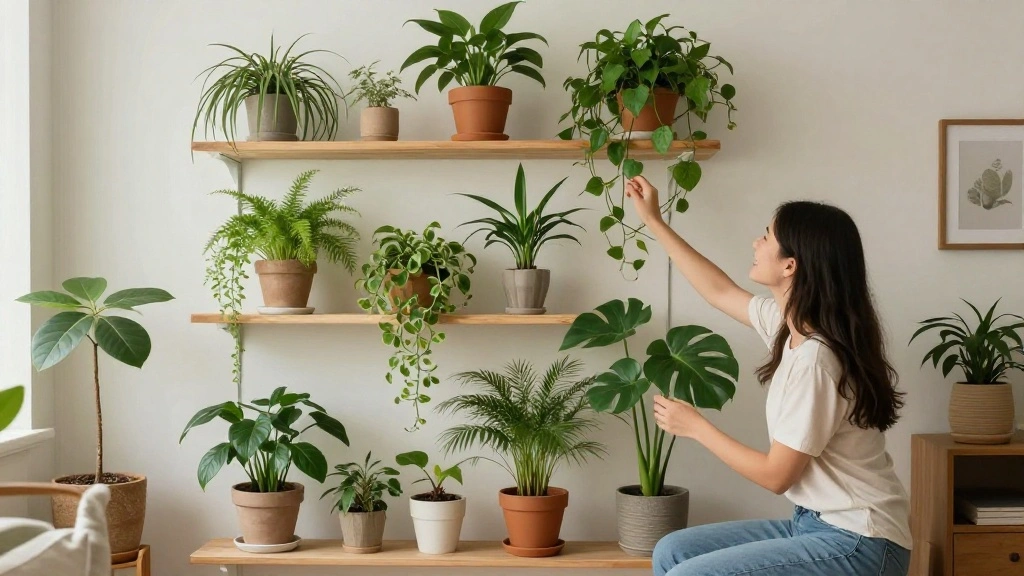
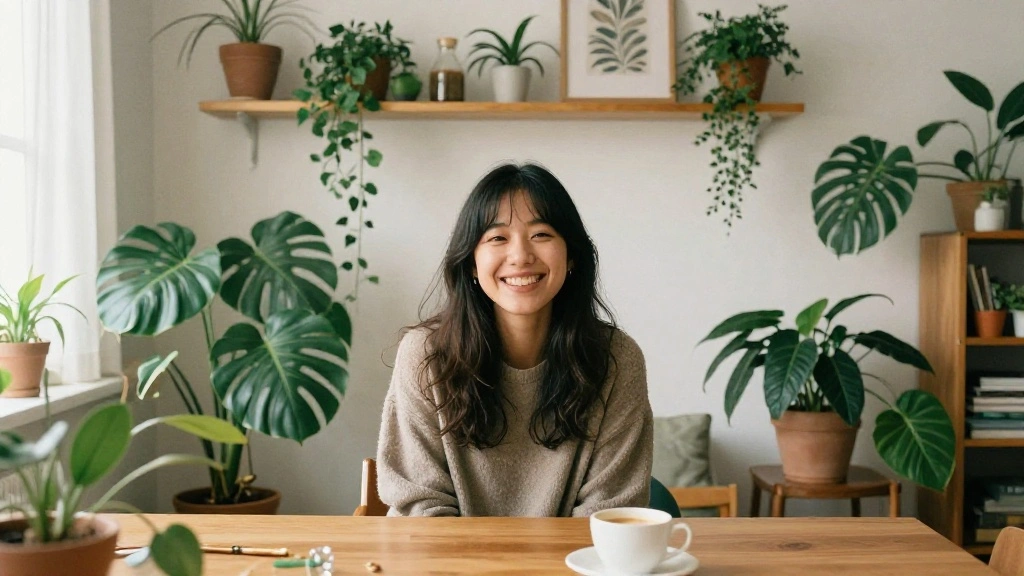
Are you feeling the lack of greenery in your rental apartment? It’s easy to overlook the potential of your space when you’re limited by the rules of renting. A dull, lifeless shelf can bring down the entire aesthetic of your home, making it feel cold and uninviting. Fortunately, there’s a simple solution to add warmth and personality: a beautiful plant shelf display. This guide will show you how to achieve that vibrant look without damaging your lease.
By the end of this guide, you will learn how to select the right plants, arrange them for maximum effect, and style your shelf to reflect your personal taste. Not only will your space look more inviting, but you’ll also enjoy the benefits of having indoor plants, such as improved air quality and a boost to your mood.
This is a beginner level project that will take about 2-3 hours to complete. You will gain practical skills in plant care and interior styling. Ready to transform your shelf and your rental apartment? Let’s get started!
TL;DR Summary
- Learn to create a stunning plant shelf display in your rental apartment.
- Gather materials and choose plants that thrive indoors.
- Follow step-by-step instructions to arrange and style your shelf.
- Enjoy the benefits of greenery in your living space!
TL;DR Summary
Editor’s Choice
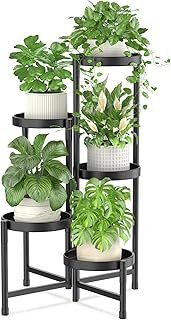
Bamworld Plant Stand Indoor Plant Shelf Outdoor Wood Plant Rack for Mult…

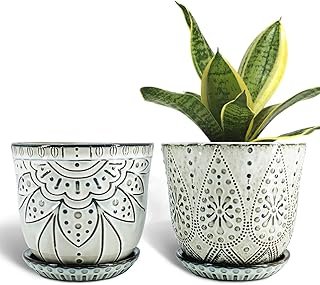
Xiaan Jiaju Tuscan Ceramic Plant Pots, 6.11 Inch Vintage Planters with D…
Prerequisites/Materials Needed
- Plants: 3-5 indoor plants (e.g., pothos, snake plant, spider plant)
- Shelf: 1 sturdy shelf (preferably wall-mounted or a bookcase)
- Pots: Decorative pots for each plant
- Tools: Drill (if mounting), level, measuring tape
- Optional: Plant care supplies (watering can, soil, fertilizer)
Prerequisites/Materials Needed
Editor’s Choice
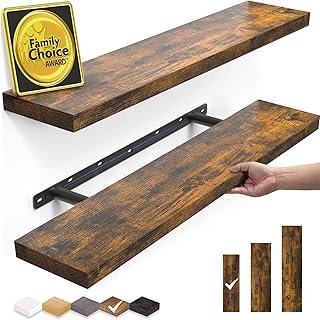
BAYKA Floating Shelves Set of 2, 22.5 inches Farmhouse Rustic Wood Wall …
Skill Level & Time Estimate
Skill Level: beginner
Total Time Estimate: 2-3 hours
Skill Level & Time Estimate
Editor’s Choice
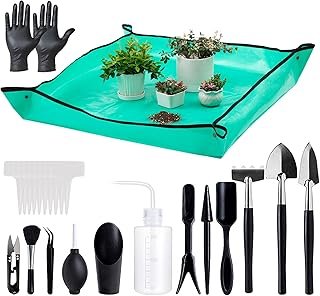
Melphoe 25Pcs Mini Garden Hand Transplanting Succulent Tools Set, 39.4″ …
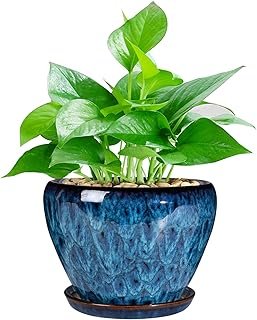
Ceramic Modern Glaze Succulent Planter Pot with Drainage Hole and Saucer…
Bamworld Plant Stand Indoor Plant Shelf Outdoor Wood Plant Rack for Mult…
Step 1: Choose Your Plants
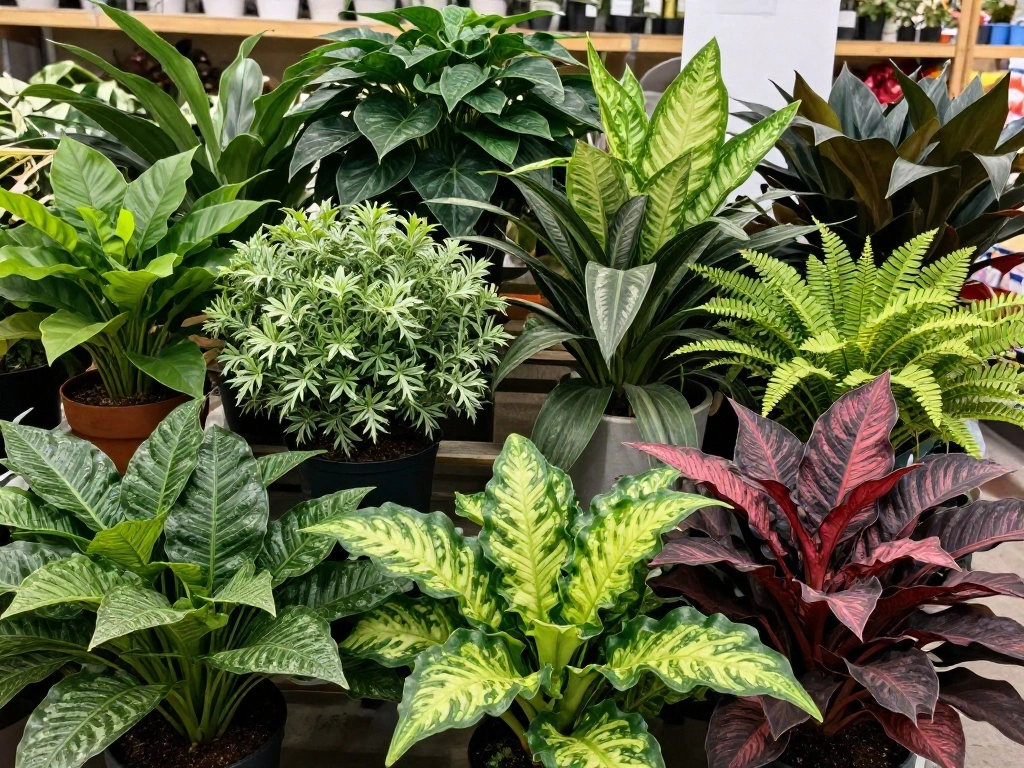
Selecting the right plants is crucial for your shelf display. Aim for a variety of sizes, shapes, and colors to create visual interest. Follow these steps:
- Visit a local nursery or garden center.
- Look for low-maintenance plants if you’re a beginner.
- Consider plants that thrive in indoor conditions such as pothos, snake plants, or peace lilies.
Pro Tip: Choose plants with different leaf shapes and colors for a balanced look. Warning: Avoid plants that require direct sunlight if your shelf is in a low-light area.
Time estimate: 30 minutes.
Step 1: Choose Your Plants
Editor’s Choice
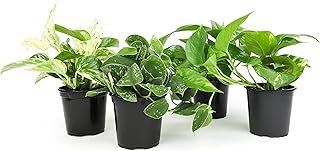
Live Pothos Plants (4PK) Indoor Plants Live Houseplants, Pothos Live Pla…
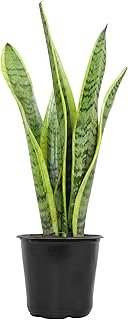
Live Snake Plant, Sansevieria trifasciata Laurentii, Fully Rooted Indoor…

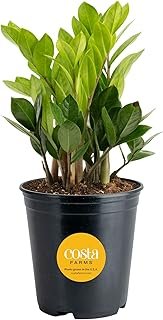
Costa Farms Peace Lily Live Plant in Decorative Pot, Air Purifying Flowe…
Step 2: Measure Your Space
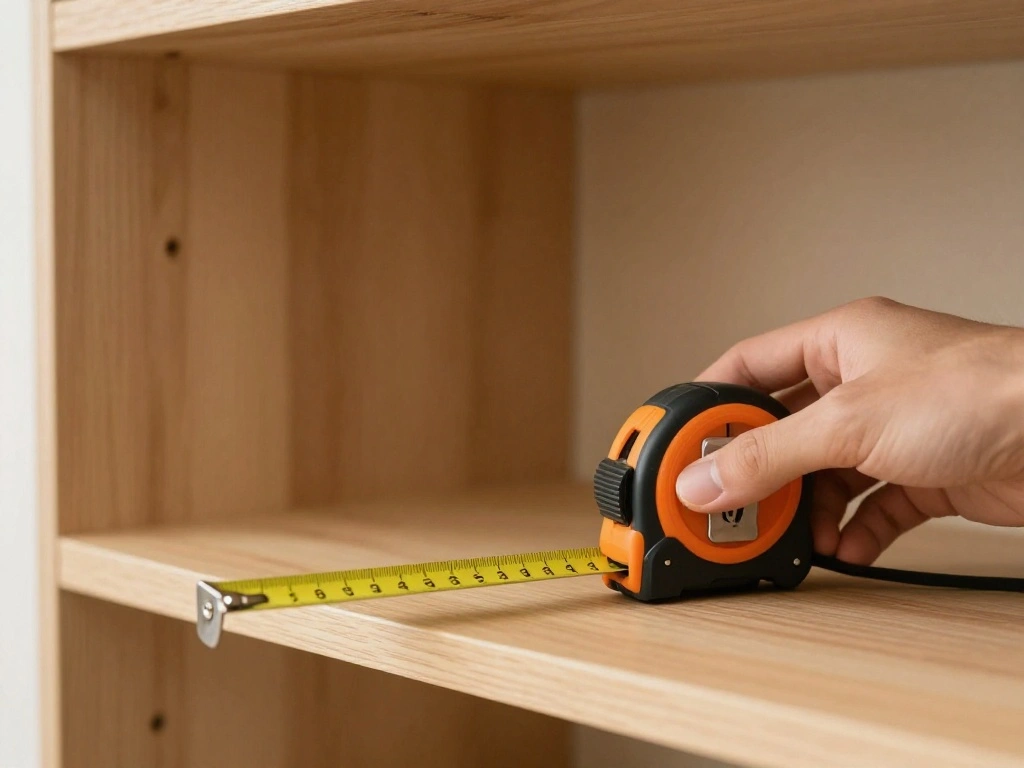
Before placing your plants, measure the shelf space to ensure everything fits perfectly. Here’s how:
- Use a measuring tape to determine the length and depth of the shelf.
- Take note of any obstructions such as light fixtures or wall decorations.
- Sketch a simple layout of your shelf to visualize plant placement.
Pro Tip: Consider the height of each plant when arranging them on the shelf. Taller plants should go in the back while shorter ones can be in front. Warning: Make sure the shelf can support the weight of the plants and pots.
Time estimate: 20 minutes.
Step 2: Measure Your Space
Editor’s Choice
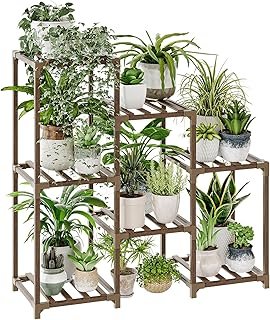
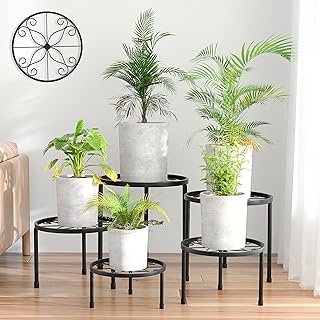
Bamworld Plant Stand Indoor Plant Shelf Outdoor Wood Plant Rack for Mult…
Digital Caliper, Sangabery 0-6 inches Caliper with Large LCD Screen, Aut…
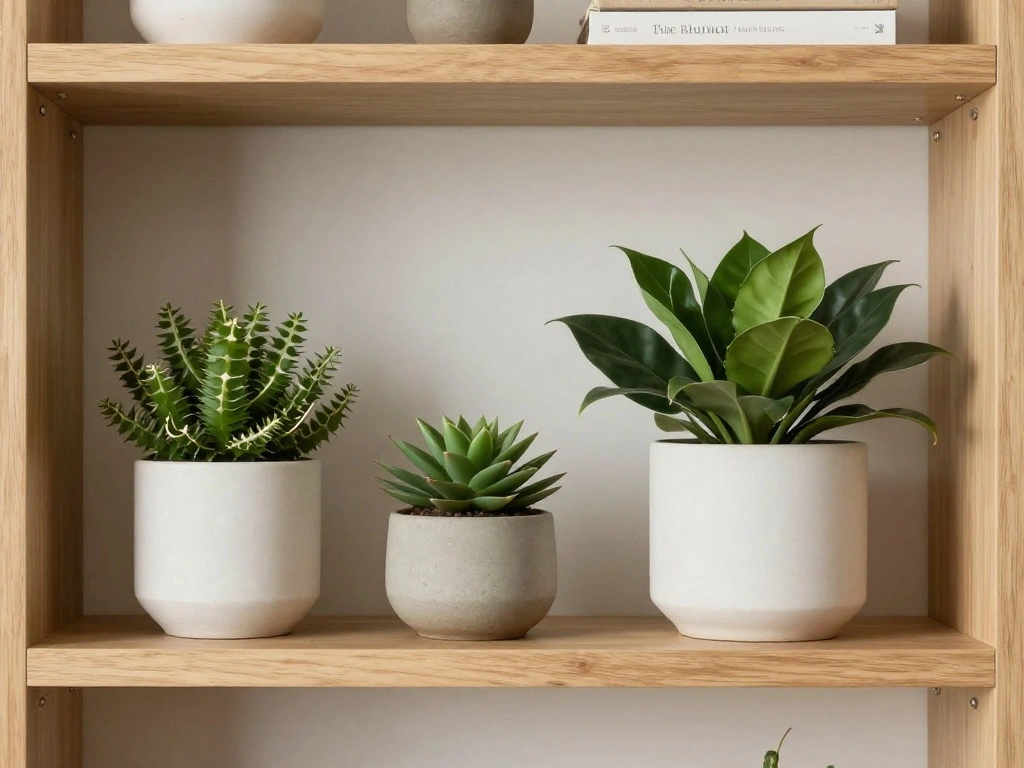
Step 3: Select Your Pots
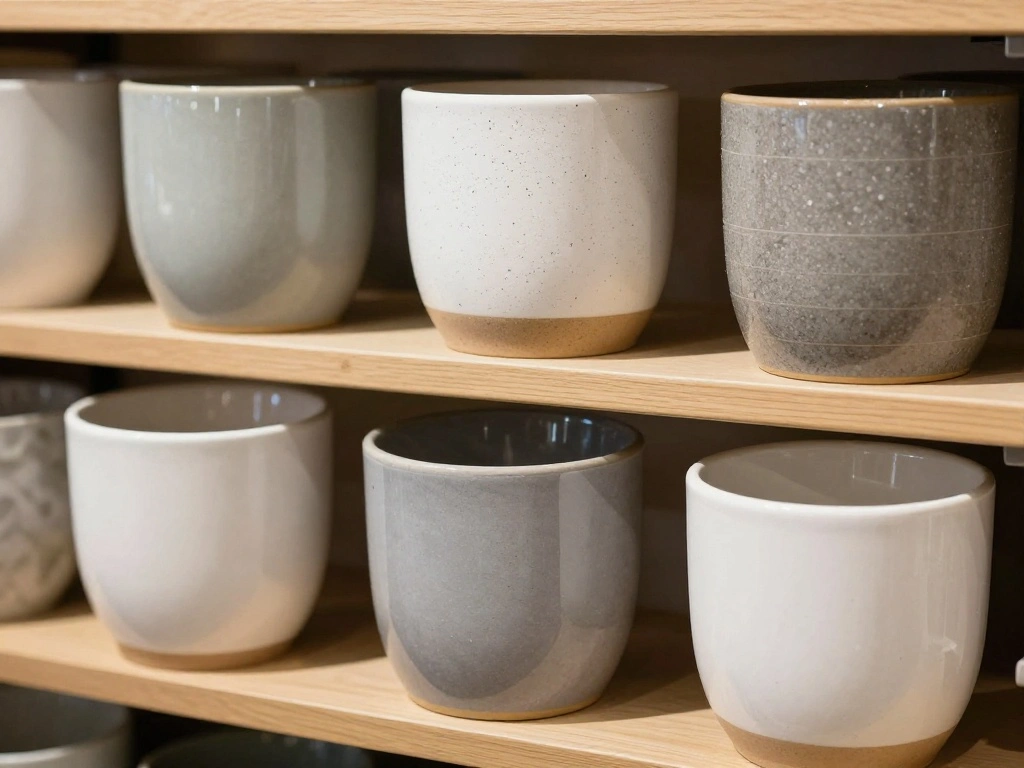
Your choice of pots can enhance the overall aesthetic of your plant shelf. Follow these steps to select the right ones:
- Choose pots that complement your home decor style.
- Ensure the pots have drainage holes to prevent water accumulation.
- Select sizes that suit the plants you’ve chosen.
Pro Tip: Mix and match pot styles (ceramic, terracotta, etc.) for a more dynamic display. Warning: Avoid overly large pots that can overshadow smaller plants.
Time estimate: 30 minutes.
Step 3: Select Your Pots
Editor’s Choice
Ceramic Modern Glaze Succulent Planter Pot with Drainage Hole and Saucer…
Step 4: Arrange Your Plants
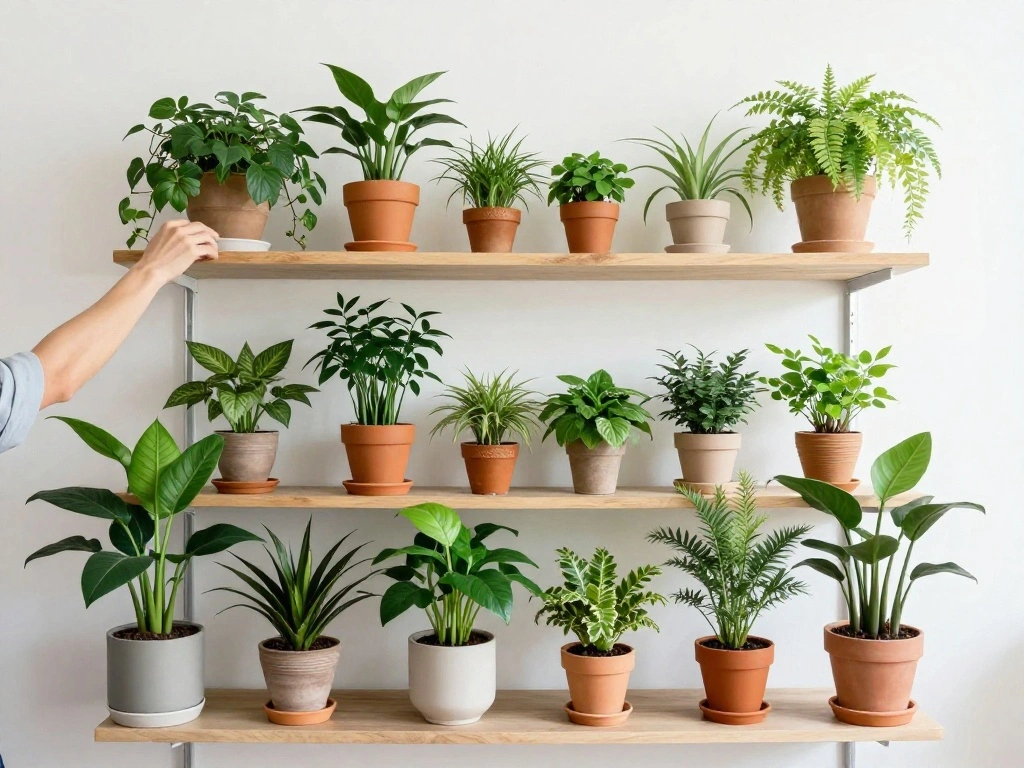
Now it’s time to arrange your plants on the shelf for maximum impact. Follow these steps:
- Start with the tallest plants at the back and work your way to the front.
- Group plants with similar care requirements together.
- Step back frequently to assess the arrangement and make adjustments.
Pro Tip: Use plant stands or risers to create varying heights if needed. Warning: Ensure that all plants receive adequate light in their new positions.
Time estimate: 30 minutes.
Step 4: Arrange Your Plants
Editor’s Choice
Linpla 5-Pack Decent Metal Plant Stands, Heavy Duty Flower Pot Stands fo…
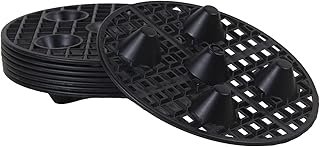
8 PCS Plant Level Pot Elevator, Heavy Duty Plant Stands, Plant Saucer Ri…
Xiaan Jiaju Tuscan Ceramic Plant Pots, 6.11 Inch Vintage Planters with D…
Step 5: Style Your Shelf
Styling adds personality to your plant shelf display. Here’s how to do it:
- Add decorative items like books, candles, or small sculptures between the plants.
- Incorporate some natural elements like stones or driftwood for a cohesive look.
- Keep it balanced; don’t overcrowd the shelf.
Pro Tip: Use colors and textures that complement your plants for a harmonious display. Warning: Avoid cluttering the shelf, which can distract from the plants.
Time estimate: 30 minutes.
Step 5: Style Your Shelf
Editor’s Choice
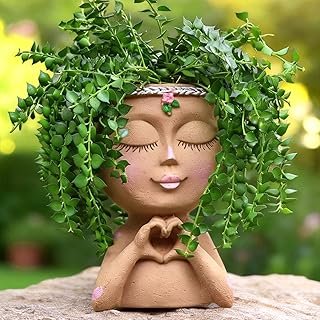
Face Planter Pot with Heart Hands, Resin Head Planter for Indoor Plants,…
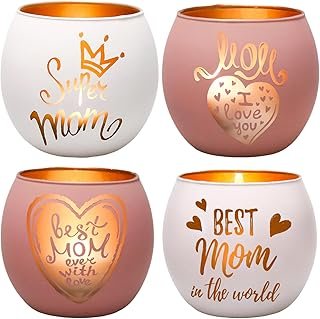
Mother’s Day Glass Candle Holders Set of 4, Best Mom Ever Tealight Holde…
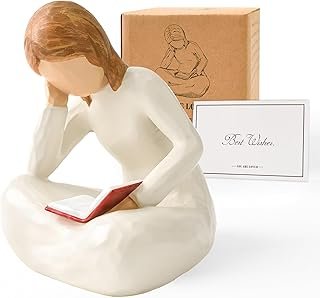
Cuayaes Reading Thinker Statue Book Lover Gifts for Women Readers, Gradu…
Step 6: Water and Care for Your Plants
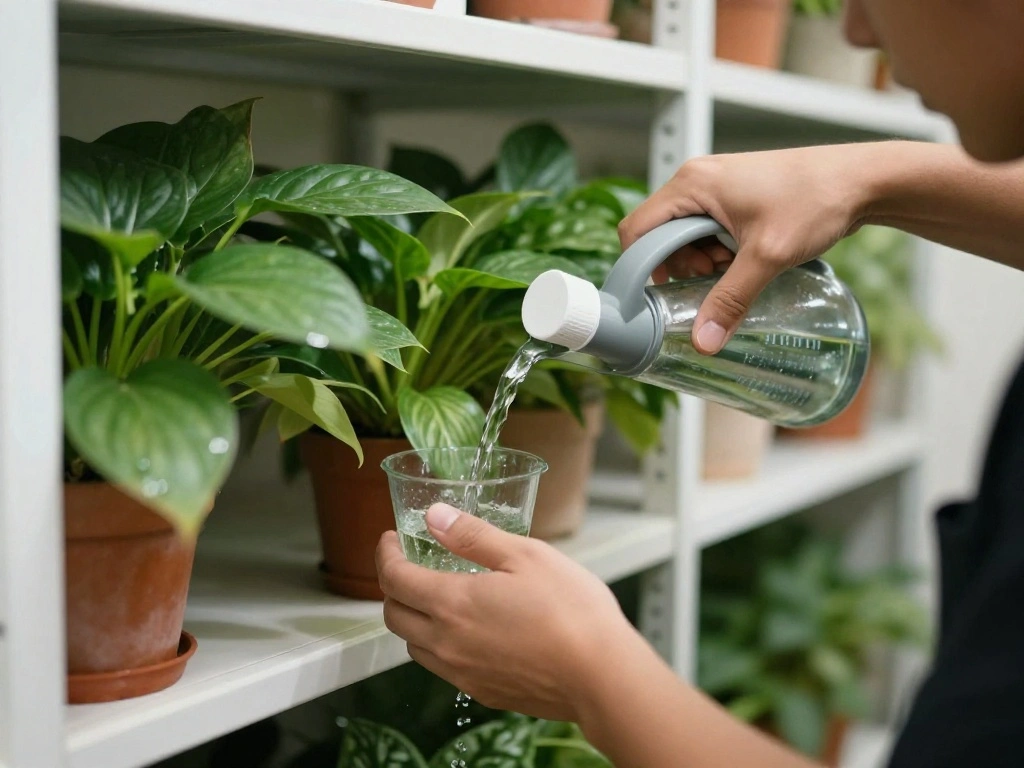
Once your shelf is set up, caring for your plants is essential. Follow these steps:
- Water each plant according to its specific needs.
- Check for pests or diseases regularly.
- Rotate pots periodically to ensure even light exposure.
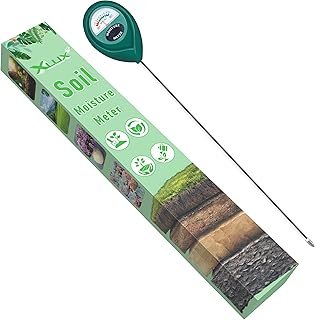
Pro Tip: Use a moisture meter to avoid over or under-watering. Warning: Be cautious not to overwater, as this can cause root rot.
Time estimate: 20 minutes.
Step 6: Water and Care for Your Plants
Editor’s Choice

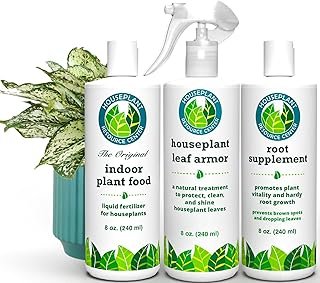
Mighty Mint Gallon (128 oz) Insect and Pest Repellent Peppermint Oil – N…
Step 7: Adjust and Maintain
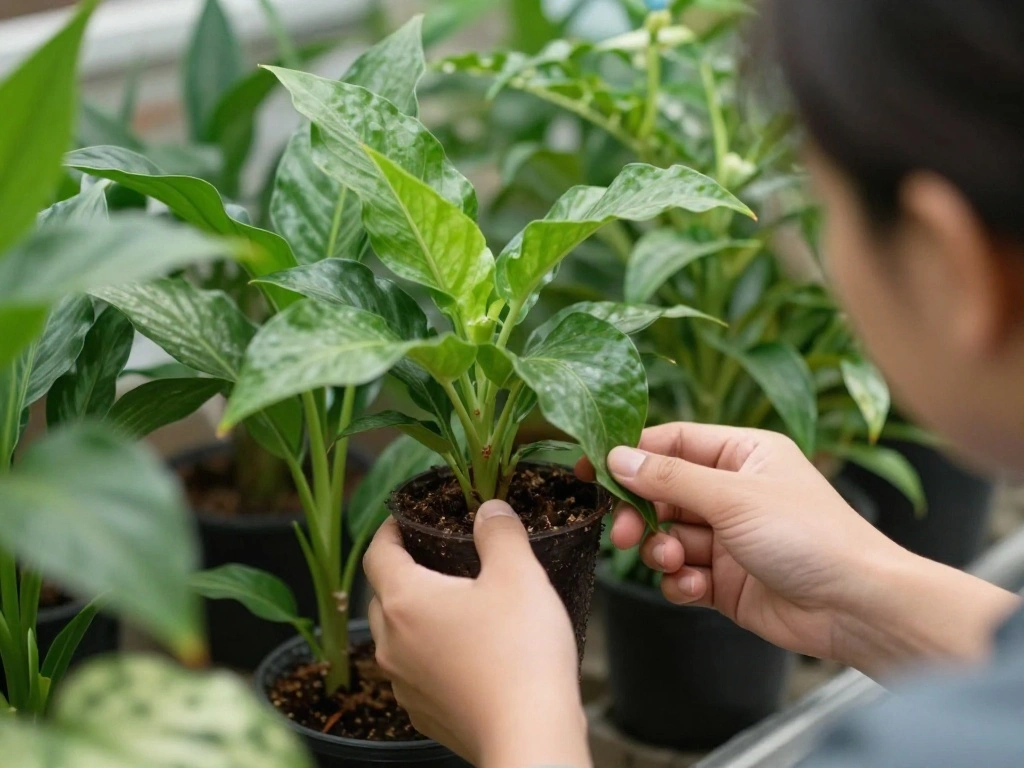
Maintaining your plant shelf is key to keeping it looking fresh. Here’s how:
- Regularly check the health of your plants and adjust care as needed.
- Dust the leaves to keep them clean and healthy.
- Rearrange or replace plants if they outgrow their space.
Pro Tip: Consider seasonal changes; you might want to swap out some plants for seasonal varieties. Warning: Pay attention to signs of stress in your plants, like yellowing leaves.
Time estimate: Ongoing maintenance.
Step 7: Adjust and Maintain
Editor’s Choice
Melphoe 25Pcs Mini Garden Hand Transplanting Succulent Tools Set, 39.4″ …
Patelai 3 Pairs Microfiber Plant Dusting Gloves Leaf Cleaning Gloves for…
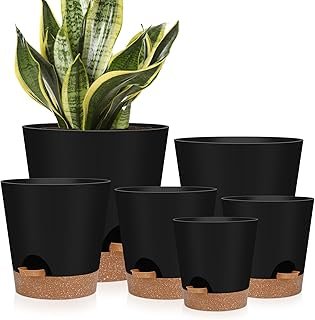
YNNICO Indoor Self Watering Planters with Drainage Holes and Saucers, 8,…
Step 8: Enjoy Your New Space
Congratulations! You’ve created a stunning plant shelf display that brightens your rental apartment. To fully enjoy this new setup:
- Take a moment to appreciate your hard work and the beauty of your plants.
- Share your new display with friends and family.
- Consider expanding your plant collection over time.
Pro Tip: Document your journey with before and after photos! Warning: Don’t forget to enjoy the benefits of your plants, including improved air quality and aesthetics.
Time estimate: 10 minutes to appreciate!
Step 8: Enjoy Your New Space
Editor’s Choice
Melphoe 25Pcs Mini Garden Hand Transplanting Succulent Tools Set, 39.4″ …
Gepege 6 Inch Beaded Ceramic Planter Set of 2 with Drainage Hole and Sau…
Bamworld Plant Stand Indoor Plant Shelf Outdoor Wood Plant Rack for Mult…
Pro Tips
- Plant Pairing: Choose plants that thrive together to minimize care differences.
- Lighting Matters: Ensure your shelf is placed where plants can get adequate light.
- Regular Rotation: Change plant positions every few months to promote growth and even light exposure.
- Minimalist Approach: Less can be more; avoid overcrowding for a cleaner look.
- Use a Schedule: Keep a plant care schedule to remember watering and maintenance tasks.
Pro Tips
Editor’s Choice
Watering Can for Indoor and Outdoor Plants – Long Spout Water Can for Ga…
Aokrean Plant Grow Light, 48 LEDs Full Spectrum Grow Lights for Indoor P…
Bamworld Plant Stand Indoor Plant Shelf Outdoor Wood Plant Rack for Mult…
Common Mistakes to Avoid
Warning: Avoid these common pitfalls when creating your plant shelf display:
- Overwatering: Can lead to root rot; make sure to check soil moisture regularly.
- Ignoring Light Needs: Not all plants thrive in the same light conditions; do your research.
- Cluttered Display: Too many items can overwhelm; aim for balance and simplicity.
Common Mistakes to Avoid
Editor’s Choice
BESTVA 36W Grow Lights with Stand, Full Spectrum LED Plant Light, 12-59 …
XLUX Long Probe Deep Use Soil Moisture Meter, Water Monitor Indicator Se…
Bamworld Plant Stand Indoor Plant Shelf Outdoor Wood Plant Rack for Mult…
Troubleshooting Section
Problem: Leaves are turning yellow.
Solution: Check for overwatering or lack of light; adjust care accordingly.
Problem: Plants are growing leggy.
Solution: They may need more light; move them closer to a window.
Problem: Pests are present.
Solution: Treat with insecticidal soap or neem oil as directed.
Problem: Soil is too dry.
Solution: Water thoroughly and consider adding a humidity tray.
Problem: Plants are not thriving.
Solution: Review care requirements and adjust watering or light exposure.
Troubleshooting Section
Editor’s Choice
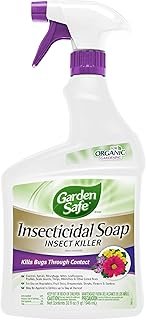
Garden Safe Brand Insecticidal Soap Insect Killer, 32 Fluid Ounces, For …
XLUX Long Probe Deep Use Soil Moisture Meter, Water Monitor Indicator Se…

Bonide Captain Jack’s Neem Oil, 32 oz Ready-to-Use Spray, Multi-Purpose …
Variations/Alternative Methods
If you’re looking for different ways to achieve a plant shelf display, consider these options:
- Open Shelving: Use open shelving units for a modern look; easy access to plants.
- Wall Planters: Attach wall planters to save shelf space; great for small apartments.
- Hanging Plants: Incorporate hanging plants for added dimension and visual interest.
Variations/Alternative Methods
Editor’s Choice
Bamworld Plant Stand Indoor Plant Shelf Outdoor Wood Plant Rack for Mult…
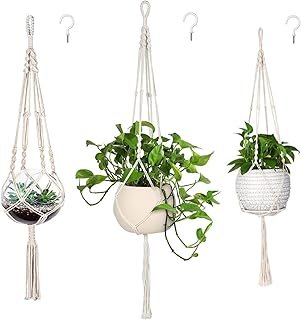
MIPON 3 Pack Macrame Plant Hangers with Hooks – 3 Sizes (34″/41″/46″) Ha…
iDavosic.ly Plant Stand Indoor Outdoor, 5 Tier Corner Metal Flower Displ…
FAQs
- What if I don’t have a lot of natural light? Choose low-light plants like snake plants or ZZ plants.
- How long should I wait to rearrange my plants? Wait at least a few weeks to allow them to acclimate to their new positions.
- Is it safe to use non-draining pots? It’s best to avoid them; always use pots with drainage holes to prevent root rot.
- What if a plant isn’t thriving? Check for pests, light, and watering issues and adjust as needed.
- How can I add more plants later? Gradually introduce new plants that complement your existing selection and space.
FAQs
Editor’s Choice
Costa Farms ZZ Live Plant in Plastic Pot, Easy to Maintain, Air Purifyin…
Xiaan Jiaju Tuscan Ceramic Plant Pots, 6.11 Inch Vintage Planters with D…
Live Snake Plant, Sansevieria trifasciata Laurentii, Fully Rooted Indoor…
Conclusion
Congratulations on completing your plant shelf display! You’ve not only enhanced your living space but also created a relaxing environment filled with life. Enjoy the beauty and benefits that your plants bring. You can continue to expand your collection or even create a theme, like a tropical or succulent shelf, for a new look.
For more inspiration, consider exploring other indoor gardening resources or joining a local plant club. Happy planting, and may your home always be vibrant and green!