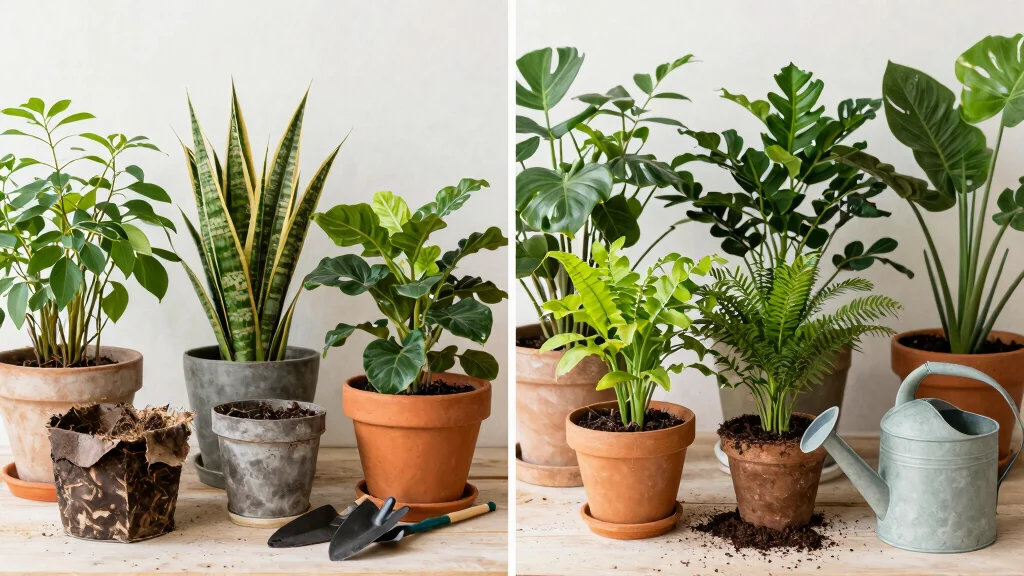
Repotting plants can feel like a daunting task, but seeing the incredible transformation that comes with it can be so rewarding. This post arose from my own fascination with how a simple change of soil and pot can breathe new life into your beloved greenery. If you’ve ever stared at a pot-bound plant, wondering what to do next, you’re in the right place.
If you’re an indoor gardening enthusiast, this blog is tailored just for you. Whether you’re a seasoned plant parent or a newbie trying to keep your houseplants alive, you probably care about maintaining vibrant and healthy plants. Let’s face it: nobody wants a sad-looking houseplant on their shelf! That’s why I’ve put together eight captivating before and after transformations of common indoor plants. Each story illustrates how proper repotting can revive plants, offering practical tips and insights along the way.
In this post, you’ll glean not only visual inspiration but also actionable advice that can elevate your plant care routine. From soil selection to container gardening ideas, you’ll find everything you need to know to successfully repot your houseplants. So, grab your gardening gloves and get ready to dive into the thrilling world of indoor plant repotting!
Key Takeaways
– Understanding the importance of repotting helps you keep your plants healthy and thriving in the right environment.
– Each transformation showcases how a change of pot and soil can dramatically improve a plant’s appearance and health.
– You’ll learn specific houseplant repotting tips to avoid common pitfalls and ensure success.
– Insightful before and after stories illustrate the benefits of proper indoor gardening techniques.
– By following the right plant care routine, you can easily replicate these transformations in your own home.
1. The Pothos Revival
Looking to breathe new life into your pothos? This beloved plant, known for its lush green leaves, thrives best when given room to grow. By repotting, you can transform a droopy, root-bound pothos into a vibrant display of greenery in a larger pot filled with nutrient-rich soil. You’ll enjoy the satisfaction of seeing your plant flourish once again!
Start by gently removing the plant from its current pot and loosening any tightly coiled roots. Choose a pot that’s 2-4 inches larger than the old one to give it space to thrive. Fresh, well-draining soil will ensure that your pothos gets the nutrients it needs.
Key steps to revive your pothos:
– Assess root health to ensure they’re not overcrowded
– Use a nutrient-rich mix for optimal growth
– Select a pot one size larger for better airflow
With a little care, your pothos will transform into a vibrant centerpiece in your home!
“Did you know a pothos can rebound in as little as 2-3 weeks after a pot upgrade? The idea of repotting plant before and after transformation gives roots room to breathe, reviving droopy leaves with fresh, nutrient-rich soil.”
The Pothos Revival
Editor’s Choice
Burpee, 9 Quarts | Premium Organic Potting Natural Soil Mix Food Ideal f…
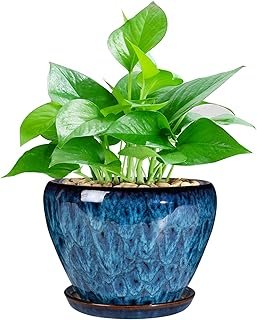
SQOWL 10 Inch Plant Pot – Ceramic Planter Pot with Drainage Hole and Sau…
2. The Snake Plant Makeover
Is your snake plant feeling cramped? These resilient beauties can thrive for years, but even they need occasional repotting to reach their fullest potential. Witness the transformation of a once-stressed snake plant into a striking focal point after being moved to a spacious pot filled with fresh, well-draining soil.
To keep your snake plant healthy, repot it when roots start to peek out from the bottom. A cactus mix works wonders for drainage, helping prevent root rot. Ensure that you only water when the soil is completely dry to maintain its health.
Essential tips for your snake plant:
– Repot when roots are visible beneath the pot
– Choose a well-draining cactus soil for growth
– Water sparingly to prevent overwatering
With these adjustments, your snake plant will flourish, adding a touch of elegance to your space!
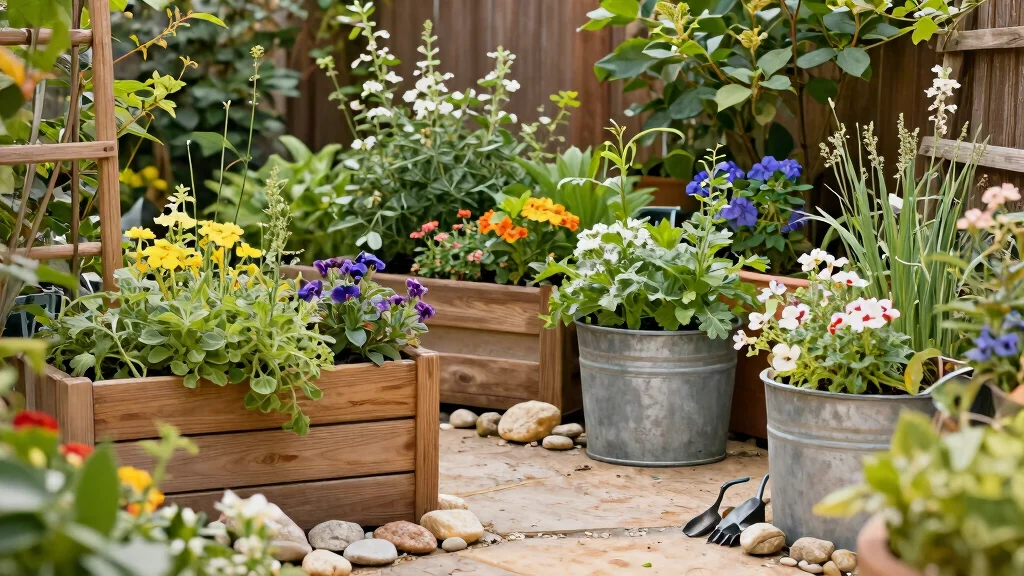
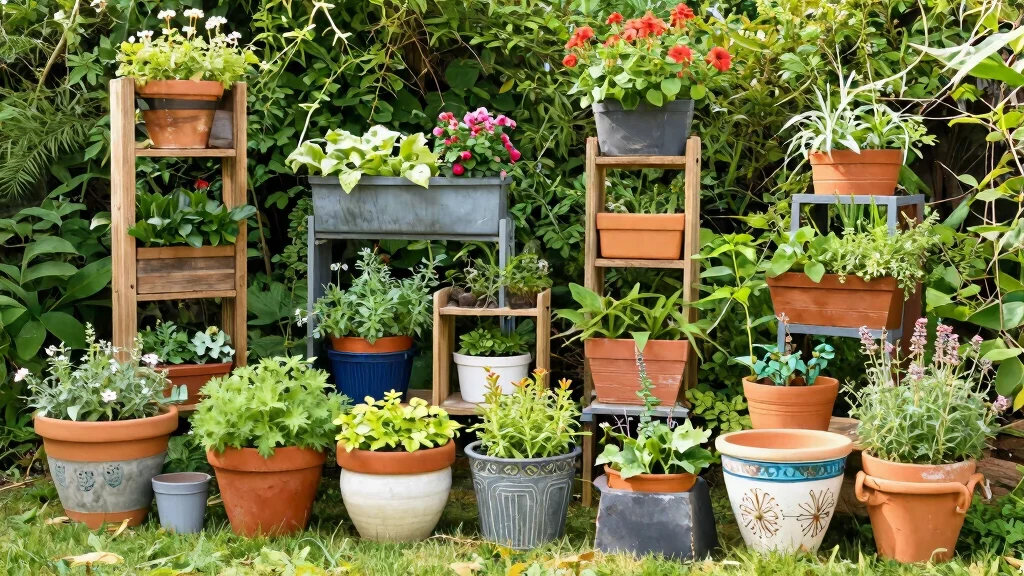
How To Choose The Right Pot for Repotting Your Plants
Repotting your plants can make a significant difference in their health and growth. Choosing the right pot is essential to ensure your houseplants thrive. Here’s how to find the perfect pot for your indoor gardening needs.
1. Size Matters
The size of the pot is crucial. A pot that is too small can restrict root growth, while one that is too large can hold excess moisture, leading to root rot. As a rule of thumb, select a pot that is 1-2 inches larger in diameter than the current pot. This extra space allows your plant to grow without overwhelming it. Make sure to observe how much root growth your plant has had since its last repotting.
2. Material Type
Pots come in various materials like plastic, ceramic, and terracotta. Each has its pros and cons. Plastic pots are lightweight and retain moisture well, while terracotta pots are breathable and encourage faster drying, which is helpful for succulents and cacti. Ceramic pots often combine aesthetics with functionality but can be heavy. Think about your plant’s needs and the aesthetics of your space when choosing the material.
3. Drainage Holes
Good drainage is vital for plant health. Look for pots with drainage holes at the bottom to prevent water from pooling. If you choose a pot without holes, consider using it as a decorative cachepot, but always place a drainage pot inside. This helps keep the roots dry and healthy, reducing the risk of rot.
4. Weight of the Pot
Consider how heavy the pot will be when it’s filled with soil and a plant. Lightweight pots are easier to move, especially if you frequently rearrange your indoor garden. However, heavier pots provide stability for top-heavy plants. Depending on your plant type and your home’s layout, decide what weight is suitable for your needs.
5. Aesthetics and Style
Your pot should complement your home décor. From sleek modern designs to rustic finishes, the right pot adds to your interior style. Choose colors and finishes that match your living space while still being functional for your plants. A beautiful pot can enhance the beauty of your houseplants and make a statement in any room.
6. Budget Considerations
Pots come in various price ranges. Determine your budget before shopping. While inexpensive options are available, investing in a quality pot can benefit your plant in the long run. Look for deals, but prioritize materials that won’t break down easily or damage your plants.
Pro Tip: Always check for the pot’s compatibility with your plant type. Some plants may require specific pot materials or sizes to thrive. If you’re unsure, consult plant care guides or ask at your local garden center for expert advice.
Choosing the right pot for repotting is an essential step in your plant care routine. By considering size, material, drainage, weight, aesthetics, and budget, you can set your plants on the path to flourishing. Happy gardening!
The Snake Plant Makeover
Editor’s Choice
Miracle-Gro Indoor Potting Mix for Cactus and Succulent, Fast-Draining C…
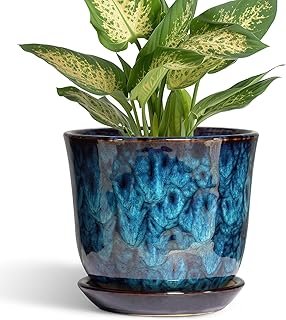
Ceramic Modern Glaze Succulent Planter Pot with Drainage Hole and Saucer…
3. The Peace Lily Transformation
Want to see your peace lily thrive? This stunning plant is famous for its beautiful white blooms, but it can become root-bound if it stays in the same pot for too long. Watch as a once-wilting peace lily transforms into a vibrant showstopper in a larger, more decorative pot filled with moisture-retaining soil.
Keep an eye on your peace lily and repot when roots start to show through the drainage holes. Opt for a potting mix that retains moisture while allowing for drainage, keeping your plant happy and blooming beautifully.
Key insights for your peace lily care:
– Use moisture-retaining soil for optimal hydration
– Repot when roots are visible to boost growth
– Water consistently while avoiding sogginess
After a successful repot, your peace lily will reward you with stunning blooms and lush foliage!
The Peace Lily Transformation
Editor’s Choice
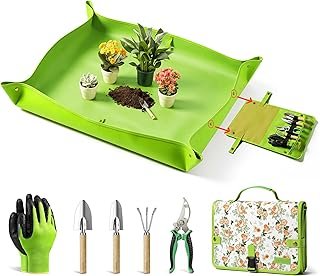
Grenebo 7-Piece Gardening Tools Set, Gift for Women, Beginners, Tools Ki…
5.6 Inch Plant Pot – Ceramic Pots for Plants with Drainage Hole and Sauc…
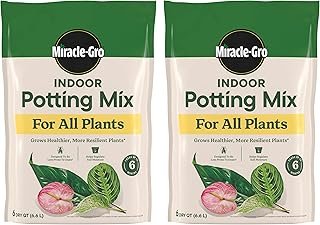
Miracle-Gro Indoor Potting Mix for All Plants, Use with Houseplants and …
4. The Fiddle Leaf Fig Boost
Struggling with a fiddle leaf fig? This trendy plant is a favorite among indoor gardeners, but it needs the right care to flourish. Witness the transformation of a fiddle leaf fig that was battling root rot due to stagnant soil, now standing tall with vibrant leaves after being repotted in a well-draining mix.
When repotting, choose a soil blend designed for tropical plants to encourage healthy growth. Allow the soil to dry out slightly before watering to prevent further issues. Bright, indirect light will make all the difference in keeping your fig happy.
Important steps for fiddle leaf fig care:
– Select a tropical mix rich in organic matter
– Water only when the top inch of soil is dry
– Position in bright, indirect light for optimal health
With the right care, your fiddle leaf fig can become a stunning focal point in any room!
The Fiddle Leaf Fig Boost
Editor’s Choice
DUSPRO Recycle Fiddle Leaf Fig Soil Specialized for Fiddle Leaf Fig Plan…

Soil Sunrise Premium Fiddle Leaf Fig Tree Soil (12 Quarts) – Expert Form…
Professional Fiddle Leaf Fig Soil Mix Ready to Use Extra Large 8.2 Quart…
100% Organic Fiddle Leaf Fig Soil – Optimally-Draining Potting Mix for H…
Premium Fiddle Leaf FIG Soil Mix – Nutrient-Rich, Organic Potting Soil f…
You might also like
5. The Rubber Plant Revival
Is your rubber plant outgrowing its pot? Known for their glossy leaves, rubber plants thrive when given the right space. Witness a rubber plant’s transformation from a cramped environment to a spacious pot, where its roots can thrive and leaves regain their shine.
To repot effectively, choose a container that’s slightly larger than the previous one to encourage growth. A mix of potting soil with perlite will ensure your plant gets the airflow it needs, preventing root problems.
Steps for a successful rubber plant repot:
– Opt for a pot just slightly bigger than the old one
– Use a mix with drainage materials for healthy roots
– Place in bright, indirect light for best results
After repotting, your rubber plant will be a dazzling addition to your indoor garden!
📹 Related Video: How to Repot and Propagate Your Rubber Plant | Ficus Elastica Houseplant
The Rubber Plant Revival
Editor’s Choice
Miracle-Gro Indoor Potting Mix for All Plants, Use with Houseplants and …
Quarut Large Plastic 4 Pack14 inch Plant Pots,Whiskey Barrel Planters wi…
6. The Monstera Miracle
Is your monstera feeling cramped? These unique plants are loved for their dramatic leaves, but they can quickly outgrow their pots. Experience the remarkable change as a once-crowded monstera finds its new home in a spacious pot, allowing its stunning split leaves to flourish like never before.
To keep your monstera thriving, check for root visibility at the pot’s bottom and repot every couple of years. A well-draining mix with organic materials will mimic its natural habitat, promoting healthy growth.
Tips for your monstera’s success:
– Repot every couple of years for optimal growth
– Use a potting mix rich in organic material
– Water thoroughly and allow slight drying between waterings
With these simple tips, your monstera will thrive and become the star of your indoor space!
The Monstera Miracle
Editor’s Choice
6 Pack 6 Inch Terracotta & Clay Pots with Saucer for Plants, Large Terra…
Miracle-Gro Moisture Control Potting Mix – Plant Soil For Container Plan…
7. The ZZ Plant Refresh
Is your ZZ plant overdue for a refresh? These hardy houseplants can thrive in various conditions but still appreciate the benefits of repotting. Watch as a ZZ plant, once cramped in a tiny pot, flourishes in a larger container with a custom soil mix tailored for optimal drainage.
To ensure your ZZ plant thrives, repot when the roots start to emerge from the drainage holes. A cactus mix encourages airflow around the roots, helping to prevent rot and promote growth. While they tolerate low light, brighter areas will support faster growth.
Key points for ZZ plant care:
– Repot when roots are visible or plant looks top-heavy
– Choose a cactus mix for better drainage
– Provide bright light for enhanced growth
With these adjustments, your ZZ plant will thrive and enhance your living space!
If your ZZ plant seems cramped, you’re not imagining it—repotting into a bigger pot with fresh soil can kickstart a stunning transformation. With better drainage and a little care, it goes from tight to thriving—the classic repotting plant before and after transformation in action.
You Might Also Like
The ZZ Plant Refresh
Editor’s Choice
Miracle-Gro Indoor Potting Mix for Cactus and Succulent, Fast-Draining C…
Xiaan Jiaju Tuscan Ceramic Plant Pots, 6.11 Inch Vintage Planters with D…
8. The Spider Plant Makeover
Is your spider plant ready for a makeover? Known for their air-purifying properties and charming spiderettes, these plants can become overpopulated in their pots. Experience the transformation as a crowded spider plant finds new life in a spacious pot, allowing it to spread out and thrive.
To ensure a successful repotting, do it every couple of years or when you notice root congestion. A standard potting mix with added perlite will provide the drainage your spider plant needs while keeping it healthy.
Steps for successful spider plant repotting:
– Repot every couple of years or when overcrowded
– Use a potting mix with good drainage
– Keep the soil moist but avoid sogginess
With these repotting techniques, your spider plant will reward you with vibrant growth and delightful new shoots!
Fun fact: A crowded spider plant doubles in size after a proper repotting—often in 2–3 weeks. The repotting plant before and after transformation gives it a bigger pot and a fresh mix with perlite, boosting growth and spiderette spread.
The Spider Plant Makeover
Editor’s Choice
Miracle-Gro Houseplant Potting Mix – Fertilized Indoor Plant Soil for Co…
Ceramic Modern Glaze Succulent Planter Pot with Drainage Hole and Saucer…
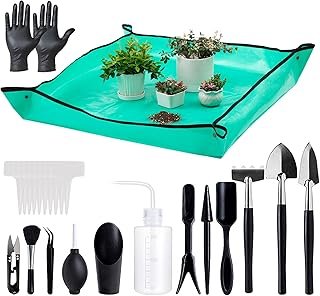
Melphoe 25Pcs Mini Garden Hand Transplanting Succulent Tools Set, 39.4″ …
Conclusion
Repotting is not just about changing pots; it’s an opportunity to breathe new life into your plants.
From pothos to spider plants, each transformation showcases the importance of proper care and soil selection. By following the tips outlined for each plant, you can create a thriving indoor garden full of vibrant life.
Evaluate your plants today; perhaps they too are waiting for their moment to bloom in a fresh pot!
Note: We aim to provide accurate product links, but some may occasionally expire or become unavailable. If this happens, please search directly on Amazon for the product or a suitable alternative.
This post contains Amazon affiliate links, meaning we may earn a small commission if you purchase through our links, at no extra cost to you.
Frequently Asked Questions
What does the before and after transformation look like in repotting plants, and why is it important?
Think of the process as a story of growth: the repotting plant before and after transformation shows how fresh soil, a larger container, and gentle root care can turn a stressed plant into a thriving one.
Common signals it’s time to repot include roots circling the pot, compacted soil that drains slowly, or a plant that dries out quickly after watering. When you repot, choose a pot about 1-2 inches larger in diameter, use a well-draining soil mix, and loosen tangled roots carefully.
Aftercare matters too: water lightly, place in bright indirect light, and monitor for new growth in the first weeks. This repotting plant before and after transformation approach helps you plan better, track progress, and keep indoor gardening techniques practical.
What are the essential houseplant repotting tips for beginners?
For beginners, start with a simple checklist: houseplant repotting tips you can actually use. First, confirm repotting is needed (rootbound, soil degraded, growth slowing). Choose a pot with drainage and a soil mix appropriate for the plant (well-draining for succulents, airy mix for leafy tropicals). Gently remove the plant, tease out roots, trim dead or damaged roots, and place it in the new pot so the top of the root ball sits about 1 inch below the rim. Water lightly after potting and keep in bright, indirect light for a few days to reduce stress. Over the next weeks, resume regular watering and follow your plant care routine. This approach aligns with common indoor gardening techniques and practical container gardening ideas.
Which soil and containers work best for indoor plants during repotting?
Most indoor plants do well with a light, well-draining soil mix—think standard potting soil amended with perlite or bark. The keyword soil selection for plants should guide your choices. For plants that hate soggy roots, use a grittier mix; for tropicals, a richer mix with organic matter works better. When picking containers, always ensure drainage holes. Options include plastic, terracotta, or glazed ceramic. For added style and practicality, explore container gardening ideas like decorative pots with saucers or self-watering containers. After repotting, monitor soil moisture and avoid overwatering for a smoother transition, a key part of indoor gardening techniques.
How can I plan a plant care routine around repotting and aftercare?
Plan a simple plant care routine around repotting: Day of repotting — place in appropriate light and avoid fertilizing for 2-4 weeks; Week 1 — water only when the top inch of soil is dry; Weeks 2-4 — resume regular watering and rotate the plant for even growth. Monthly checks help catch any root issues or signs of stress, and seasonal adjustments (like higher humidity for tropicals) keep growth steady. This plant care routine fits well with indoor gardening techniques and makes repotting a predictable, rewarding part of your indoor garden.
What are common mistakes during repotting and how can you fix them?
Common mistakes include overpotting (choosing a pot too large), damaging roots during removal, using old soil that compacts, and overwatering right after repotting. Fixes: pick a pot only 1-2 inches larger, gently loosen and trim roots, use fresh well-draining soil, ensure drainage, and water lightly for the first week before resuming normal watering. Maintain a simple plant care routine and observe light, moisture, and drainage conditions. This approach aligns with solid indoor gardening techniques for healthy, thriving indoor plants.
Related Topics
repotting plants
before and after”,
houseplant care
indoor gardening
soil selection
plant transformation
easy repotting
container gardening
gardening tips
beginner friendly
plant care routine