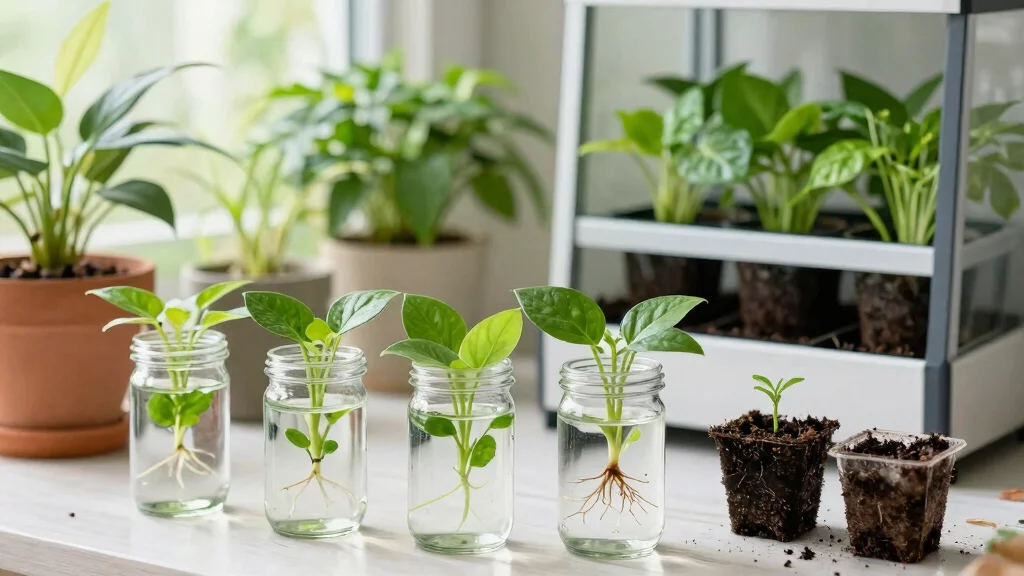
Gardening has become a popular hobby for many, and if you’ve been thinking about adding some greenery to your indoor space, now is the perfect time to start. The thrill of watching a plant grow, thrive, and even multiply can be incredibly satisfying. This post is all about helping you get there, especially if you’re a beginner. I want to share some easy plants to propagate that will not only enhance your home but also boost your confidence as a gardener.
If you’re someone who loves the idea of bringing nature into your living space but feels a bit intimidated by plant care, you’re in the right place. This guide is tailored specifically for beginners who want to learn about indoor plants propagation. It’s designed for those who may have little to no experience but are eager to dive in. By the end of this post, you’ll have step-by-step instructions on how to propagate seven popular plants, all chosen for their ease of care and propagation.
Get ready to discover how you can effortlessly multiply your indoor garden with these beginner-friendly plants. You’ll gain the knowledge and skills to nurture them from cuttings to flourishing new plants. Each section will break down the process, making it super simple for you to follow along and enjoy your new gardening adventure.
Key Takeaways
– Discover seven easy plants to propagate, perfect for beginner gardeners looking to expand their indoor gardens.
– Learn step-by-step plant care techniques that simplify the propagation process, ensuring your success.
– Find out the best methods for propagating each plant, helping you to feel more confident in your gardening abilities.
– Understand the importance of patience and regular care, which are essential to nurturing your new plants as they grow.
– Gain practical tips on how to create the ideal environment for propagation, making it easier to achieve great results.
1. Pothos
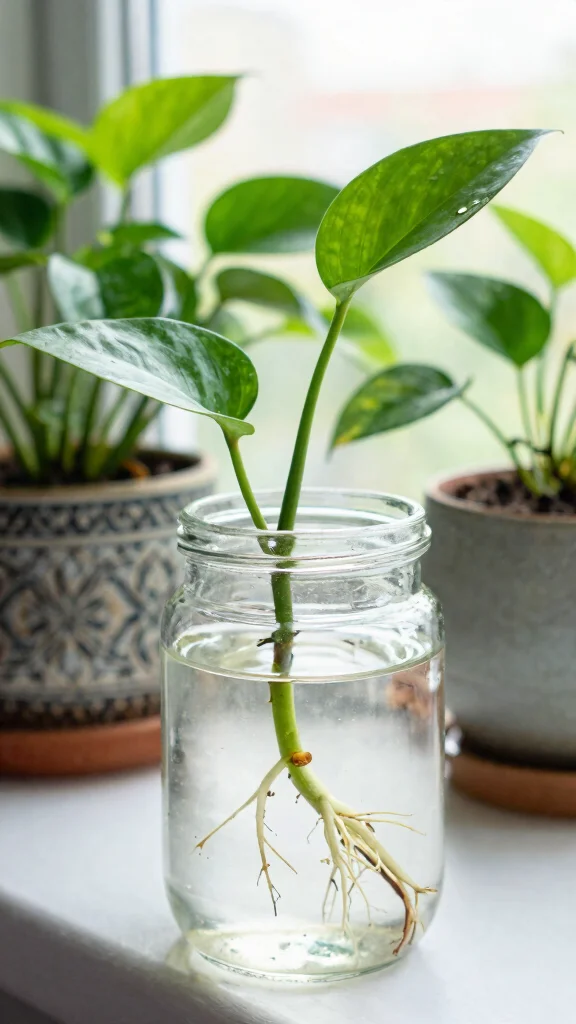
Pothos is the go-to plant for anyone just starting out. With its stunning heart-shaped leaves, it not only enhances your space but is also a breeze to propagate. Simply snip a cutting with a couple of leaves and pop it in water. In no time, you’ll witness tiny roots sprouting, ready to settle into soil.
To get started, pick a healthy stem and make your cut right below a node. Place that cutting in a jar of water, ensuring the node is submerged for optimal growth. Keep it in a warm, bright area, but away from harsh sun, and remember to change the water weekly.
Steps to propagate Pothos:
– Cut just below a node on a healthy stem
– Submerge the node in water
– Position in a warm spot, avoiding direct sunlight
– Change the water weekly and wait for roots!
Once your roots grow a few inches, transfer your Pothos to a pot with well-draining soil. This resilient plant thrives on neglect, making it perfect for those with busy lifestyles!
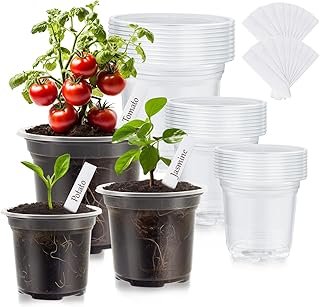
Recommended Products

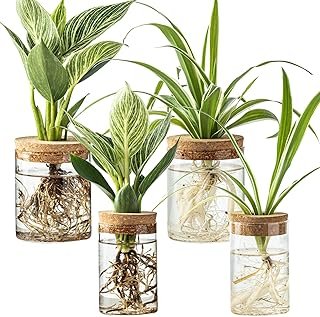
Effortless Propagation and Maintenance: Our Plant Propagation Station simplifies growing and rooting plant cuttings. With no assembly required, you can start cultivating your favorite plants immediately. The design makes water changes easy and convenient, ensuring your plants stay healthy and vibrant

🌿 SUPERCHARGE YOUR PLANT GROWTH. Make more plants from your favorites! Designed to stimulate rapid root growth, reduce transplant shock, and prevent root rot, this special formula helps cuttings establish faster and grow into resilient, vibrant plants with stronger stems and more leaves.

THE ULTIMATE ROOTING BOOSTER: Specially formulated with all-natural rooting hormone and vitamins, our propagation drops dramatically speed up root development and strengthen plants at every stage, from delicate cuttings to mature houseplants.
Pothos
Editor’s Choice
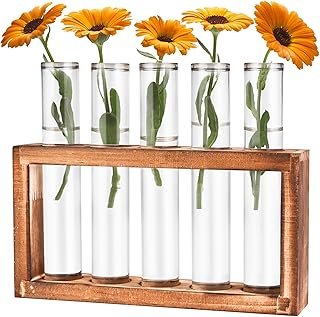
Tigvio Desktop Glass Plant Propagation Station with 5 Test Tubes in Wood…
Miracle-Gro Moisture Control Potting Mix – Plant Soil For Container Plan…
2. Spider Plant
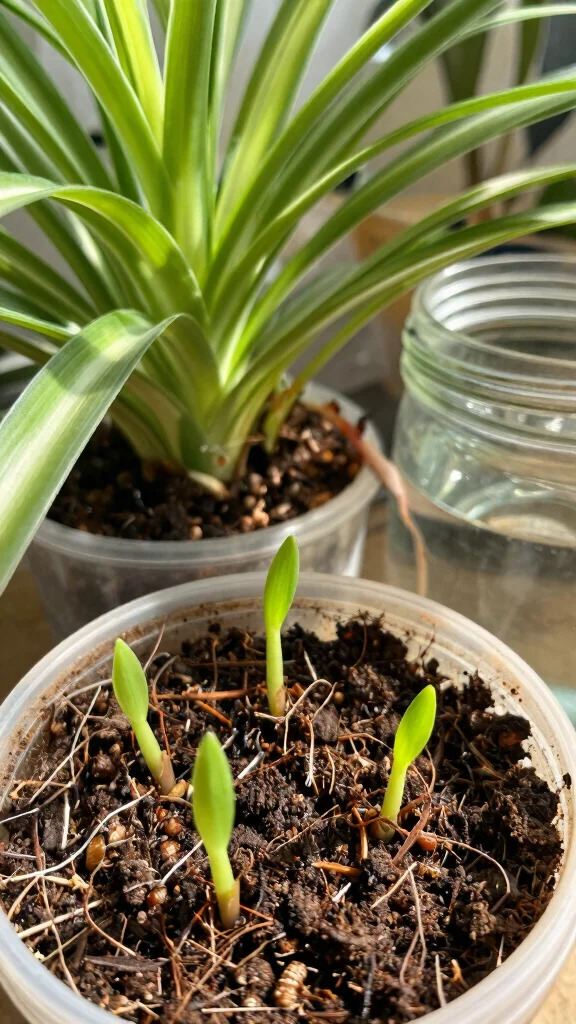
Spider plants are charming and easy-going, making them a fantastic choice for beginners. They produce adorable little offshoots or ‘babies’ that you can propagate with minimal effort.
Wait for your spider plant to grow offshoots that are a few inches long, then gently detach them while ensuring they have some roots. You can either plant them in moist potting soil or return them to water until they grow stronger roots.
Steps to propagate Spider Plants:
– Wait for offshoots to grow a few inches
– Separate the baby plant, keeping roots intact
– Plant in moist soil or return to water
– Water regularly, avoiding overwatering
These vibrant plants thrive in bright, indirect light, adding a lovely touch of greenery to your home!
Fun fact: Spider plants throw baby offshoots that can root in water or moist soil in just a few weeks. Watch for offshoots several inches long, then gently detach with roots and plant or settle them in water to grow.
Recommended Products


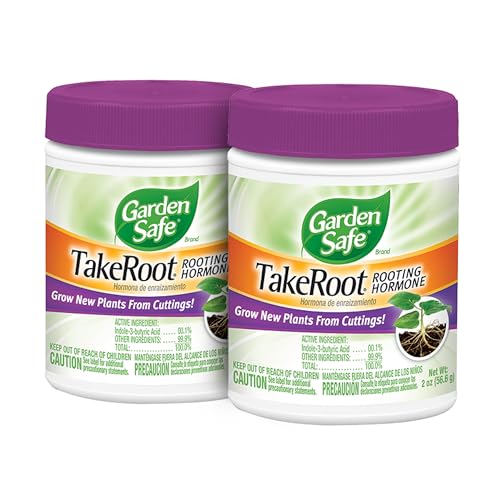
PROMOTES ROOTING: Rooting hormone grows new plants from cuttings
Spider Plant
Editor’s Choice
Watering Can Indoor for House Plants Small Watering cans with Long Spout…
Tigvio Desktop Glass Plant Propagation Station with 5 Test Tubes in Wood…
Burpee, 9 Quarts | Premium Organic Potting Natural Soil Mix Food Ideal f…
3. Succulents
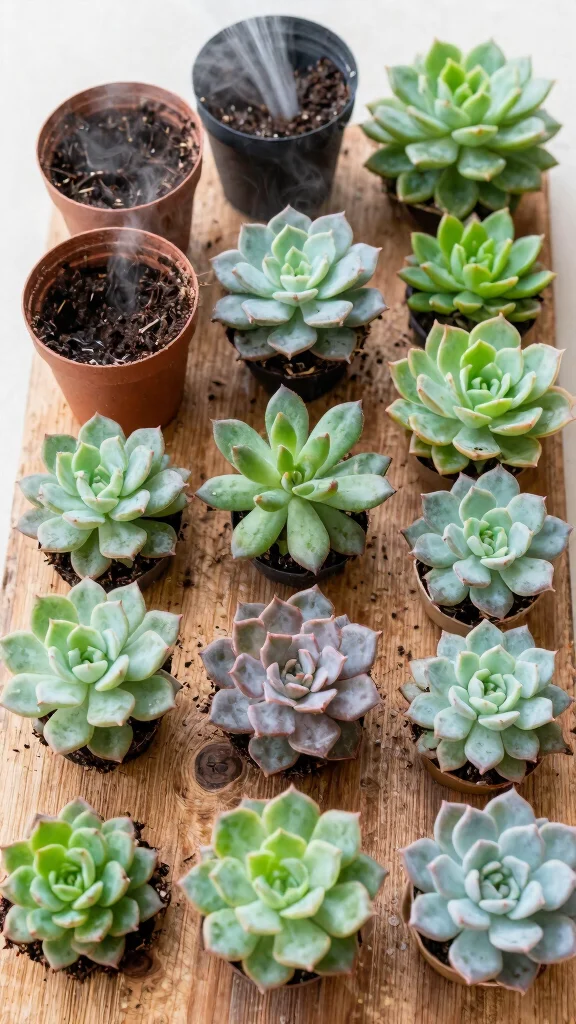
Succulents are not only trendy but also a joy to propagate. Their thick, fleshy leaves store water, making them forgiving if you occasionally forget to water them.
Select a healthy leaf or stem cutting, and let it sit on a dry surface for a few days until the cut end calluses. After that, place it on soil and lightly mist it to encourage moisture. Keep the soil slightly moist and in a bright location.
Steps to propagate Succulents:
– Choose a healthy leaf or stem cutting
– Allow the cut end to callus for a few days
– Place on soil and mist lightly
– Keep soil slightly moist until roots develop
With their unique shapes and colors, succulents will undoubtedly add an artistic flair to your indoor plant collection!
Recommended Products

Premium Borosilicate Glass Plant Propagation Stations for Superior Durability & Clarity:Crafted from high-quality, heat-resistant borosilicate glass, these propagation vases ensure long-lasting use and crystal-clear visibility for healthy root growth.sizes: Large (3.34" x 3.9") or Small (2.55" x 3.9")—perfect for any plant type or space.

【Plant Propagation Station】This minimalist and stylish planter terrarium works well for propagating house plant cuttings. Each large-capacity propagation jar provides plenty of space for rooting plants, allowing you to observe the growth process and enjoy the fun of plant care

Multiple Combinations: including 24 plastic plant cultivation bottles, 24 perforated wooden plugs, 24 thank you tags, and 16.4 ft/ 5 m hemp rope, which can meet your various plant needs and are suitable for plant lovers; The transparent material can observe the growth of plants and changes in water levels, and the appropriate size also provides space for plant growth
How To Choose Indoor Plants to Propagate for Beginners
When starting your gardening journey, picking the right plants for propagation can be exciting yet challenging. Here are some key factors to consider to ensure you choose indoor plants that make your experience smooth and successful.
1. Ease of Propagation:
Look for plants that are known for being easy to propagate. Some favorites include Pothos and Spider Plants. These varieties often root quickly and require minimal care, making them perfect for beginners.
2. Growth Rate:
Select plants that grow at a moderate pace. Fast-growing plants can be more forgiving with mistakes as they quickly bounce back. On the other hand, slow growers might require more patience and attention.
3. Light Requirements:
Consider the light conditions in your home. Some plants thrive in low light, while others need bright, indirect light. Understand your space’s light availability and choose plants accordingly. For instance, ZZ Plants are excellent for low-light areas.
4. Size and Space:
Think about the size of the plants and the space you have available. If you’re limited on space, smaller plants like succulents or small Philodendrons are ideal. Larger plants may require more room to grow and spread out.
5. Health and Resilience:
Opt for healthy plants that show no signs of pest damage or disease. A resilient plant will make the propagation process easier. Before purchasing, examine the leaves and stems for any discoloration or spots.
6. Personal Preference:
Choose plants that you genuinely find appealing. If you love the look of a particular plant, you’ll be more motivated to care for it. This enthusiasm can make your propagation journey enjoyable and rewarding.
Pro Tip:
Start with just a couple of plants rather than overwhelming yourself. This allows you to focus on learning the propagation techniques without feeling stressed. Once you have a handle on those, you can expand your indoor garden!
Recommended Products

FAST ROOT GROWTH: Supports strong root formation for plant cuttings and propagation projects. This concentrated rooting solution helps encourage faster root development so new cuttings establish more quickly and grow into healthier plants with stronger stems and fuller leaves

POWERFUL ROOTING HORMONE FOR CUTTINGS: Our propagation drops feature a scientifically balanced blend of Indole-3-Butyric Acid (IBA) and vitamins to dramatically accelerate root cell division. Perfect for Pothos, Monstera, and Philodendron—top searched houseplants—it delivers faster, denser root growth than traditional gels or powders, making it ideal for plant cuttings propagation.
Succulents
Editor’s Choice
XLUX Long Probe Deep Use Soil Moisture Meter, Water Monitor Indicator Se…
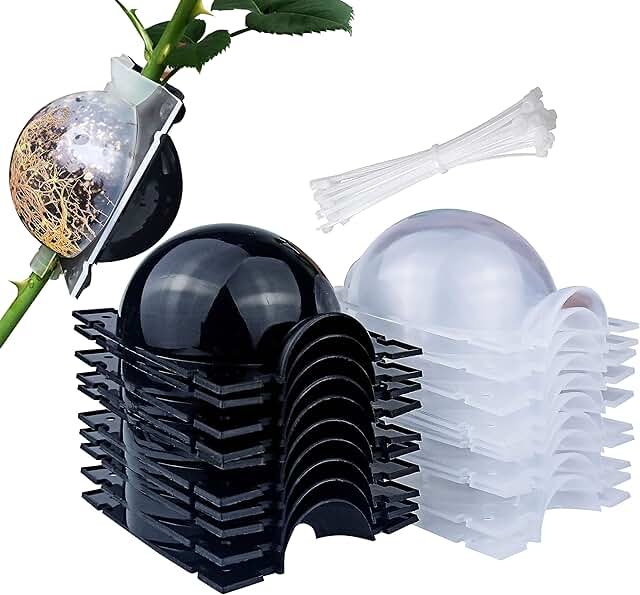
MIIIM 10 PCS Air Layering Propagation Kit with Zip Ties, Reusable Half T…
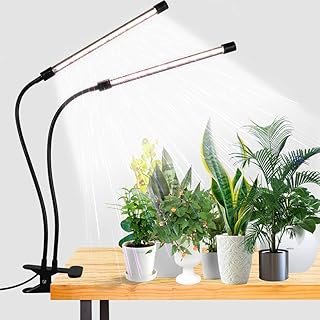
GooingTop LED Grow Light,6000K Full Spectrum Clip Plant Growing Lamp wit…
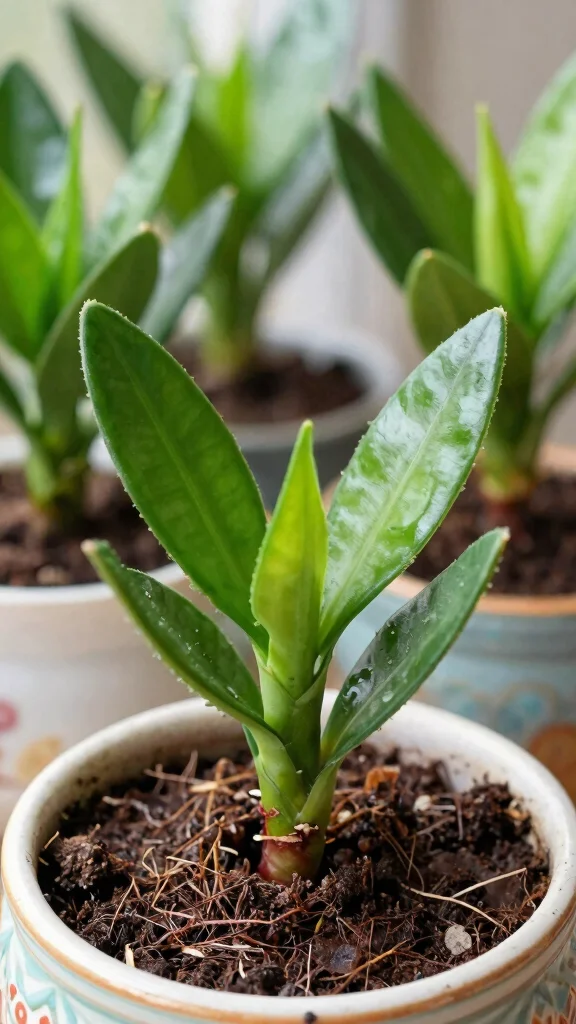
4. Philodendron
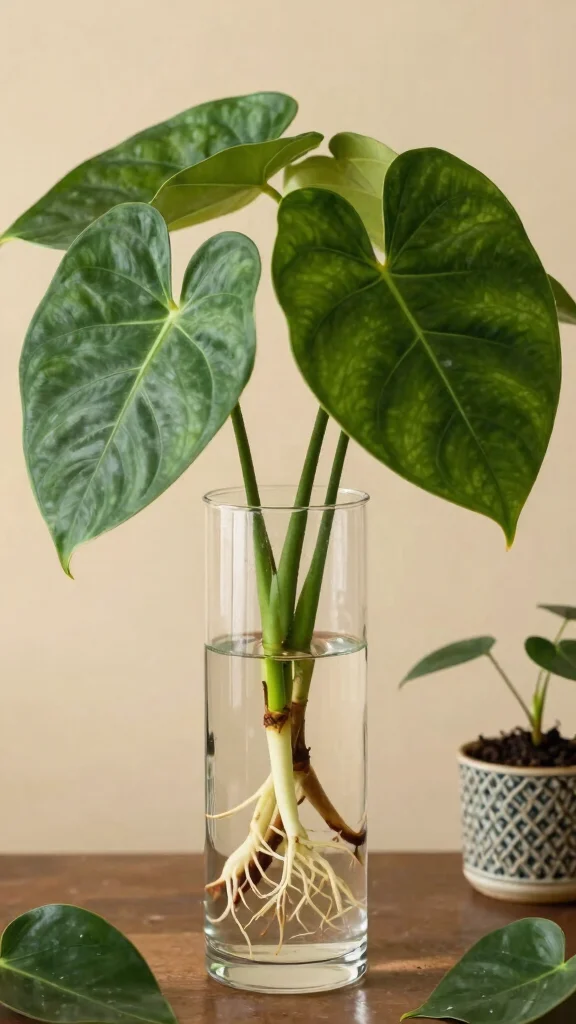
Philodendrons are loved for their vibrant foliage and ease of care, making them ideal for propagation. With just a few steps, you can create healthy new plants that will flourish in your home.
Start by cutting a stem that has at least two nodes and two leaves. Place your cutting in water, ensuring the nodes are submerged, and change the water weekly while keeping it in bright, indirect light.
Steps to propagate Philodendron:
– Cut a stem with two nodes and leaves
– Submerge nodes in water
– Change water weekly in bright light
– Transfer to soil once roots develop
These plants adapt well to various indoor conditions, making them a fun addition to your plant family!
For beginners, philodendrons are some of the easiest plants to propagate. Clip a two-node stem, submerge the nodes in water, and refresh it weekly under bright indirect light for healthy roots.
Recommended Products

What You Receive: One set contains 300 packs square nursery pots for plants. These plant pots for plants, suitable for both indoor and outdoor use, cater to a wide range of plant species, including succulents, flowers, herbs, and various potted plants.

2lb Value Pack: Includes 2 lb of lightweight leca clay pebbles for plants in mixed sizes ranging from approximately 4 mm to 16 mm. The varied particle sizes fit small and medium pots, hydroponic net pots, orchid containers, and propagation jars. A resealable bag keeps unused pebbles clean, dry, and organized between uses.

High Quality and Durable - Our Gardzen Clear Seed Start Trays are made from premium plastic material, ensuring long-lasting use for all your seed starting needs. These trays are designed to withstand daily wear and tear, making them perfect for avid gardeners.
You might also like

Philodendron
Editor’s Choice
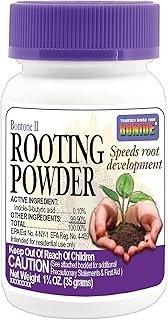
Bonide Bontone II Rooting Powder, 1.25 oz Ready-to-Use Dust for Housepla…
Glass Plant Propagation Stations for Plants – Set of 4(2 Large & 2 Sma…
5. ZZ Plant
ZZ Plants are famous for their striking glossy leaves and incredible resilience, making them perfect for new plant enthusiasts. They thrive even in dimly lit spaces, adding a vibrant touch to any corner of your home.
To propagate, take a cutting from a healthy stem, ideally with a few leaves. Allow it to dry for a day, then plant it in well-draining soil and water slightly. Position it in indirect light and only water when the soil feels dry.
Steps to propagate ZZ Plants:
– Take a healthy stem cutting
– Let it dry to callus for a day
– Plant in well-draining soil
– Water when the soil is dry
These plants endure low-light conditions and require minimal care, making them a great choice for anyone new to indoor gardening.
Recommended Products

Root hormone for cuttings are perfect for the propagation of indoor and outdoor plants

PLANT CARE FOR PROPAGATION: Our plant propagation drops are designed for plant cuttings and newly potted plants, making them a convenient addition to everyday plant propagation and routine plant care. Ideal as prop drops for indoor and outdoor gardening projects
📹 Related Video: #95 3 Easy Ways to Propagate ZZ PLANT from Cuttings | Zamioculcas Zamiifolias Propagation
ZZ Plant
Editor’s Choice
Miracle-Gro Moisture Control Potting Mix – Plant Soil For Container Plan…
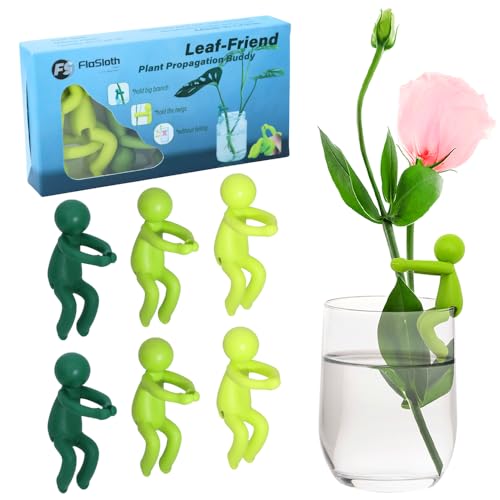
Plant Propagation Buddy – Plant Cutting Holders for Sprouts, Stems & S…
6. Snake Plant
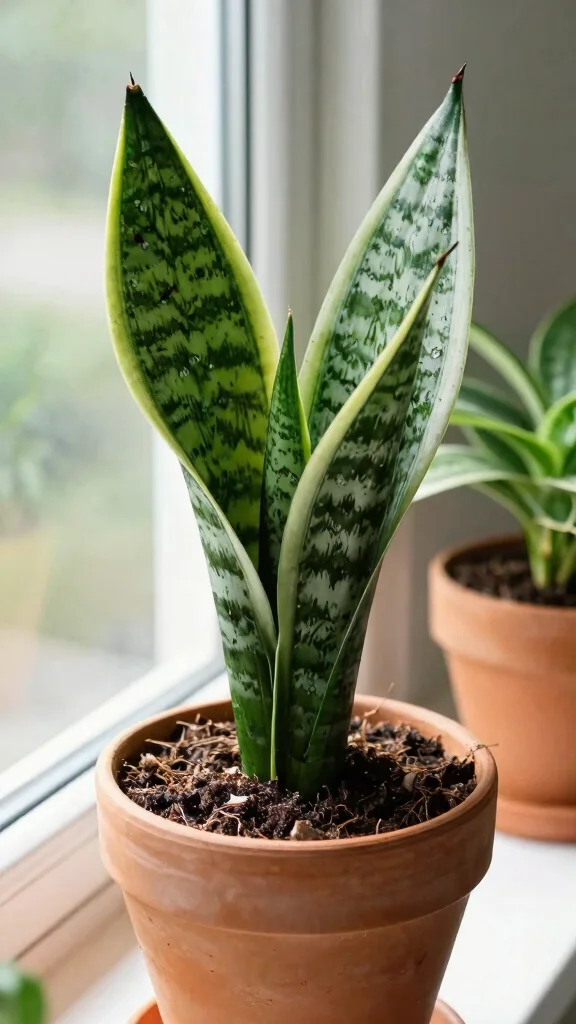
Snake plants are among the toughest indoor plants available, making them perfect for beginners. Their sleek, upright leaves bring a touch of elegance to any area, and propagating them is straightforward.
Choose a healthy leaf and cut it into sections about 4-6 inches long. Allow the cut ends to dry for a couple of days to form a callus. Plant the cuttings upright in dry, well-draining soil and water sparingly until you see growth.
Steps to propagate Snake Plants:
– Cut a healthy leaf into sections
– Allow cut ends to dry for 2 days
– Plant cuttings upright in dry soil
– Water sparingly until growth appears
These stunning plants not only purify the air but also require very little maintenance, making them ideal for busy or forgetful gardeners!
Fun fact: 4–6 inch snake plant leaf cuttings reliably root after a dry callus. Plant upright in dry, well-draining soil and water sparingly to see new growth in weeks. This simple method is a go-to in the world of plants to propagate for beginners.
Recommended Products

A Must for Gardening Enthusiasts: Whether a plant enthusiast, gardening hobbyist, or you simply want to enjoy a fun, educational activity with the little ones, the Bloomify succulents growing trays are an excellent choice for ensuring perfect results every time!

What You Will Receive: the package comes with 2 packs of bonsai humidity trays, you can use them to hold bonsai tree, cactus, succulents and more houseplants for moisture and drainage, the bonsai tray can also provide protection for your furniture, meeting your daily use needs and bringing your life much more convenience

What You Receive: One set contains 250 packs square nursery pots for plants. These plant pots for plants,suitable for both indoor and outdoor use, cater to a wide range of plant species, including succulents, flowers, herbs, and various potted plants.
Snake Plant
Editor’s Choice
30 Packs Clear Nursery Pots for Plants, 3.5/4/5 Inch High Transparency P…
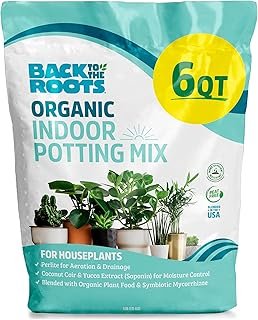
Back to the Roots 100% Organic Indoor Potting Mix (6 Quart), Promotes He…

Fiskars Bypass Pruning Shears, 5/8″ Cut Capacity Gardening Scissors, Sel…
7. African Violet
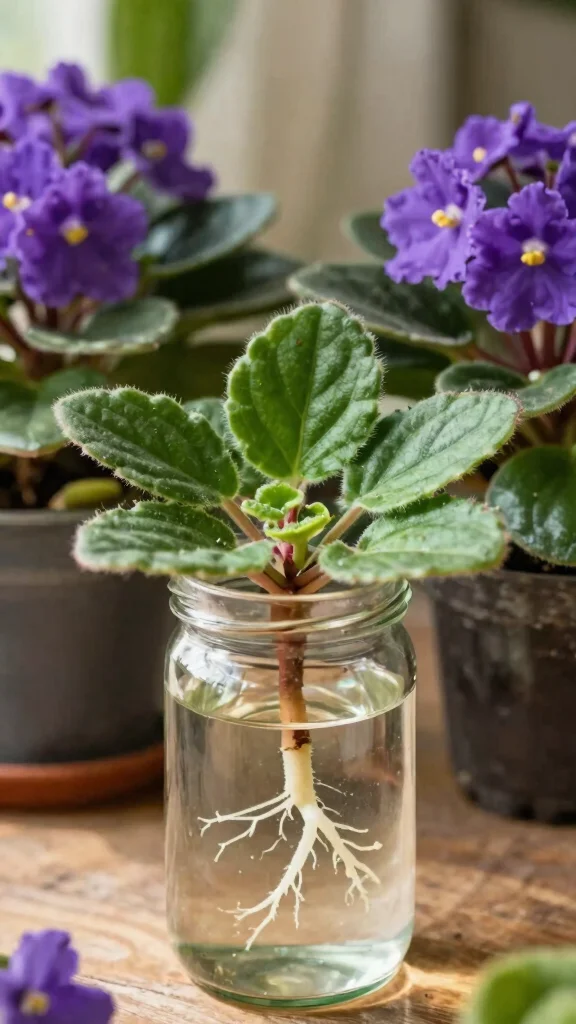
African Violets are cherished for their colorful flowers and soft leaves, making them a delightful addition to any home. Although propagating them is slightly different, the effort is well worth it for their beautiful blooms.
Start by selecting a healthy leaf and cutting it with about an inch of stem attached. Place the cutting in water with the leaf above water and the stem submerged. Position it in bright, indirect light, changing the water weekly.
Steps to propagate African Violets:
– Cut a healthy leaf with stem
– Place cutting in water, leaf above
– Keep in bright, indirect light
– Change water weekly until roots form
With a little care, your African Violet will reward you with vibrant blooms, adding a splash of color and joy to your indoor garden!
African Violet
Editor’s Choice
The Houseplant Handbook: An A-Z Guide to Indoor Plant Care: Light, Water…
TIHOOD 30PCS/Set Mini Garden Hand Transplanting Succulent Tools Set, 19….

HANDLANDY Gardening Gloves for Women, Breathable Ladies Leather Garden Y…
Conclusion
Propagation is a rewarding journey that adds to the joy of indoor gardening, especially for beginners. With these seven plants, you can enjoy a mini garden of your own while developing your green thumb. Remember, each plant has its unique requirements, so taking your time and observing their growth will help you become a more confident gardener. Have fun experimenting and don’t hesitate to share your propagation success stories!
Happy planting!
Note: We aim to provide accurate product links, but some may occasionally expire or become unavailable. If this happens, please search directly on Amazon for the product or a suitable alternative.
This post contains Amazon affiliate links, meaning we may earn a small commission if you purchase through our links, at no extra cost to you.
Frequently Asked Questions
What are the easiest indoor plants to propagate for beginners?
If you’re just starting, look for easy plants to propagate and build confidence with plants to propagate for beginners indoors. Great options include pothos, philodendron, spider plant, and snake plant pups. To start: cut a healthy stem just below a node, remove lower leaves, and place the cutting in water or moist soil. Keep it in bright, indirect light and monitor moisture. Change water every few days if propagating in water. Roots usually appear in 2–6 weeks, then you can transplant. This hands-on approach is a cornerstone of beginner gardening tips and plant propagation techniques that work well for homes and offices.
What supplies do I need to start propagating indoor plants as a beginner?
Getting organized with the right tools makes all the difference. For indoor plants propagation beginners, gather: clean scissors or pruning shears, fresh potting mix or a dedicated propagation substrate, clear containers or jars for water propagation, a marker for labeling, and optional rooting hormone. A plastic bag or humidity dome helps maintain moisture for cuttings. Having these items supports smooth, step-by-step propagation and fits well with step by step plant care routines.
Should I propagate in water or soil for beginners, and why?
Water propagation is forgiving and visually rewarding, making it a great starting point for beginner gardening tips. Steps: take a healthy cutting, remove bottom leaves, submerge the cut end in clean water, place in bright, indirect light, and wait for roots to form. Soil propagation, on the other hand, can be more resilient and reduces transplant shock for some species. Steps: dip the cut end in rooting hormone (optional), plant in moist potting mix, keep evenly moist, and provide bright but indirect light. Either method is valid and aligns with practical plant propagation techniques for beginner gardening tips.
How can I care for newly propagated cuttings to maximize rooting success?
Consistent care is key. Keep cuttings in bright, indirect light and maintain humidity—humidity helps plants release new roots. Avoid direct sun that can scorch fresh cuttings, and keep the medium evenly moist without waterlogging. If you’re using water propagation, refresh the water every few days to prevent stagnation. For soil, monitor moisture and use a breathable potting mix. Regularly inspect for healthy growth and remove any leaves that yellow or rot. This practical approach embodies step by step plant care and plant propagation techniques that beginners rely on.
How long does propagation take and when should I transplant new roots?
Root development timelines vary by plant, but most indoor cuttings start showing roots within 2–6 weeks. You’ll know it’s time to transplant when the roots are clearly established and a new growth shoot appears. Transplant gently into a slightly larger pot with fresh potting mix, then water and place in bright, indirect light. Gradually acclimate the plant to normal indoor conditions. Following these timelines helps ensure successful indoor plants propagation and reinforces plant propagation techniques that beginners can master.
Recommended Products

Crab Decor: This plant support features a red crab design, adding a touch of fun style to plants

EASY & EFFECTIVE PLANT PROPAGATION - Effortlessly propagate plant cuttings and stems with secure support for faster root growth. Perfect for beginners and plant lovers!
【Essential Support for Growing Plants】Our plant propagation buddy provides crucial support for tender sprouts, stems, and cuttings. Perfect as a plant cutting holder or plant stem support, it’s an essential addition to your house plant accessories for healthy growth.
Related Topics
indoor plants
plant propagation
beginner gardening
easy plants
step by step care
plant care techniques
houseplant tips
propagation methods
beginner friendly
gardening for beginners
indoor gardening
low maintenance plants