
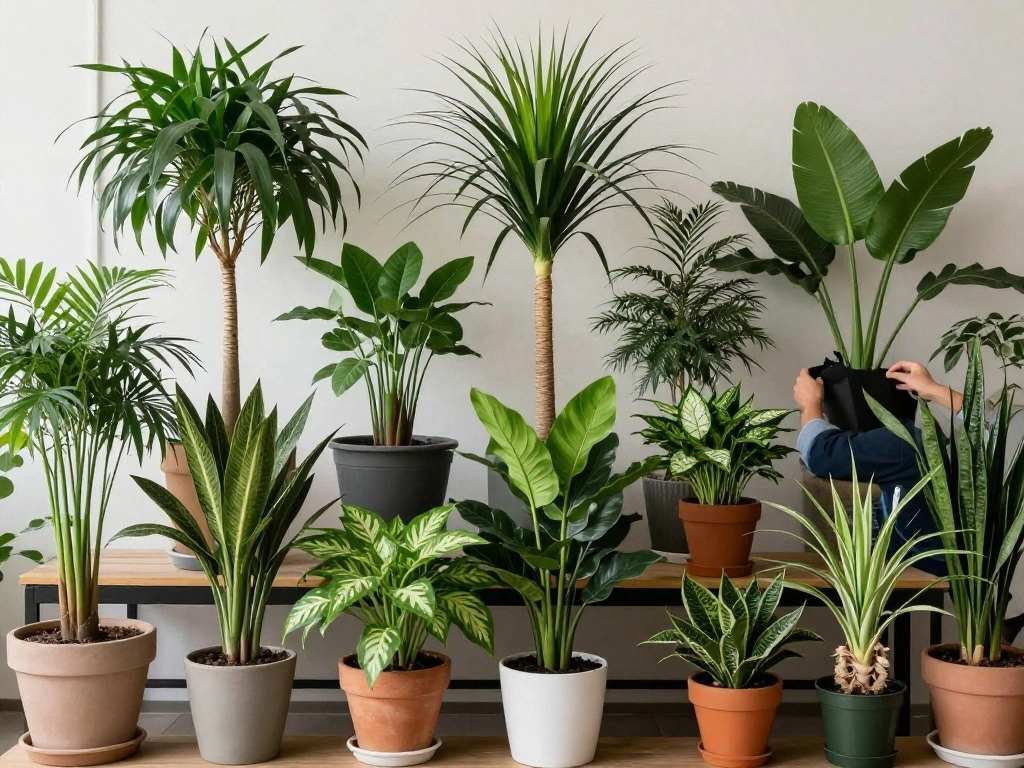
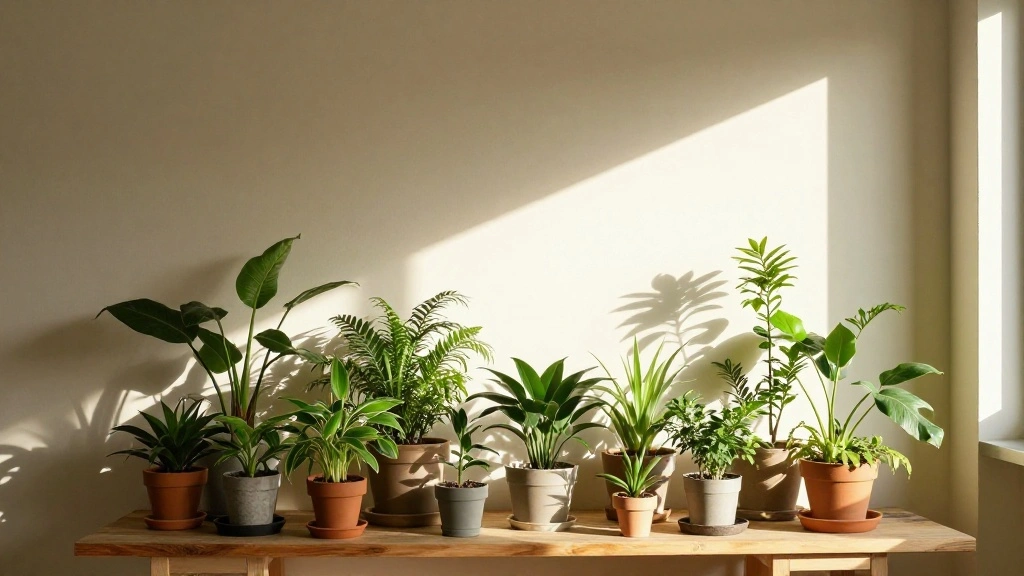
Are you struggling to make the most out of your small space? If you love plants but feel limited by your living area, you’re not alone. The good news is that you can create an attractive and dynamic plant display without sacrificing valuable floor space. By layering plants at different heights, you can transform your area into a lush, green oasis.
In this guide, you will learn how to effectively layer plants, maximizing your space while ensuring each plant gets the light and attention it deserves. We will cover essential tips for selecting the right plants, arranging them in a visually appealing manner, and maintaining their health in a confined environment.
This process is beginner-friendly and will take approximately 1-2 hours to complete. You will walk away with a beautifully organized plant display that enhances your home’s aesthetic. Let’s get started!
TL;DR Summary
- Layering plants adds depth and interest in small spaces.
- Choose plants of varying heights for effective layering.
- Utilize shelves, plant stands, and hanging options to save space.
- Regularly maintain and rotate plants for optimal growth.
Recommended Products

Adjustable Width Plant Stand: This Indoor Plant Stand adjustable from 8 to 12 inches in width, which allowing you to place plant pots of different sizes; The adjustable plant stand has 2 height displays, you can switch heights by flipping the stand over

【𝐒𝐭𝐫𝐨𝐧𝐠 𝐒𝐮𝐩𝐩𝐨𝐫𝐭, 𝐍𝐨 𝐖𝐨𝐛𝐛𝐥𝐢𝐧𝐠】 This wall plant holder is built with solid metal and holds up to 100 lbs with ease. Its steady design prevents wobbling, ensuring secure placement and dependable, long-lasting support for your favorite greenery

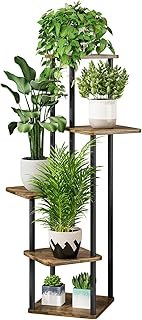
Customizable & DIY Plant Shelves: This flower stand is made up of 4 independent flower stands. You can mix it up as you want. That means you can assemble your own unique flower stand and enjoy the fun of creation.
TL;DR Summary
Editor’s Choice
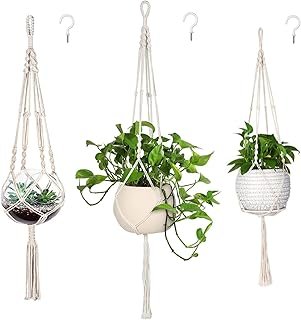
MIPON 3 Pack Macrame Plant Hangers with Hooks – 3 Sizes (34″/41″/46″) Ha…

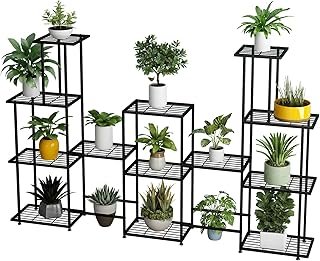
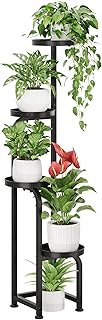
5-Tier Metal Plant Stand – Heavy Duty Indoor Outdoor Flower Shelf for Mu…
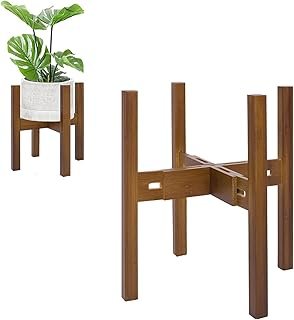
Rnined Adjustable Plant Stand Indoor,Bamboo Mid Century Modern Plants St…
Prerequisites/Materials Needed
- Plants: Choose 3-5 varieties of different heights (e.g., tall, medium, short)
- Plant stands or shelves: At least 1-2, depending on your space
- Hanging planters: Optional, for additional vertical space
- Potting soil: Sufficient for repotting if needed
- Watering can: For plant maintenance
Recommended Products

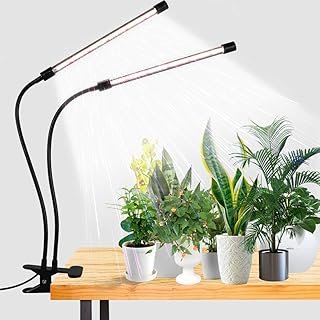
【𝐏𝐥𝐚𝐧𝐭 𝐒𝐭𝐚𝐧𝐝 𝐰𝐢𝐭𝐡 𝐆𝐫𝐨𝐰 𝐋𝐢𝐠𝐡𝐭𝐬】No more moving your plants around to chase the sunlight! comes with 2 energy-efficient LED grow lights that keep your plants happy year-round. Choose from 3 timer settings (3/9/12H) and 10 brightness levels to match each plant’s needs. With 3 light modes — Full Spectrum (natural sunlight), Red & Blue, and Mixed — you can support every stage of growth, from seedlings to blooming

【𝐒𝐢𝐦𝐩𝐥𝐞 𝐀𝐬𝐬𝐞𝐦𝐛𝐥𝐲 𝐢𝐧 𝐌𝐢𝐧𝐮𝐭𝐞𝐬】Everything you need is included in the box, such as expansion screws and clear, easy-to-follow instructions. Mounting this wall plant hanger takes just 2 screws, allowing for a fast setup and a secure, reliable display

Durable Material and Robust Connection : We use sturdy metal material with substantial weight, ensuring reliability and durability. Threaded joints are employed for solid connections, guaranteeing the product maintains its solidity after assembly. No worries about insufficient material or poor connections.
Prerequisites/Materials Needed
Editor’s Choice
Twhep Tall Multi Tier Plant Stand, 13 Tiers Multifunctional Plant Stands…
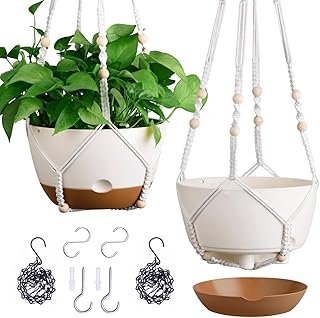
Set of 2-10 Inch Hanging Planters for Indoor Plants with Self-Watering I…
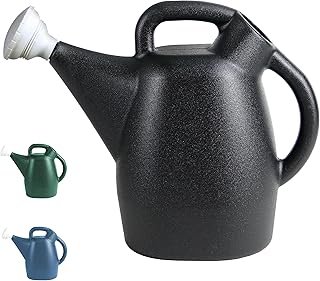
Chapin 47998 Watering Can, 2 Gallon, Indoor and Outdoor Plants, Lawn, Ga…
Skill Level & Time Estimate
Skill Level: beginner
Total time estimate: 1-2 hours
Breakdown: Planning (30 minutes), Plant Selection (30 minutes), Arrangement (30 minutes), Maintenance (30 minutes)
Recommended Products

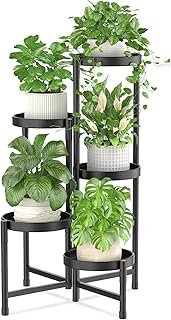
【Indoor Plant stand】: Raised your lively plants in an higher place and settled it in your corner, made it attractive and eye-catching in your home. Tiered plant stand indoor in simple and natural design is suitable for all kinds of small spaces, placed in your bedroom, living room, sofa corner, hallway, and turns your boring small space into a vibrant and elegant scenery. It's widely used indoor with movable wheels.

【Indoor Plant stand】: Raised your lively plants in an higher place and settled it in your corner, made it attractive and eye-catching in your home. Tiered plant stand indoor in simple and natural design is suitable for all kinds of small spaces, placed in your bedroom, living room, sofa corner, hallway, and turns your boring small space into a vibrant and elegant scenery. It's widely used indoor with movable wheels.

【Premium Material】 -- Our plant stand is made of metal with novel iron paint, which can be used indoor or ontdoor. The base of the plant shelf is more stable and durable than most wooden ones.
Skill Level & Time Estimate
Editor’s Choice

Meberam 2 Pack 6x3x1FT Galvanized Raised Garden Beds Kit Outdoor Metal G…
Rnined Adjustable Plant Stand Indoor,Bamboo Mid Century Modern Plants St…
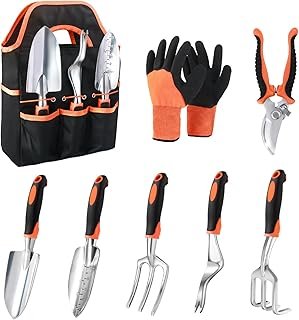
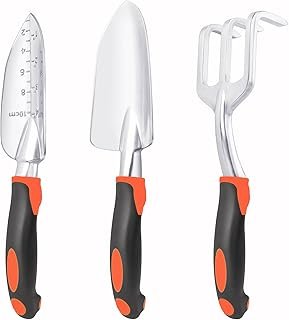
Garden Tools Set, 8 Piece Gardening Tools Set with Non Slip Ergonomic Ha…
Step 1: Assess Your Space

Begin by evaluating your available space. Measure the area where you want to place your plants. Consider the light conditions, as some plants require more sunlight than others.
- Grab a measuring tape and determine the dimensions of your intended plant area.
- Note any sources of natural light, such as windows or skylights.
- Consider the aesthetic you want to achieve—do you prefer a jungle vibe or a minimalist look?
Pro Tip: Take photos of your space for reference. This helps visualize placements later.
Why this matters: Understanding your space ensures you choose plants that will thrive.
Time estimate: 15-20 minutes
Recommended Products

Practical and Durable Plant Stand: Made of 100% pure metal, smooth and burr-free, easy to maintain and wipe. Anti-rust spraying process, strong and durable. Grid layout, uniform load bearing, not easy to deform. The base is widened to make full use of the space. The round foot pads can not only prevent the ground from being scratched, but also maintain the balance of the plant stand.

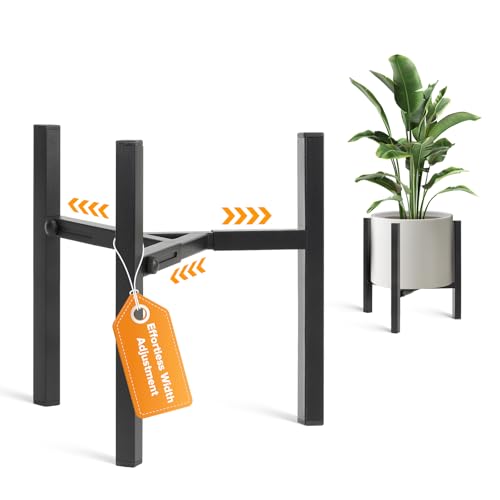
Adjustable Width Plant Stand: Easily expands from 8 to 12 inches to fit various pot sizes. Perfect for small or large planters, offering a clean, balanced, and stylish plant display for any space
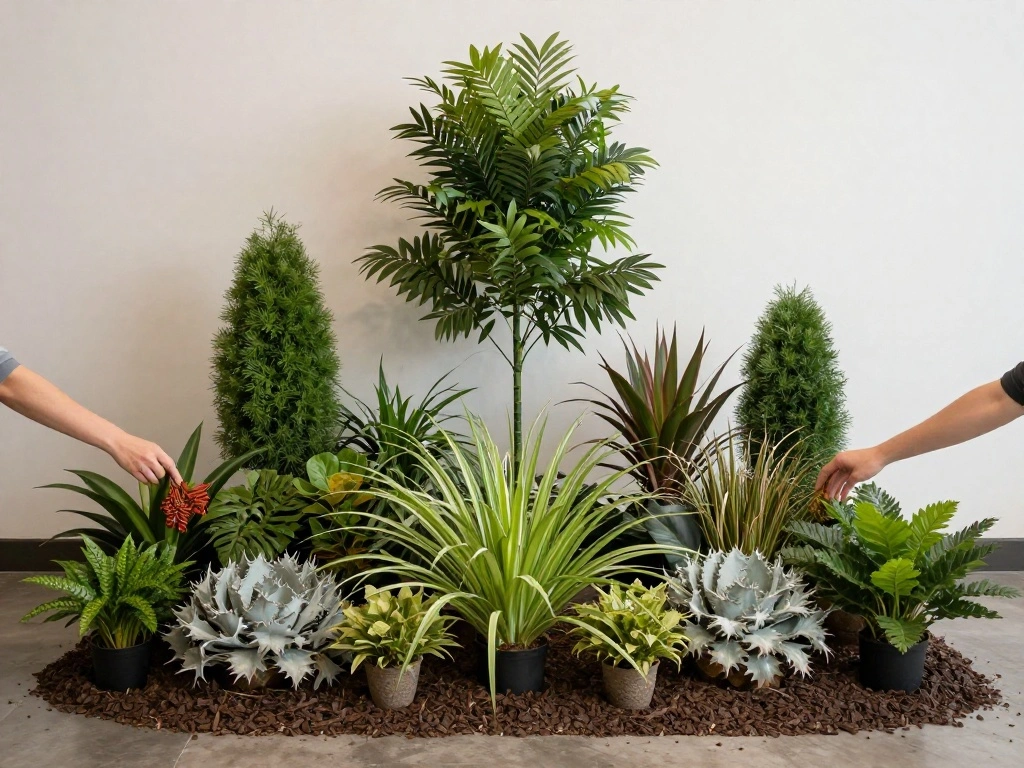
Step 2: Choose Your Plants
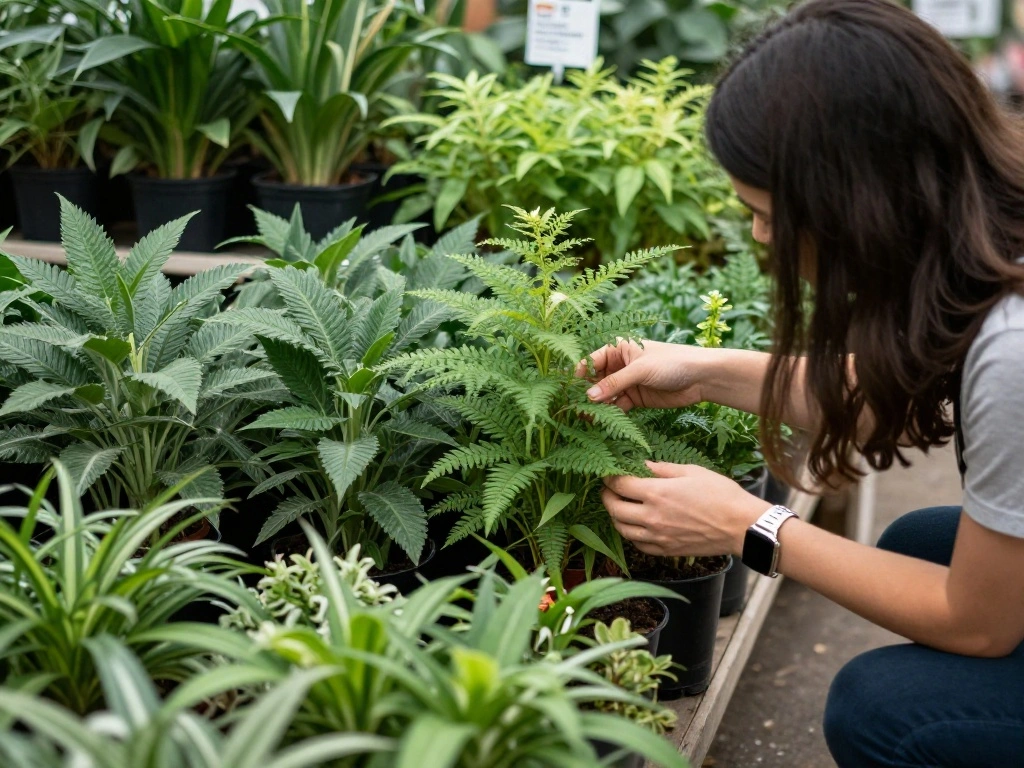
Select a variety of plants that vary in height and care needs. This diversity creates visual interest and allows for better layering.
- Research plants that suit your environment (e.g., low light, humidity levels).
- Choose at least one tall plant (e.g., snake plant), a medium plant (e.g., pothos), and a few shorter plants (e.g., succulents).
- Purchase plants from a reputable nursery or garden center.
Pro Tip: Consider plants with trailing vines for dramatic effect.
Why this matters: Selecting the right plants is crucial for a successful layered look.
Time estimate: 20-30 minutes
Recommended Products


[Small Floating Shelves] - Set of 4 small wall shelves with 2 types of installation: up or down, each small shelf size is 5"L x 5"D x 1.57"H.

Boho Window Plant Hanger:Turn your boring windows into vibrant showcases! Our window shelf for plants is ideal for turning any window sill into a lively plant haven. Let the sunshine in and watch your plants thrive in style
Step 2: Choose Your Plants
Editor’s Choice
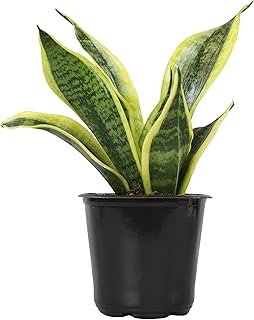
Altman Plants Live Snake Plant (Superba), Approx. 13″ Tall, Virtually In…
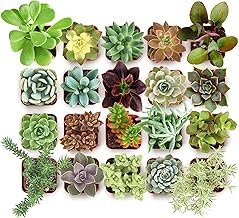
Shop Succulents Collectors Succulent Plant Pack Collection – Live Mini S…
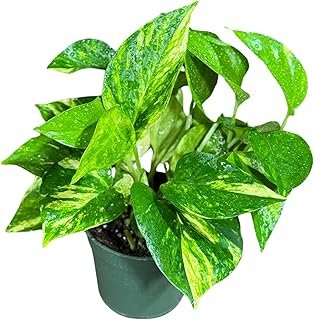
PLANTVERS Golden Pothos in a 4″ Nursery Pot – Epipremnum Aureum – Li…
Step 3: Plan Your Layout
Create a plan for how you want to arrange your plants. Visualizing the layout helps avoid overcrowding and ensures each plant gets sufficient light.
- Sketch out your space on a piece of paper, indicating where each plant will go.
- Use different shapes or colors to represent varying plant heights.
- Consider using vertical space by incorporating shelves or hanging options.
Pro Tip: Use painter’s tape to mark plant positions on the floor as a guide.
Why this matters: A well-thought-out layout promotes healthy plant growth and aesthetic appeal.
Time estimate: 20-30 minutes
Recommended Products

【𝐄𝐚𝐬𝐲 𝟓-𝐌𝐢𝐧𝐮𝐭𝐞 𝐀𝐬𝐬𝐞𝐦𝐛𝐥𝐲】No tools, no screws, no stress—just follow the clear manual to set up your plant stand indoor in minutes. The quick and simple process saves effort, letting you enjoy a sturdy and orderly display right away

[Space-Saving Design]: Our 2-pack corner plant stand is perfect for small spaces, featuring 47 "tall 6 tiered plant shelves and 4 hanging hooks to maximize vertical space. This plant stand indoor can help you arrange multiple plants neatly, turning a cluttered plant arrangement into a beautiful organized display.

Upgraded Shelf with Grow Light: The indoor plant stand after upgrading, the partition shelves more wider for large pots or placing more pots. Unique design capable of saving space while allowing each layer of plants to get plenty of sunlight and we also provide grown light for indoor plant allowing your plants to receive more energy.
Step 3: Plan Your Layout
Editor’s Choice
AZERPIAN Plant Stand 5 Tier Indoor Metal Flower Shelf for Multiple Plant…

4 Rolls Premium Painters Tape, Blue Tape, Masking Tape, Paint Tape for M…
Set of 2-10 Inch Hanging Planters for Indoor Plants with Self-Watering I…
Step 4: Gather Your Supplies
Once you have your plants and layout planned, gather all necessary supplies for planting and arranging.
- Collect your plants, pots, and any stands or shelves.
- Prepare potting soil and watering can.
- Ensure you have tools like scissors or plant ties if needed.
Pro Tip: Keep all supplies organized in one spot to streamline the process.
Why this matters: Having everything ready prevents interruptions and keeps the process smooth.
Time estimate: 10-15 minutes
Recommended Products

Self Watering Pot: Cotton rope in the tall self watering planter for indoor plants absorb water from bottom and keep the soil moist. Plant wick pots store water can feed plants for two weeks or more. It makes your travel or business trip an big ease! Plants Not Included!

Decorate Your Warm Home- This attractive and unique Hanging Skull Planter shows off your potted plants, while saving you more space on your patio. Our Hanging Skull Planter is designed with great attention to details and adorned with paisley accents, bringing an interesting decoration to your home. You can hang on your plants on your outdoor patio wall with this Hanging Skull Planter while creating a festive condition for your planter growth.

🌷【Outdoor Artificial Flowers】🌷These 22 bundles of outdoor artificial flowers boast a lifelike appearance, perfect for adorning your outdoor courtyard or garden, as well as enhancing the ambiance of your indoor living spaces. They can embellish any corner of your home while maintaining their blooming appearance for an extended duration, fostering a more natural and comfortable atmosphere for your family or visiting guests.
Step 4: Gather Your Supplies
Editor’s Choice
Bamworld Tall Plant Stand Indoor Outdoor, Corner Metal Flower Pot Stands…
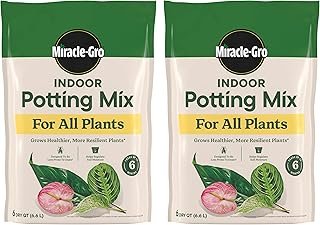
Miracle-Gro Indoor Potting Mix for All Plants, Use with Houseplants and …
Garden Tools Set, 3 Pack Heavy Duty Gardening Tools Set Include Garden S…
Step 5: Arrange Your Plants
Now it’s time to arrange your plants according to your layout. Focus on placing taller plants at the back or on higher shelves.
- Start with the tallest plants and position them first.
- Fill in with medium-height plants, placing them in front or on adjacent shelves.
- Finally, add shorter plants at the front, ensuring all plants are visible.
Pro Tip: Adjust plant positions as needed to create balance.
Why this matters: An effective arrangement maximizes light exposure and visual appeal.
Time estimate: 30 minutes
Step 5: Arrange Your Plants
Editor’s Choice
8 Plant Elevators, Heavy Duty Plant Stands, Saucer Riser for Indoor/Outd…
iDavosic.ly Plant Stand Indoor Outdoor, 5 Tier Corner Metal Flower Displ…
Bamworld Tall Plant Stand Indoor Outdoor, Corner Metal Flower Pot Stands…
Step 6: Secure and Stabilize Plants

Stabilize your plants to prevent them from tipping over, especially if using shelves or stands.
- If using pots, ensure they have drainage holes and are stable.
- Use decorative rocks or pebbles in pots for added weight.
- For taller plants, consider using plant ties or supports if needed.
Pro Tip: Check the stability of each plant after arranging.
Why this matters: Ensuring stability prevents accidents and maintains your design.
Time estimate: 15-20 minutes
Step 6: Secure and Stabilize Plants
Editor’s Choice
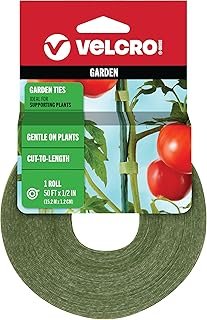
VELCRO Brand VEL-30071-USA ONE-WRAP Garden Ties | Plant Supports for Eff…

FUIJOL 4/5/6/7 Inch Clear Nursery Pots for Plants with Sacuers 20 Pack, …

6lbs Mix Horticultural Lava Rocks for Plants, 3/8 Inch Potting Soil Amen…
Step 7: Water Your Plants
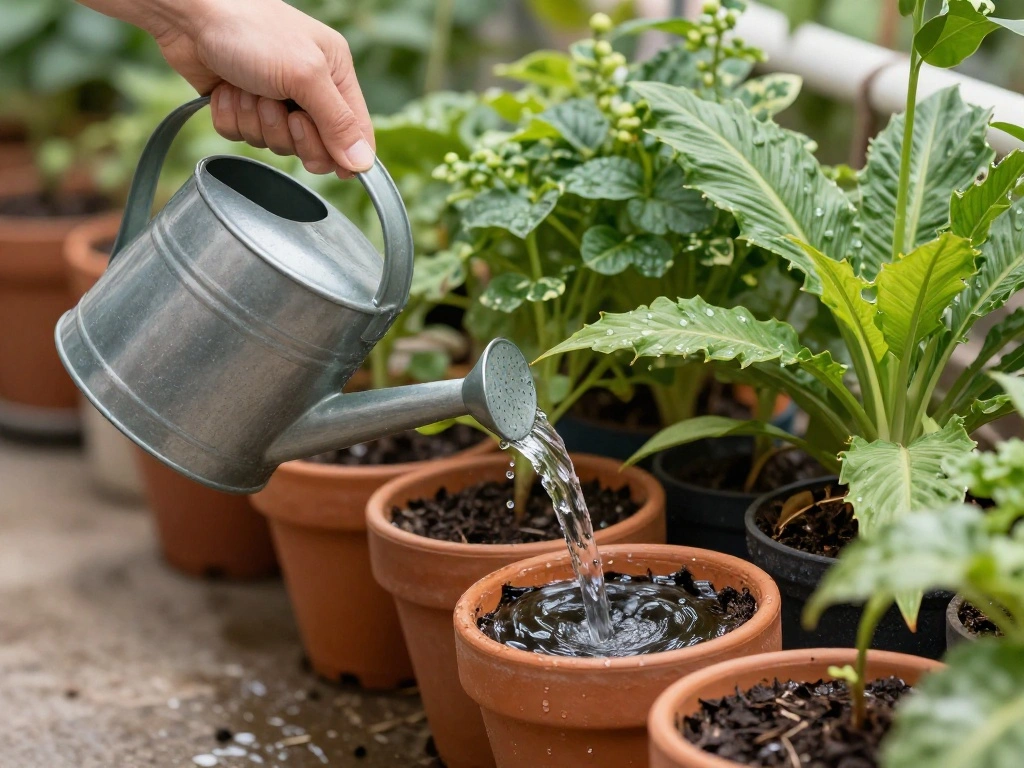
After arranging your plants, it’s important to water them appropriately to help them settle into their new positions.
- Check the moisture level of the soil in each pot.
- Water each plant according to its needs—some may require more or less water.
- Ensure excess water drains properly to avoid root rot.
Pro Tip: Use a moisture meter if unsure about watering needs.
Why this matters: Proper watering encourages healthy growth and plant longevity.
Time estimate: 15-20 minutes
Recommended Products


Product Specification: 2 Bundles Artificial Bougainvillea Trailing Vines

Create Your Own Indoor Hanging Garden Turn your window into a beautiful vertical garden with this 4-pot hanging planter. Perfect for growing herbs, flowers, and small plants while saving indoor space.
Step 7: Water Your Plants
Editor’s Choice
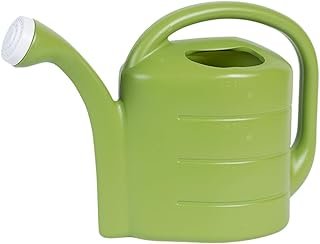
Root & Vessel 30413 Deluxe 2-Gallon Watering Can, Green
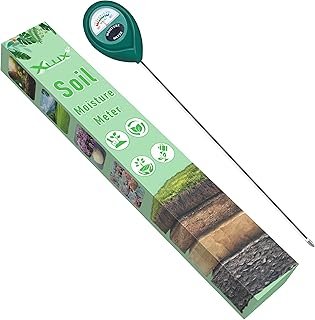
XLUX Long Probe Deep Use Soil Moisture Meter, Water Monitor Indicator Se…
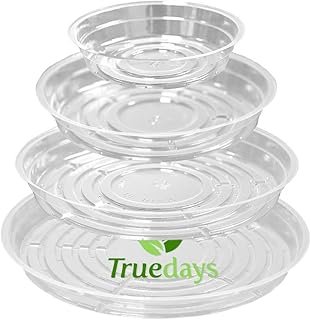
TRUEDAYS 20 Pack Plant Saucers (6 inch / 8inch / 10inch / 12inch) Clear …
Step 8: Maintain Your Plant Display

Regular maintenance is key to keeping your plant display healthy and vibrant.
- Check plants weekly for signs of pests or disease.
- Rotate plants every few weeks to ensure even light exposure.
- Prune dead leaves and branches as needed.
Pro Tip: Keep a schedule for watering and maintenance to stay organized.
Why this matters: Consistent care keeps your plants thriving and looking their best.
Time estimate: 10-15 minutes per week
Step 8: Maintain Your Plant Display
Editor’s Choice

Bonide Captain Jack’s Neem Oil, 32 oz Ready-to-Use Spray, Multi-Purpose …

Fiskars Bypass Pruning Shears, 5/8″ Cut Capacity Gardening Scissors, Sel…
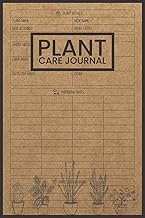
Plant Care Journal: Houseplant Journal and Log Book to Keep Track of You…
Step 9: Add Decorative Elements
Enhance your plant display by adding decorative elements that complement your plants.
- Consider adding decorative pots or planters that match your home decor.
- Include decorative stones, fairy lights, or small sculptures around the plants.
- Ensure that decorations do not obstruct plant growth or light access.
Pro Tip: Use natural materials for a cohesive look.
Why this matters: Decorative elements enhance the overall aesthetic and personalize your space.
Time estimate: 20-30 minutes
Step 9: Add Decorative Elements
Editor’s Choice
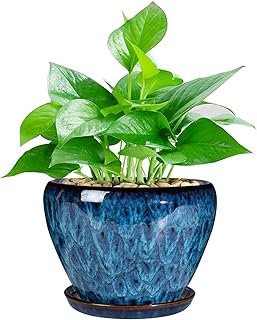
Ceramic Modern Glaze Succulent Planter Pot with Drainage Hole and Saucer…
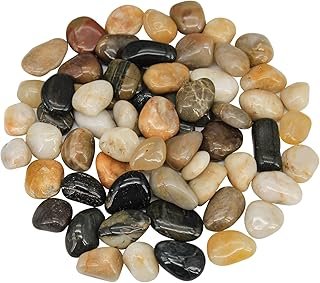
Virekm River Rocks, Decorative Ornamental Pebbles,Garden Landscaping Sto…
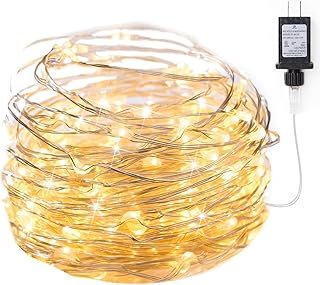
Minetom Fairy Lights Plug in, 33Ft 100 LEDs Waterproof Silver Wire Firef…
Step 10: Enjoy Your New Plant Display
Step back and admire your newly layered plant display! Take a moment to appreciate your hard work and the transformation of your space.
- Invite friends or family over to showcase your work.
- Document your arrangement with photos for future reference.
- Consider sharing your creation on social media for inspiration!
Pro Tip: Continue to observe how plants grow and adjust their positions as needed.
Why this matters: Enjoying your space fosters a positive environment and connects you with nature.
Time estimate: 5-10 minutes
Step 10: Enjoy Your New Plant Display
Editor’s Choice
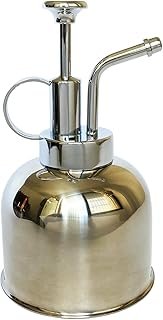
Stainless Steel Plant Sprayer, Small Watering Can for Indoor Potted Plants
Bamworld Tall Plant Stand Indoor Outdoor, Corner Metal Flower Pot Stands…
Set of 2-10 Inch Hanging Planters for Indoor Plants with Self-Watering I…
Pro Tips
- Light Awareness: Pay attention to light levels and reposition plants accordingly.
- Fertilization: Use plant food to enhance growth during the growing season.
- Group Similar Plants: Group plants with similar watering needs together for easier maintenance.
- Seasonal Changes: Adjust plant placements with the seasons to optimize light exposure.
- Visit Local Nurseries: Regular visits can provide new plant ideas and tips from experts.
Pro Tips
Editor’s Choice

Self Watering Planter Insert w/LifeTested Technology, Water Reservoir & …
iDavosic.ly Plant Stand Indoor Outdoor, 5 Tier Corner Metal Flower Displ…
GooingTop LED Grow Light,6000K Full Spectrum Clip Plant Growing Lamp wit…
Common Mistakes to Avoid
Warning: Placing all plants in direct sunlight can scorch leaves.
Solution: Research light requirements and position accordingly.
Warning: Overwatering can lead to root rot.
Solution: Check soil moisture before watering; adjust frequency based on plant needs.
Warning: Ignoring plant health signs can lead to disease spread.
Solution: Regularly inspect plants and address issues promptly.
Warning: Poor arrangement can block light.
Solution: Ensure plants are spaced to allow light access for all.
Warning: Using pots without drainage can harm plants.
Solution: Always choose pots with drainage holes.
Common Mistakes to Avoid
Editor’s Choice
iDavosic.ly Plant Stand Indoor Outdoor, 5 Tier Corner Metal Flower Displ…
XLUX Long Probe Deep Use Soil Moisture Meter, Water Monitor Indicator Se…
GooingTop LED Grow Light,6000K Full Spectrum Clip Plant Growing Lamp wit…
Troubleshooting Section
Problem: Plants are wilting.
Solution: Check watering; adjust frequency based on soil moisture.
Problem: Plants are leggy or stretching.
Solution: Move them closer to the light source or consider a grow light.
Problem: Leaves are turning yellow.
Solution: Assess watering habits; overwatering or underwatering could be the cause.
Problem: Pests are present.
Solution: Inspect affected plants closely; use insecticidal soap as needed.
Problem: Soil is compacted.
Solution: Repot plants with fresh soil to improve drainage and aeration.
Troubleshooting Section
Editor’s Choice
XLUX Long Probe Deep Use Soil Moisture Meter, Water Monitor Indicator Se…
Aokrean Plant Grow Light, 48 LEDs Full Spectrum Grow Lights for Indoor P…
Bonide Captain Jack’s Neem Oil, 32 oz Ready-to-Use Spray, Multi-Purpose …
Variations/Alternative Methods
Consider these methods for layering plants:
- Vertical Gardens: Use wall-mounted planters for an artistic vertical display. Ideal for limited floor space but requires careful plant selection.
- Hanging Plants: Use macramé hangers for trailing plants. Great for maximizing vertical space but may require more frequent watering.
- Mixed Media Displays: Combine plants with other decorative elements like art or bookshelves for a unique look. This method adds personality but requires careful arrangement for balance.
Variations/Alternative Methods
Editor’s Choice
Mkono Macrame Plant Hanger Indoor Hanging Planter Basket with Wood Beads…
TOREVSIOR 5-Tier Vertical Raised Garden Bed, Vertical Garden Planter wit…
FAQs
What if I don’t have enough natural light?
You can use grow lights to supplement light needs for plants that require more sunlight.
How long should I wait before watering again?
Check soil moisture; if the top inch is dry, it’s time to water.
Is it safe to place plants on top of bookshelves?
Yes, as long as they are stable and won’t block ventilation or fall.
Can I mix different types of plants?
Yes, but ensure they have similar care requirements (light, water, humidity).
How often should I fertilize my plants?
Typically every 4-6 weeks during the growing season, but check specific plant needs.
FAQs
Editor’s Choice
Aokrean Plant Grow Light, 48 LEDs Full Spectrum Grow Lights for Indoor P…
XLUX Long Probe Deep Use Soil Moisture Meter, Water Monitor Indicator Se…
AZERPIAN Plant Stand 5 Tier Indoor Metal Flower Shelf for Multiple Plant…
Conclusion
Congratulations on successfully layering your plants at different heights! You’ve not only enhanced your space but also created a more inviting atmosphere. Remember to maintain your plants and enjoy the benefits they bring to your home.
As you continue to care for your plant arrangement, consider exploring new plant varieties or decorative elements to refresh your display. Your journey with plants has just begun, and there’s much more to learn and experience!
Recommended Products

Simple Style Plant Shelf: These plant stand for indoor are made of high-strength metal and are not easily deformed. They have a high load-bearing capacity, are smooth without burrs, and are easy to maintain and wipe. The modern metal plant stands focus on both practicality and design aesthetics, featuring floral pattern designs that are elegant and sophisticated

【Simple Style Plant Shelf】These plant stand for indoor are made of high-strength metal and are not easily deformed. They have a high load-bearing capacity, are smooth without burrs, and are easy to maintain and wipe. The modern metal plant stands focus on both practicality and design aesthetics, featuring floral pattern designs that are elegant and sophisticated

【Plant Stand Sizes】10pack 5 different sizes of metal plant stands (11.8"/10.04"/9.06"/7.87"/7.09") are made of high-quality metal and designed with four support points, very sturdy and stable. Plant shelves can carry loads of up to 135 pounds. perfect for small to medium sized plants.