Are you tired of buying expensive potting mixes that don’t meet your needs? Do you find that your houseplants are struggling despite your best care? The good news is that you can create your own potting mix tailored to your plants’ specific requirements!
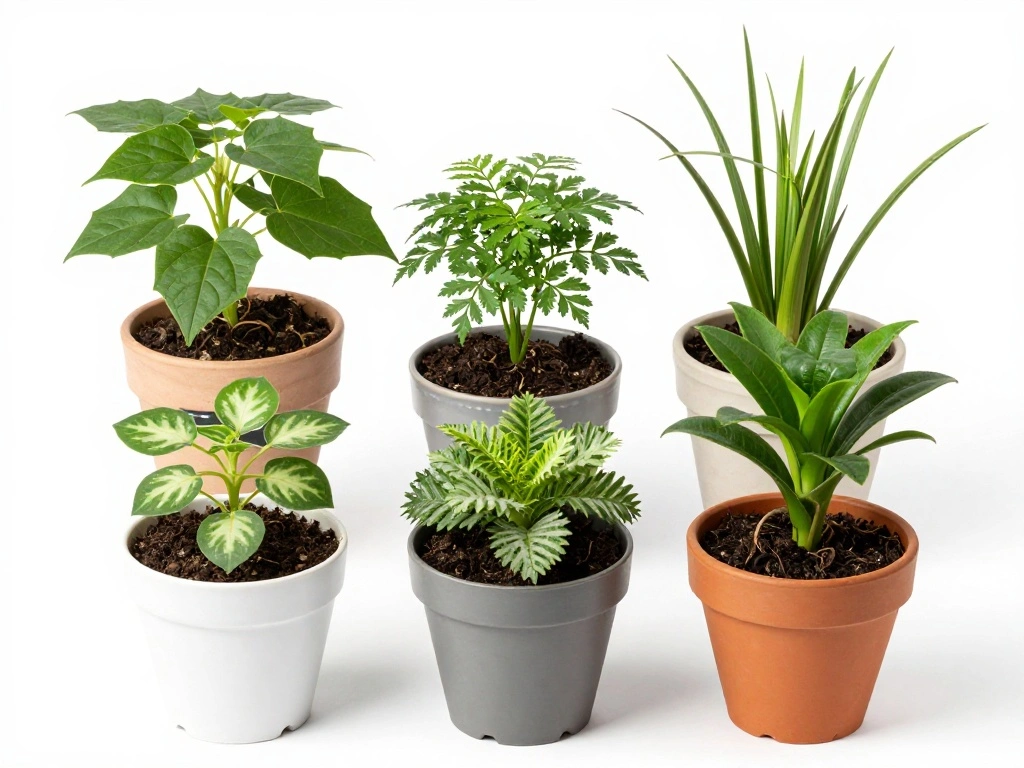
In this guide, you’ll learn how to concoct four different potting mixes suitable for various houseplants, from succulents to tropical plants. You’ll gain confidence in understanding your plants’ needs and how to support their growth with the right soil.
This beginner-friendly guide will take about 1-2 hours to complete. You’ll learn the essential components of potting mixes, how to blend them effectively, and how to customize your mixture based on the type of houseplant you have. Let’s get started!
TL;DR Summary
- Learn to create four different potting mixes for various houseplants.
- Understand the components and their benefits for plant health.
- Follow step-by-step instructions suitable for beginners.
- Customize your potting mix based on your plant type.
Prerequisites/Materials Needed
- Base Ingredients:
- Peat Moss (2 parts)
- Perlite (1 part)
- Compost (1 part)
- Sand (1 part)
- Tools:
- Large mixing container
- Shovel or trowel
- Measuring cups or a scale
- Optional Additives:
- Vermiculite (for moisture retention)
- Bone meal (for nutrients)
- Coconut coir (as an alternative to peat moss)
Skill Level & Time Estimate
Skill Level: Beginner
Estimated Time: 1-2 hours
Here’s a breakdown of the time needed for each step:
– Gathering materials: 15-30 minutes
– Mixing ingredients: 30-45 minutes
– Customizing your mix: 15-30 minutes
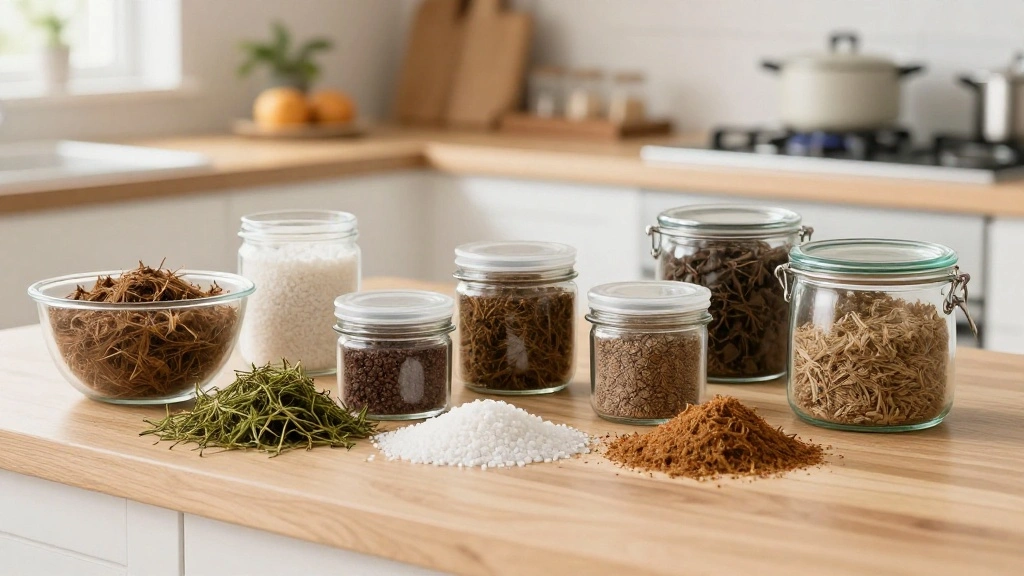
Step 1: Gather Your Ingredients
Start by collecting all the necessary ingredients for your potting mix. This includes peat moss, perlite, compost, and any optional additives you might want to use.
Follow these sub-steps to ensure you have everything ready:
1. Gather your base ingredients: peat moss, perlite, and compost in the specified ratios.
2. Choose any optional additives like vermiculite or bone meal.
3. Prepare your mixing area by laying down a tarp or using a large container to avoid mess.
Warning: Make sure you are not allergic to any of the materials before handling them.
Why this matters: Having everything on hand helps streamline the process and prevents interruptions.
Time estimate: 15-30 minutes.
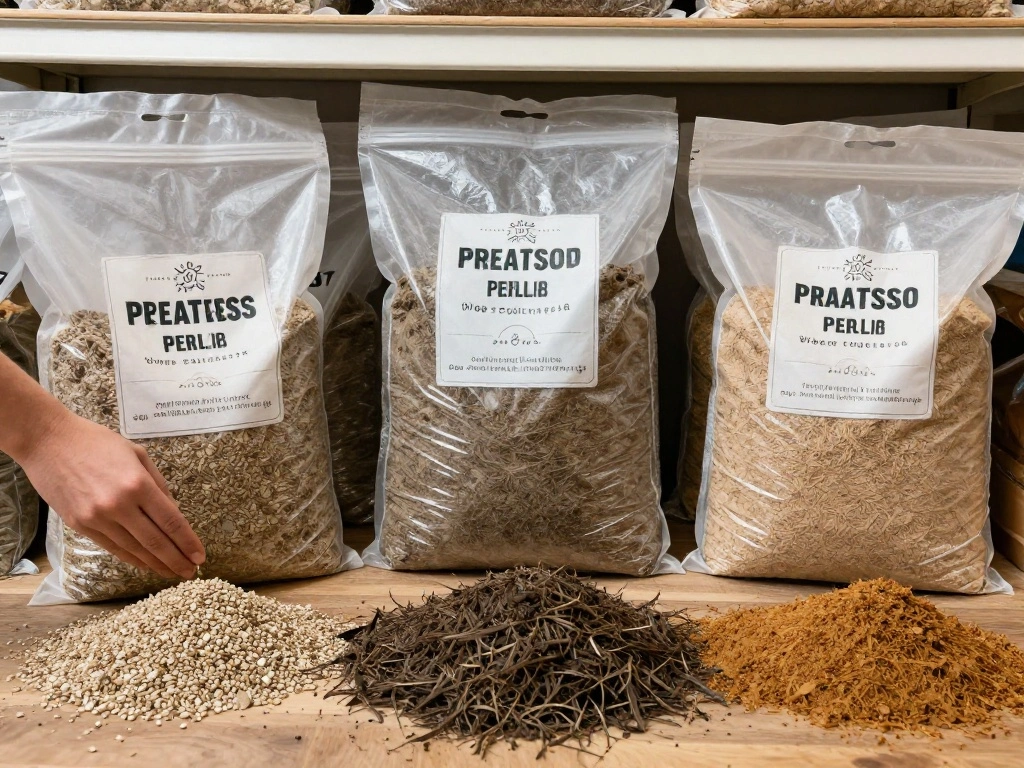
Step 2: Measure the Ingredients
Now that you have your ingredients, it’s time to measure them accurately based on the type of potting mix you want to create.
1. Use measuring cups or a scale to ensure precise ratios. For a basic mix, use 2 parts peat moss, 1 part perlite, and 1 part compost.
2. If you are adding optional ingredients, make sure to adjust the quantities accordingly. For example, add 1 part vermiculite if you want improved moisture retention.
Pro Tip: Label your containers to keep track of different mixtures if you plan to make more than one.
Why this matters: Accurate measurements ensure that the mixture provides the right environment for your plants.
Time estimate: 15-20 minutes.
Step 3: Mix the Ingredients

With your ingredients measured, it’s time to mix them together thoroughly.
1. Add all the dry ingredients into your large mixing container.
2. Use a shovel or trowel to stir the mixture, ensuring even distribution of all components.
3. Mix until the color and texture are consistent throughout, making sure there are no clumps.
Warning: Avoid breathing in dust from the peat and perlite; wear a mask if necessary.
Why this matters: A well-mixed potting mix provides an even environment for roots to grow and absorb nutrients.
Time estimate: 20-30 minutes.
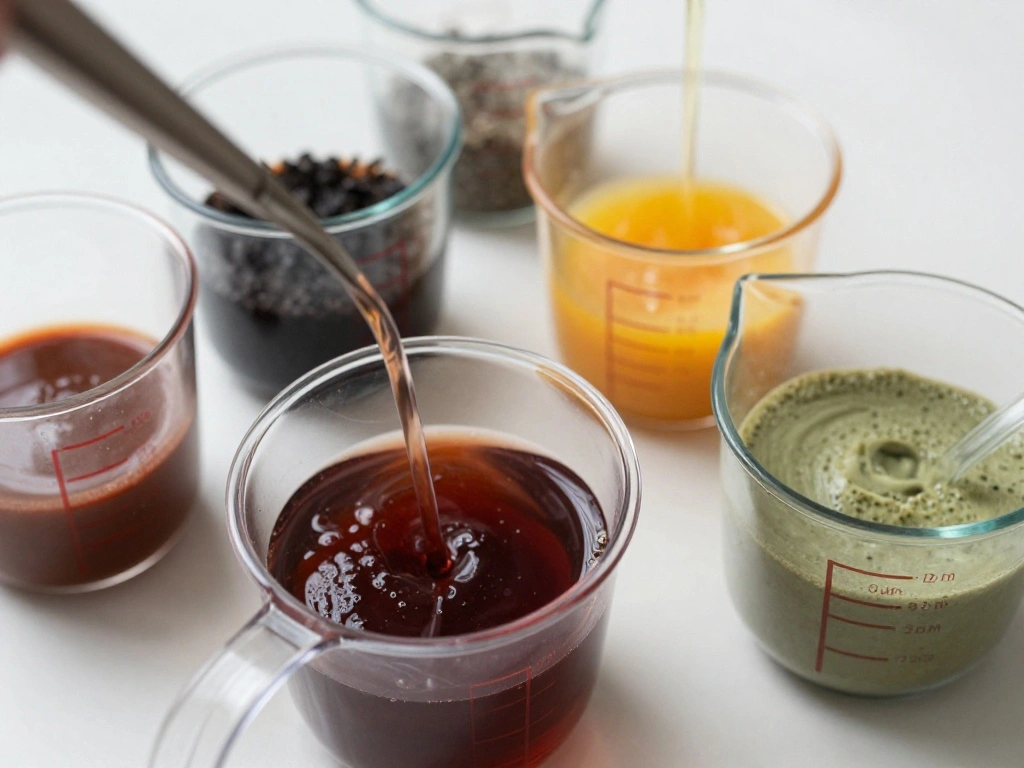
Step 4: Customize Your Mix
Now is the time to tailor your potting mix to the specific needs of your houseplants.
1. Determine the type of plants you are potting. For example, succulents need well-draining mixes, while tropical plants benefit from moisture-retaining mixes.
2. Adjust your mixture by adding more sand for succulents or more compost for tropical plants.
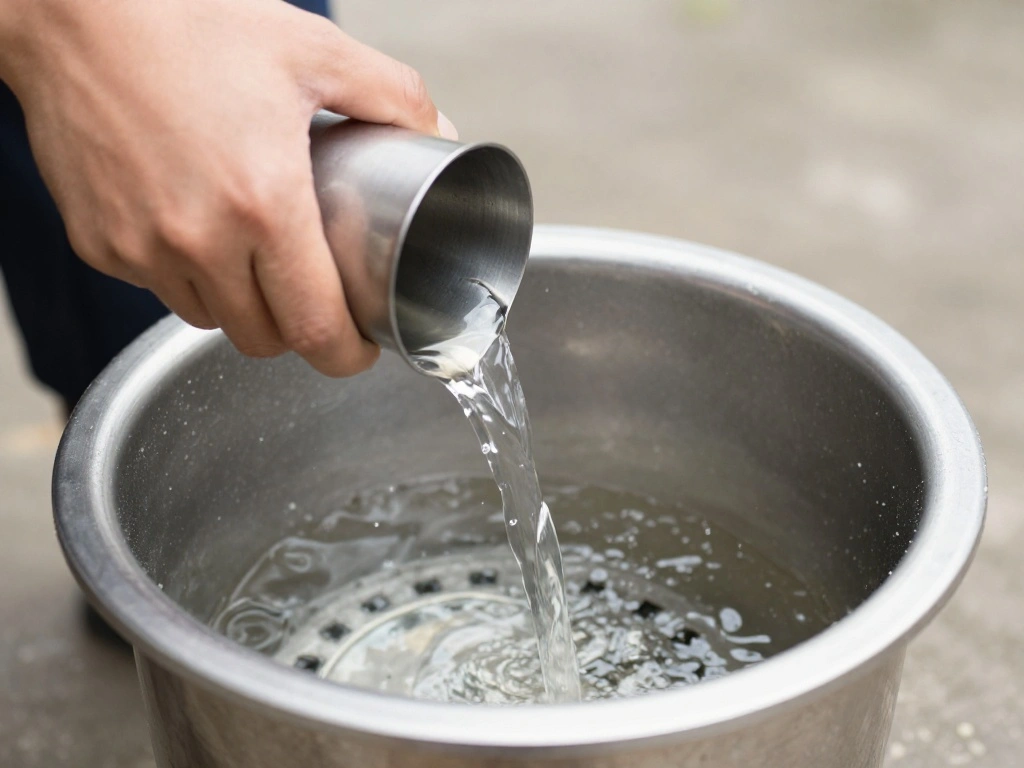
3. Test the drainage by pouring water through the mix to see how quickly it drains.
Pro Tip: For cacti and succulents, consider adding extra perlite or coarse sand to improve drainage.
Why this matters: Customizing your mix ensures that each plant receives the right care, leading to healthier growth.
Time estimate: 15-20 minutes.
Step 5: Store or Use Immediately
After mixing and customizing your potting mix, decide whether to use it right away or store it for later use.
1. If using immediately, fill your plant pots with the mixture, leaving some space at the top.
2. If storing, place the mix in airtight containers to keep it moist and prevent it from drying out.
3. Label the containers with the date and type of mix for future reference.
Warning: Do not store your mix in direct sunlight or damp areas, as this can lead to mold growth.
Why this matters: Proper storage ensures that your mix stays fresh and ready for use when you need it.
Time estimate: 15 minutes.
Step 6: Test Your Mix with a Plant

To ensure your potting mix works effectively, test it with a plant.
1. Choose a houseplant that needs repotting or a new plant that requires fresh soil.
2. Remove the plant from its old pot, gently loosening the roots if needed.
3. Fill a new pot with your mix and place the plant inside, adding more mix around the roots.
4. Water the plant thoroughly to help settle the soil.
Pro Tip: Monitor the plant’s response over the next few weeks to see if the mix meets its needs.
Why this matters: Testing your mix helps identify any adjustments needed for other plants in the future.
Time estimate: 30 minutes.
Step 7: Monitor Plant Health
After potting your plant, it’s essential to keep an eye on its health to ensure your potting mix is effective.
1. Observe your plant for signs of stress or growth issues. Yellowing leaves can indicate overwatering, while stunted growth may suggest the mix is too dense.
2. Adjust your watering schedule based on the mix’s drainage and the plant’s needs.
3. Consider amending the mix if you notice persistent issues; for example, add more perlite to improve drainage.
Warning: Do not make drastic changes too quickly; allow time for the plant to adjust to the new mix.
Why this matters: Monitoring the plant’s health helps you refine your potting mix for future use and ensures plant vitality.
Time estimate: Ongoing (check weekly).
Step 8: Share Your Success
Once you’ve successfully created your potting mix and seen positive results with your plants, consider sharing your knowledge.
1. Take notes on your recipes and adjustments for future reference.
2. Share your experiences with friends or in gardening forums to help others.
3. Consider experimenting with different recipes as you become more comfortable with the process.
Pro Tip: Document your journey with photos of your plants and mixes to track progress over time.
Why this matters: Sharing knowledge not only helps others but can also solidify your understanding and creativity in gardening.
Time estimate: Ongoing.
Pro Tips
- Tip for Succulents: Use a mix with more sand and perlite for better drainage.
- Tip for Tropical Plants: Incorporate more compost for nutrients and moisture retention.
- Mix in Worm Castings: This natural fertilizer boosts plant health.
- Consider pH Level: Test your mix with a pH meter to ensure it’s suitable for your plants.
- Store in a Cool Place: Keep your potting mix in a cool, dry area to extend its shelf life.
Common Mistakes to Avoid
Warning: Using only one type of ingredient can lead to poor drainage or nutrient deficiencies. Always combine different materials for balance.
Warning: Not testing the mix can lead to unexpected plant issues. Always pot a test plant first.
Warning: Overwatering with dense mixes can cause root rot. Ensure your mix drains well before watering.
Troubleshooting Section
Problem: Mix is too dense.
Solution: Add more perlite or sand to improve drainage.
Problem: Plants are wilting.
Solution: Check for overwatering; allow the mix to dry out before watering again.
Problem: Mold growth.
Solution: Ensure the mix is stored in a dry place and avoid overwatering.
Problem: Nutrient deficiencies.
Solution: Incorporate organic fertilizers like worm castings into your mix.
Problem: Poor plant growth.
Solution: Adjust your mix based on the specific needs of your plant type.
Variations/Alternative Methods
Consider these alternative methods for potting mixes:
- Hydroponic Mix: Use clay pebbles and coconut coir for a soilless option, perfect for herbs and leafy greens.
- Orchid Mix: Combine bark chips, sphagnum moss, and charcoal for epiphytic plants.
- Custom Cactus Mix: Use equal parts sand, perlite, and pumice for excellent drainage.
FAQs
- What if I don’t have peat moss? You can substitute with coconut coir, which provides similar moisture retention.
- How long should I let the mix sit before using it? It’s best to use the mix immediately after preparation, but it can sit for a few days if stored correctly.
- Is it safe to use garden soil for houseplants? No, garden soil can contain pests and diseases; always use a sterile potting mix.
- Can I add fertilizer to the mix? Yes, incorporating slow-release fertilizers can provide nutrients over time.
- How often should I repot my plants? Generally, every 1-2 years or when the plant outgrows its pot.
Conclusion

Congratulations on learning how to make your own potting mix! You have empowered yourself to provide the best environment for your houseplants.
As you continue to care for your plants, feel free to tweak your recipes based on your experiences and observations. The joy of gardening comes from experimentation and growth.
Consider exploring other gardening techniques or expanding your plant collection. Happy gardening!