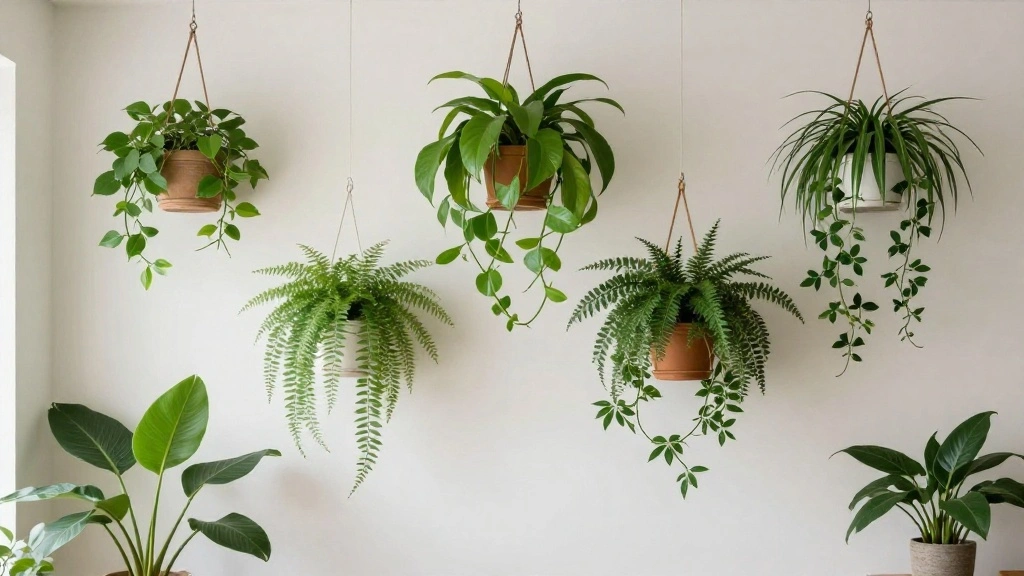
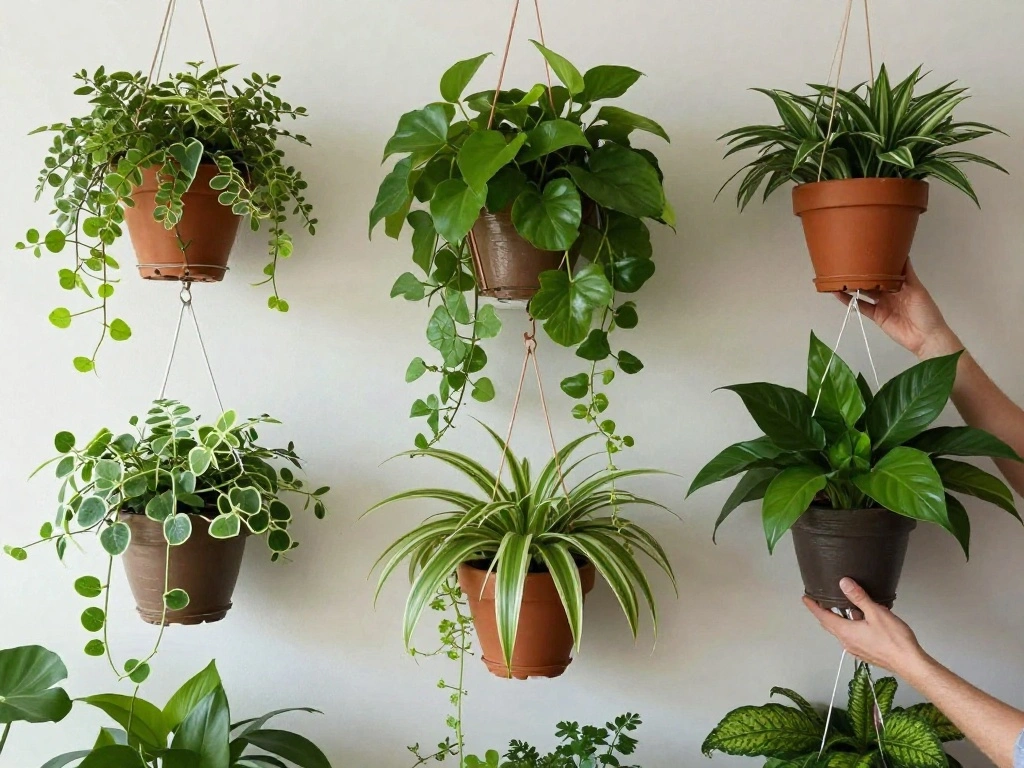
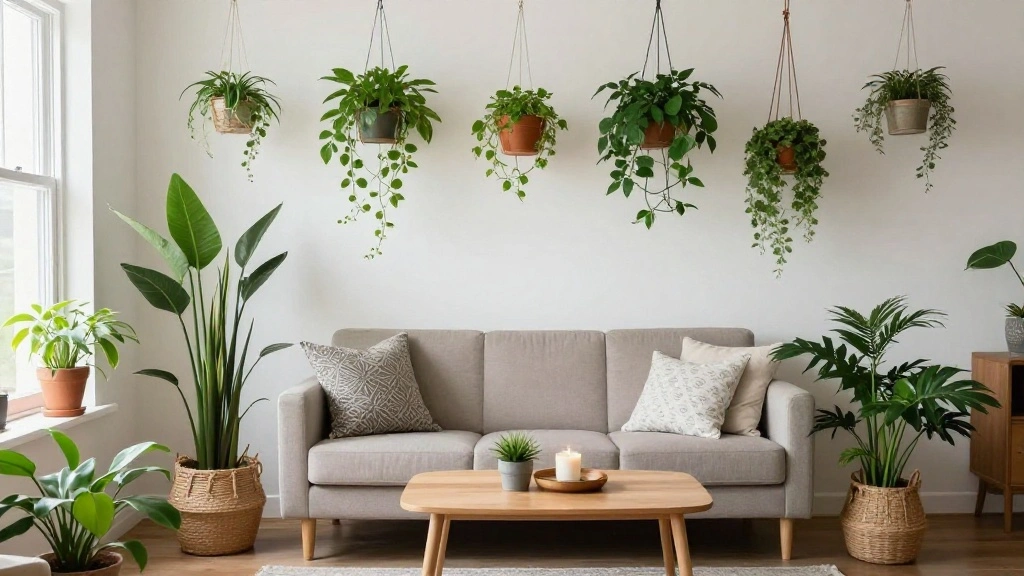
Are you tired of looking at bare walls and ceilings but hesitant to drill holes that could damage your space? Many people face this dilemma, especially renters or those who want a temporary solution without making permanent changes. Hanging plants can add life and beauty to your home, creating a vibrant, natural atmosphere. Fortunately, there are several effective ways to hang plants without leaving a mark!
In this guide, you will learn various methods to hang plants using options like adhesive hooks, ceiling-mounted solutions, and more. By the end of this article, you will have a beautiful display of greenery, enhancing your living space without the need for drilling.
This guide is tailored for beginner DIY enthusiasts and can be completed in 1-2 hours. With easy-to-follow steps, you will feel empowered to transform your home into a lush sanctuary of plants!
TL;DR Summary
- Use adhesive hooks or mounting strips to hang plants without damage.
- Consider ceiling-mounted options like brackets or suspended planters.
- Explore alternative methods like tension rods for larger plants.
- Follow simple techniques to ensure stability and safety.
TL;DR Summary
Editor’s Choice
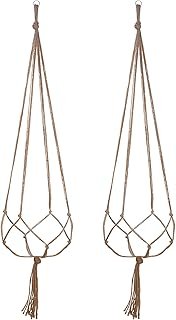
EBOOT 2 Pack 48 Inch Large Macrame Plant Hanger Rope to Hang Flower Pot …
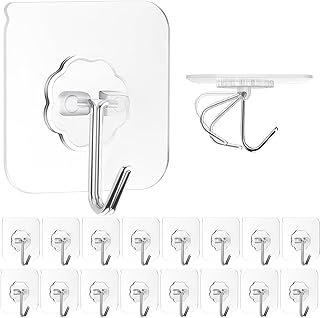
ZESLMG Adhesive Wall Hooks for Hanging, 16 Pack Self Sticky Hooks Heavy …
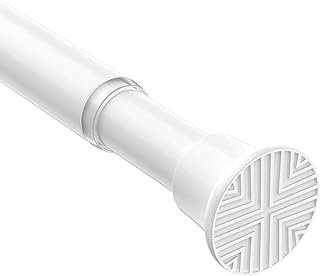
Spring Tension Curtain Rod 32-76 inch, Adjustable Expandable Tension Cur…
Prerequisites/Materials Needed
- Adhesive Hooks: 5-10 depending on the number of plants
- Mounting Strips: 1 pack (heavy-duty recommended)
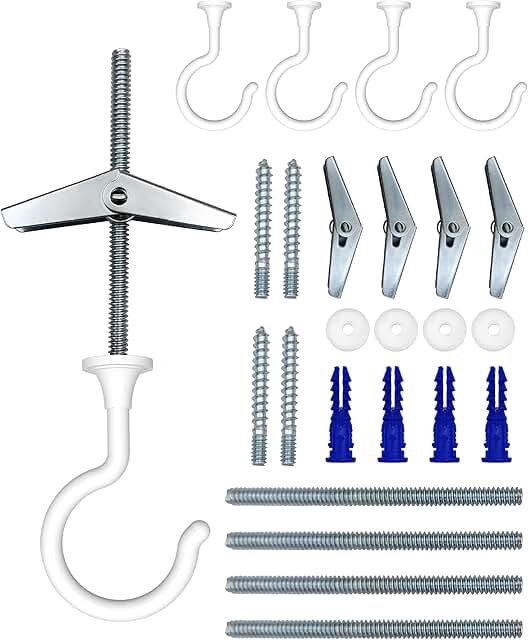
- Ceiling Brackets: 2-4 (if using ceiling method)
- Tension Rod: 1 (optional for larger plants)
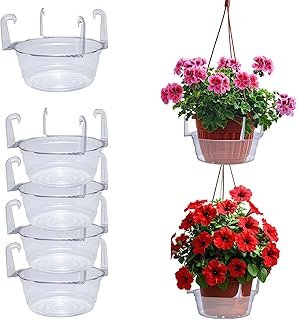
- Planter Hangers: 2-4 (for pots with handles)
- Measuring Tape: 1
- Level: 1 (optional but helpful)
Prerequisites/Materials Needed
Editor’s Choice
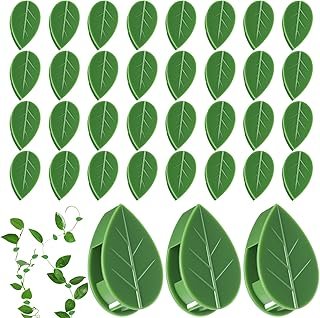
60 Pcs Plant Wall Clips, Plant Climbing Wall Fixture Clips, Wall Vines F…
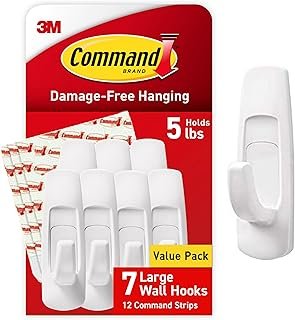
Command Large Utility Hooks, 7-Hooks, 12-Strips, Organize Damage-Free | …
2Pack 2.5Inch Ceiling Hooks for Hanging Plant, Hanger for Indoor and Out…
Skill Level & Time Estimate
Skill Level: beginner
Total time estimate: 1-2 hours
Step breakdown:
1. Gather materials (15 minutes)
2. Measure and plan (15 minutes)
3. Install hooks or brackets (30 minutes)
4. Hang plants and adjust (30 minutes)
Skill Level & Time Estimate
Editor’s Choice
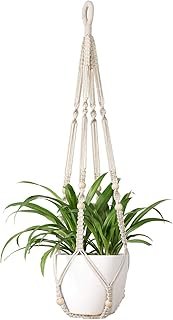
Mkono Macrame Plant Hanger Indoor Hanging Planter Basket with Wood Beads…
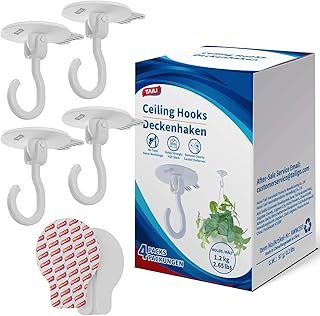
TAILI Adhesive Ceiling Hooks for Hanging Plants, Heavy Duty No-Drill Rem…
TAILI Adhesive Ceiling Hooks for Hanging Plants, Heavy Duty No-Drill Rem…
Step 1: Gather Your Materials
Before starting, ensure you have all the necessary materials at hand. This will save you time and keep the process smooth. To gather your materials:
- Check the list of required items mentioned in the prerequisites.
- Purchase any missing items from a local store or online.
- Organize your workspace to have everything within reach.
Pro Tip: Using high-quality adhesive hooks will ensure they hold up well under the weight of your plants.
Why this matters: Having everything ready means you can focus on hanging your plants rather than running back and forth.
Estimated time: 15 minutes.
Step 1: Gather Your Materials
Editor’s Choice
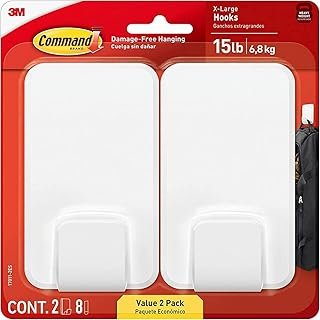
Command 15 Lb XL Heavyweight Wall Hook, Damage Free Hanging Wall Hook wi…
Adhesive Wall & Ceiling Decor Hooks: 4-Pack 3 lbs Heavy Duty No-Drill 36…
Step 2: Measure and Plan Your Layout
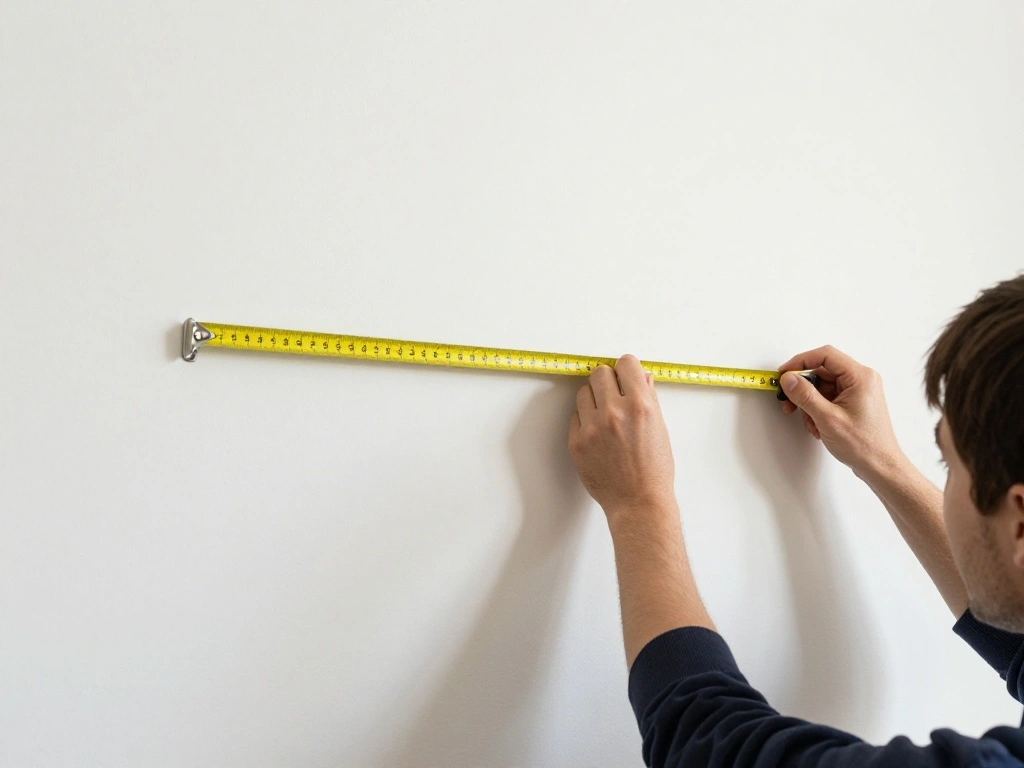
Planning where to hang your plants is crucial for both aesthetics and functionality. To do this:
- Use your measuring tape to decide on the height at which you want to hang your plants.
- Use a pencil to mark the spot on the wall or ceiling for each plant.
- Consider spacing between plants for a balanced look.
Warning: Ensure that the plants are not placed too high, as you should be able to water them easily.
Why this matters: A well-planned layout enhances the visual appeal and ensures your plants get the right amount of light.
Estimated time: 15 minutes.
Step 2: Measure and Plan Your Layout
Editor’s Choice
Antimbee 10-Pack All-Purpose Large Adhesive Hooks for Hanging, Banana Ho…
Adhesive Wall & Ceiling Decor Hooks: 4-Pack 3 lbs Heavy Duty No-Drill 36…
Mkono Macrame Plant Hanger Indoor Hanging Planter Basket with Wood Beads…
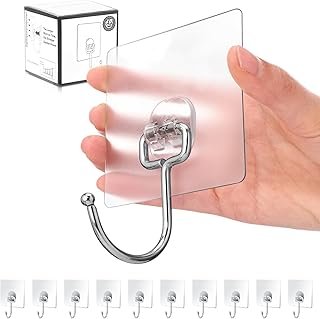
Step 3: Install Adhesive Hooks or Mounting Strips
Now that you have your layout planned, it’s time to install the hooks or mounting strips. Follow these steps:
- Clean the surface where you will attach the hooks using a cloth.
- Peel the back off the adhesive and press firmly onto the marked spots.
- For mounting strips, follow the manufacturer’s instructions to secure them properly.
Pro Tip: Allow the adhesive to set for at least an hour before hanging any plants to ensure a strong bond.
Why this matters: Proper installation is key to preventing plants from falling and getting damaged.
Estimated time: 30 minutes.
Step 3: Install Adhesive Hooks or Mounting Strips
Editor’s Choice
Antimbee 10-Pack All-Purpose Large Adhesive Hooks for Hanging, Banana Ho…
Antimbee 10-Pack All-Purpose Large Adhesive Hooks for Hanging, Banana Ho…
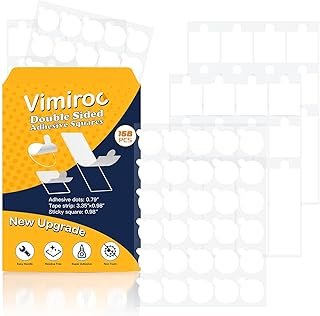
vimiroo Clear Sticky Dots, Heavy Duty Removable Strong Mounting Adhesive…
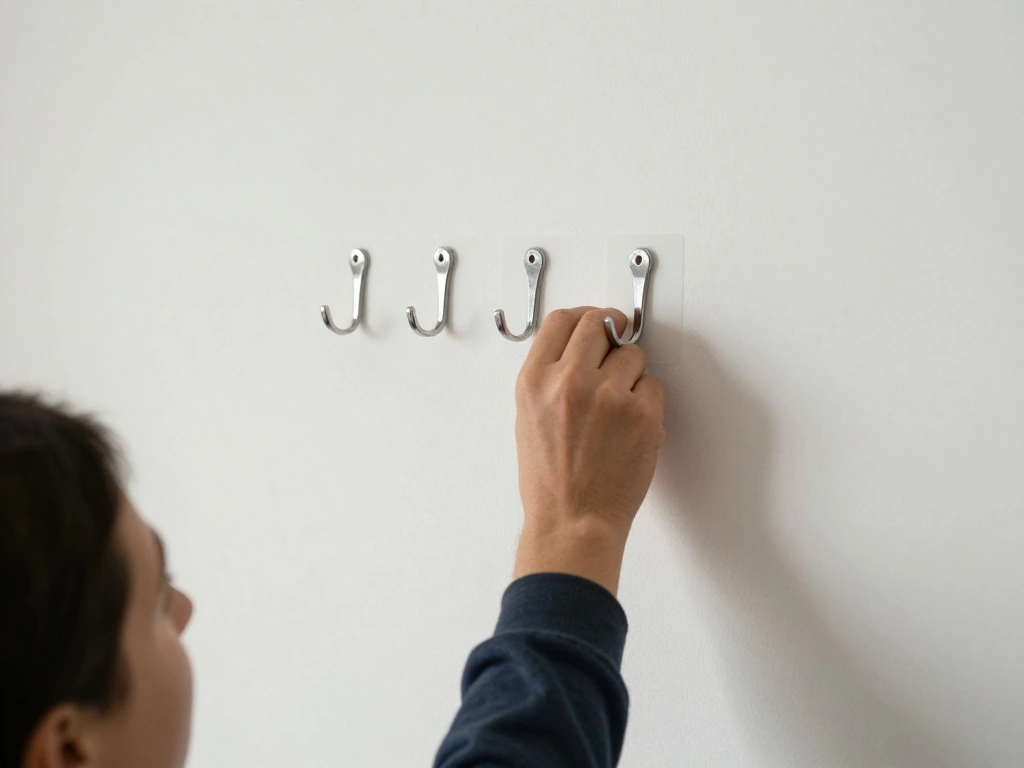
Step 4: Hang Your Plants
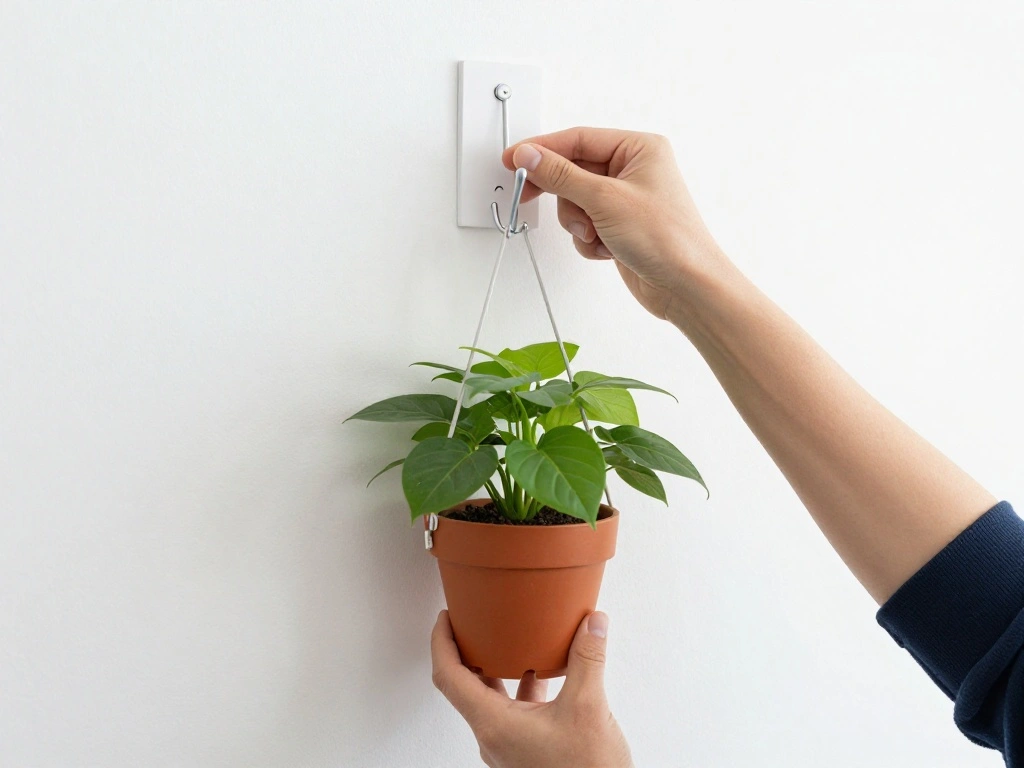
It’s finally time to hang your plants! Follow these steps:
- Take your plant with its pot, ensuring it’s light enough for the hook.
- If using planter hangers, attach them to the pots first.
- Carefully hang the plants on the installed hooks.
Warning: Make sure the plants are evenly distributed to avoid any imbalance.
Why this matters: Ensuring your plants are securely hung will help maintain their health and appearance.
Estimated time: 30 minutes.
Step 4: Hang Your Plants
Editor’s Choice
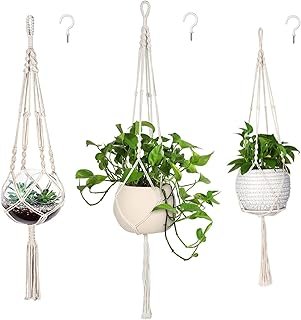
MIPON 3 Pack Macrame Plant Hangers with Hooks – 3 Sizes (34″/41″/46″) Ha…
NACETURE 4 Pack Large Swag Ceiling Hooks for Hanging Plants – Heavy Duty…
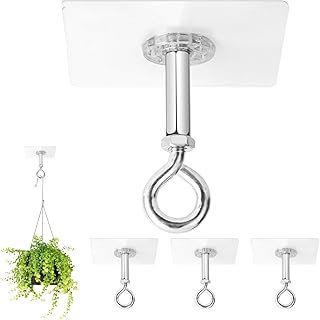
Adhesive Ceiling Hooks 4 Pack, Hold 25lbs, Extra Heavy Duty for Hanging …
Step 5: Adjust and Level the Plants
To achieve a polished look, you may need to adjust the plants after hanging them:
- Step back and observe the arrangement of the plants.
- If needed, gently adjust their height or position for better balance.
- Use a level to ensure that multiple plants are aligned if they’re in a row.
Pro Tip: You can also rotate the pots for better light exposure if needed.
Why this matters: A well-arranged display enhances the overall aesthetic of your space.
Estimated time: 20 minutes.
Step 5: Adjust and Level the Plants
Editor’s Choice
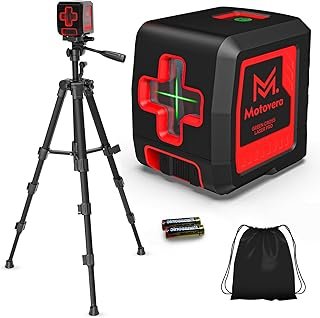
Motovera Self Leveling Laser Level 100ft, Green Cross Line with Tripod, …
Step 6: Water Your Plants Carefully
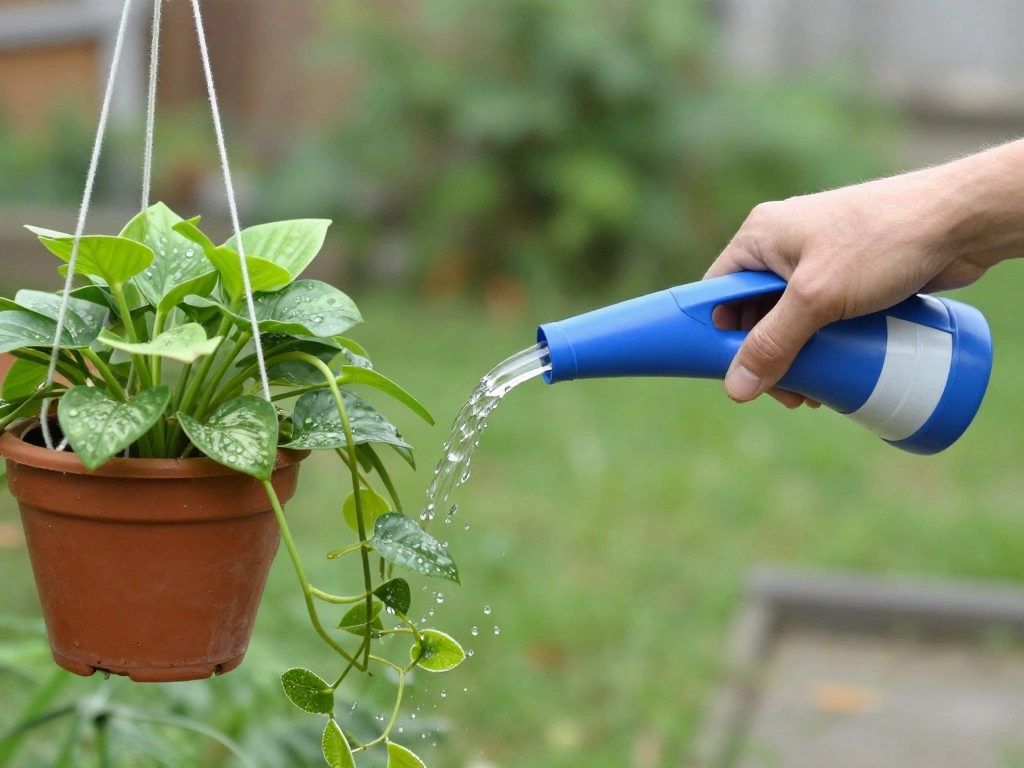
Watering your plants while they are hanging requires some extra attention:
- Use a watering can with a long spout for precision.
- Water each plant gently, ensuring not to over-soak.
- Consider placing a tray below if you’re concerned about water dripping.
Warning: Avoid over-watering, as it can damage the adhesive hooks or strips.
Why this matters: Proper watering keeps your plants healthy and prevents any mess in your living space.
Estimated time: 15 minutes.
Step 6: Water Your Plants Carefully
Editor’s Choice
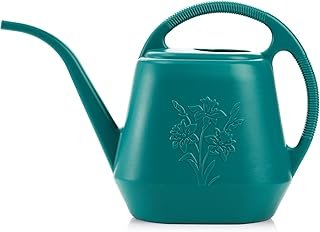
Fasmov 1-Gallon Plastic Watering Can with Comfortable Handle, Garden Wat…
Adhesive Wall & Ceiling Decor Hooks: 4-Pack 3 lbs Heavy Duty No-Drill 36…
Curtis Wagner Plastics Hanging Basket Drip Pans (5-Pack) | Clear, Round …
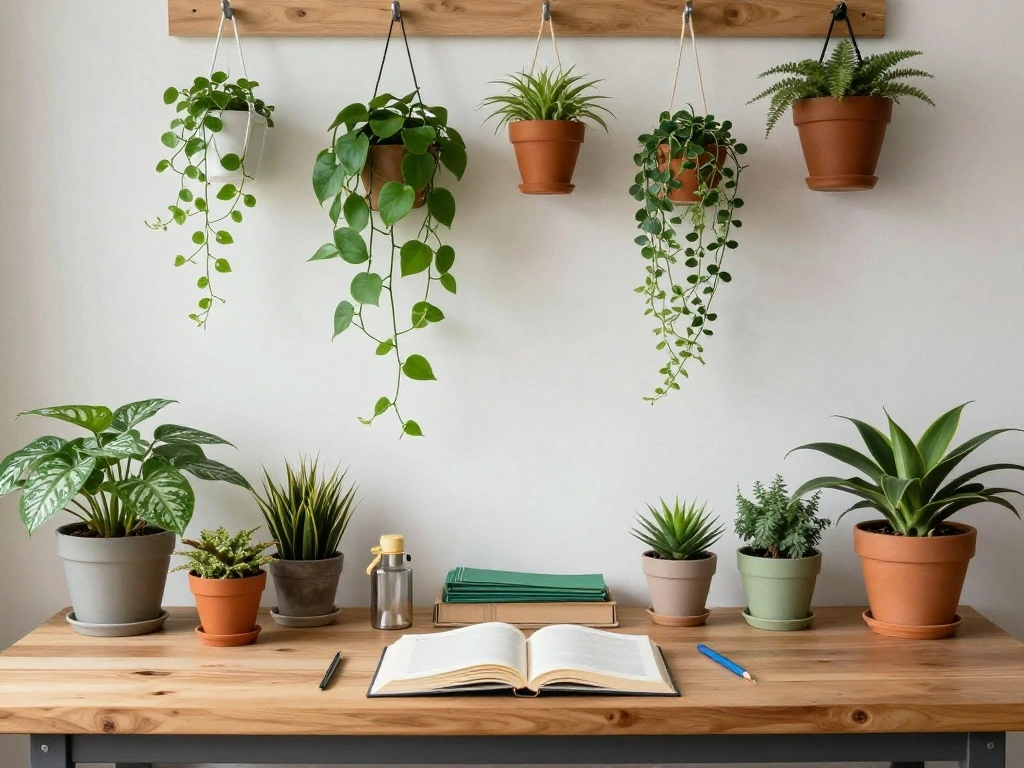
Step 7: Enjoy Your Beautiful Plant Display!
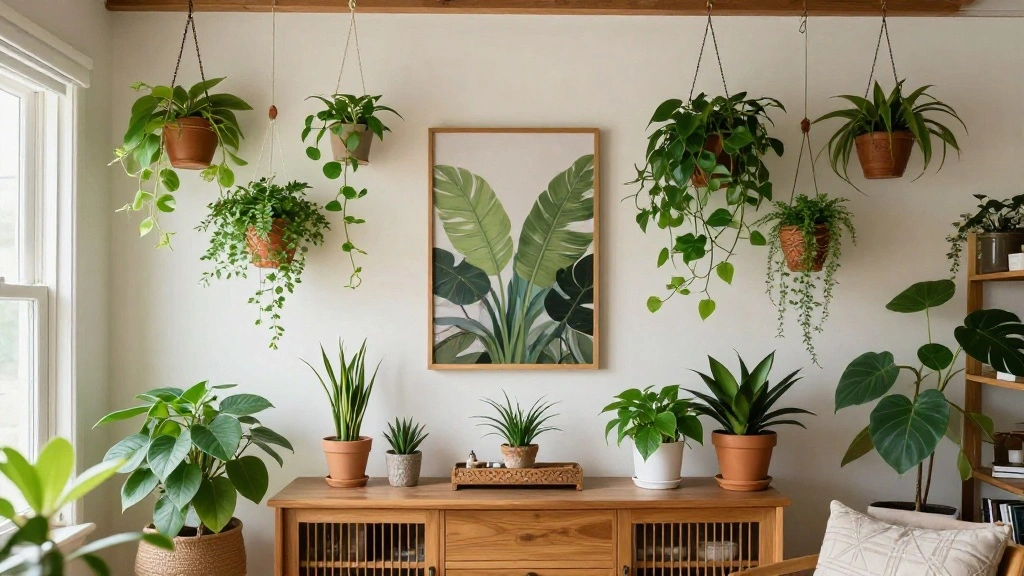
Congratulations! Your plants are now beautifully displayed without any drilling. To enjoy your new setup:
- Take time to appreciate the transformation of your space.
- Consider adding decorative stones or fairy lights for added charm.
- Invite friends over to showcase your handiwork!
Pro Tip: Regularly check the adhesive strength of hooks to ensure they remain secure.
Why this matters: Enjoying your plants in a well-designed space promotes happiness and tranquility.
Estimated time: 10 minutes.
Step 7: Enjoy Your Beautiful Plant Display!
Editor’s Choice
Adhesive Wall & Ceiling Decor Hooks: 4-Pack 3 lbs Heavy Duty No-Drill 36…
Mkono Macrame Plant Hanger Indoor Hanging Planter Basket with Wood Beads…
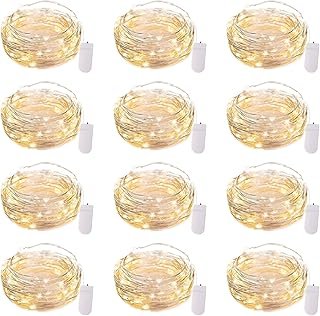
Brightown 12 Pack LED Fairy Lights Battery Operated String Lights – 7ft …
Pro Tips
- Choose the Right Plants: Lightweight plants like pothos or ferns work best for hanging.
- Utilize Different Heights: Vary the heights of your plants for a more dynamic display.
- Regular Maintenance: Check the health of your plants regularly for optimal growth.
- Consider Seasonal Changes: Update your plants seasonally for fresh decor.
- Use Colorful Pots: Bright pots can add an extra layer of charm to the arrangement.
Pro Tips
Editor’s Choice
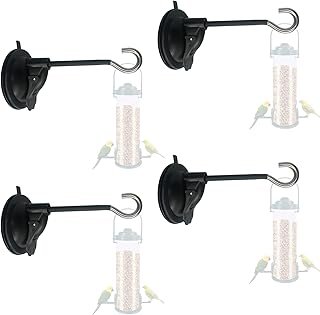
4 Pack Window Suction Cup Bird Feeder Hanger for Bird Feeders and Wind C…
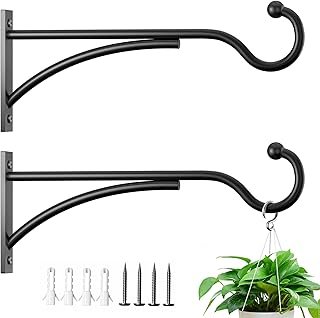
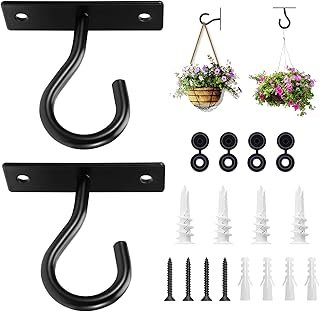
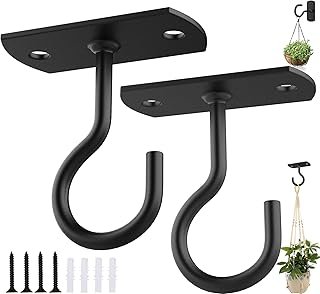
11 Inch 2 Pack Heavy Duty Plant Hangers Outdoor, Metal Plant Brackets fo…
MIPON 3 Pack Macrame Plant Hangers with Hooks – 3 Sizes (34″/41″/46″) Ha…
Common Mistakes to Avoid
Warning: Not checking the weight limit of adhesive hooks can lead to falls. Always check product specifications.
Warning: Overwatering hanging plants can cause water damage to walls. Ensure you water carefully.
Warning: Hanging plants too high can make maintenance difficult. Make sure you can reach them easily.
Common Mistakes to Avoid
Editor’s Choice
Command Large Utility Hooks, 7-Hooks, 12-Strips, Organize Damage-Free | …
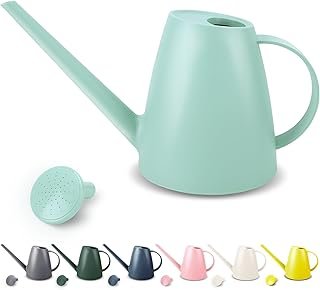
Watering Can for Indoor and Outdoor Plants – Long Spout Water Can for Ga…
Troubleshooting Section
Problem: Plants keep falling off the hooks.
Solution: Ensure you’re using hooks rated for the weight of your plants. Consider switching to stronger options.
Problem: Adhesive hooks don’t stick well.
Solution: Clean the surface thoroughly before applying the hooks. Allow the adhesive to set properly.
Problem: Plants look uneven or cluttered.
Solution: Step back and adjust the height or positioning of the plants for a more balanced look.
Troubleshooting Section
Editor’s Choice
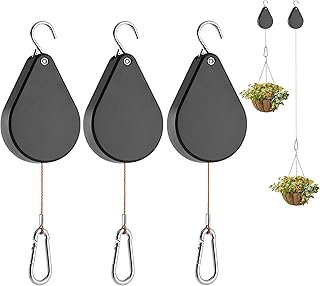
2026 Upgraded Retractable Plant Hanger,Plant Pulleys for Hanging Plants,…
Adhesive Wall & Ceiling Decor Hooks: 4-Pack 3 lbs Heavy Duty No-Drill 36…
Variations/Alternative Methods
If you’re looking for different ways to hang plants, consider these methods:
- Using Ceiling-mounted Planter Brackets: Ideal for heavier plants, but check your ceiling type before installation.
- Tension Rods: Excellent for larger window spaces and can hold several plants at once.
- Wall-mounted Shelves: Create a more permanent solution without drilling holes in the wall by using adhesive mounting systems.
Variations/Alternative Methods
Editor’s Choice
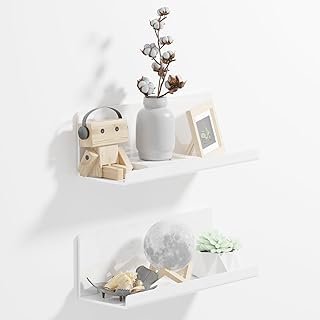
PAVSTINE Acrylic Wall Floating Shelves Set of 2, Wall Shelves White 12 I…
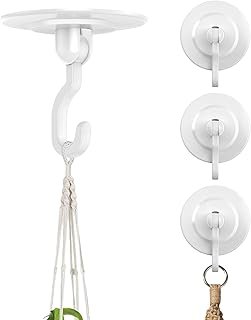
Ceiling Hooks for Hanging Plants 2Pack 2.5in,Wall Plant Hooks for Plants…
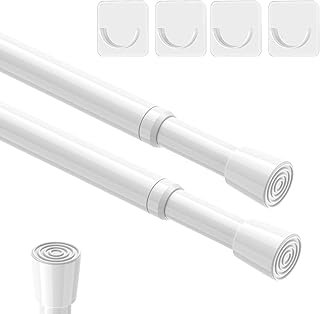
AIZESI 2pcs Spring Tension Rods Adjustable 26 to 39 inch Small Tension C…
FAQs
What if I don’t have adhesive hooks? You can use mounting strips or ceiling brackets as alternatives.
How long should I wait before watering hanging plants? Wait at least 24 hours after hanging to allow adhesives to set.
Is it safe to use heavy pots? Always check the weight limit of your hooks or brackets to ensure safety.
FAQs
Editor’s Choice
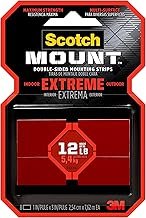
Scotch Extreme Mounting Strips, Double-Sided Heavy Duty Tape, 8 Strips, …
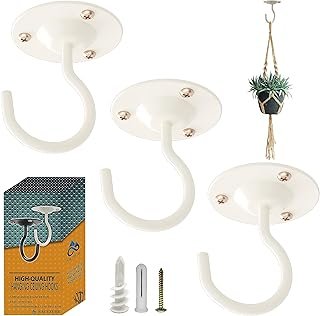
NACETURE Ceiling Hooks for Hanging Plants 3 Pack – Plant Hanger Indoor H…
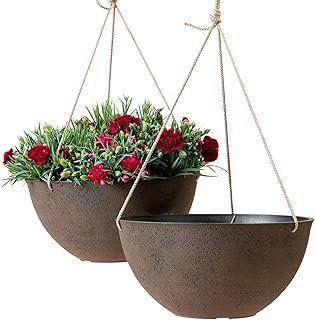
LA JOLIE MUSE Large Hanging Planters – 13 Inch Flower Pots Outdoor Indoo…
Conclusion
You’ve successfully learned how to hang plants without drilling into your walls or ceilings! This is an easy and effective way to add greenery to your home. Remember to keep your plants healthy and regularly check their placement.
Now that your space is transformed, consider exploring other creative decoration ideas or adding more plants to your collection. Celebrate your accomplishment and enjoy the fresh air that plants bring!