
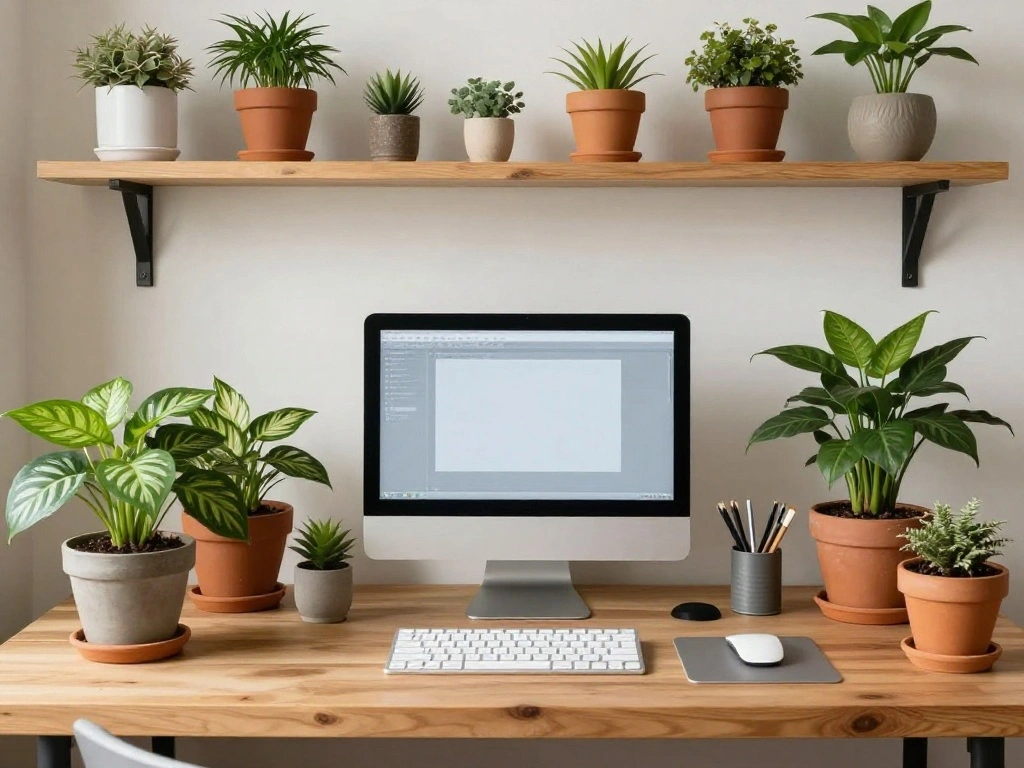
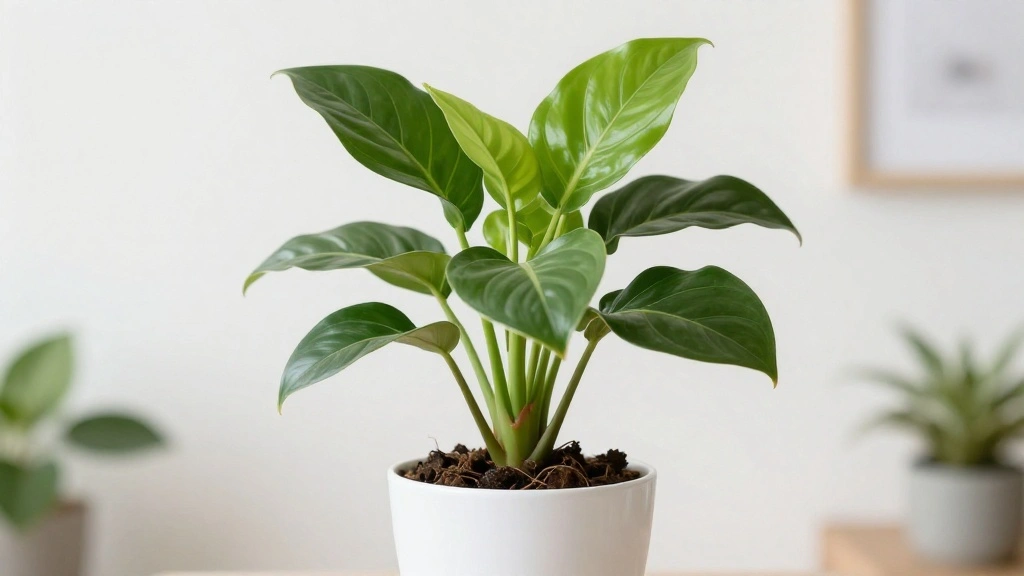
Houseplants add beauty and life to our spaces, but they can outgrow their pots, leading to root-bound plants that struggle to thrive. If your houseplant’s growth has stalled, or if you notice roots poking out of the drainage holes, it’s time for a repot! Many beginners fear that they might harm their plants during this process, leading to anxiety and procrastination. But fear not—repotting is a manageable task that can rejuvenate your houseplants and promote healthy growth.
In this guide, you’ll learn the essential steps to successfully repot your houseplant without causing harm. By the end, you will feel confident and ready to tackle your plant’s repotting needs. Difficulty Level: Beginner | Estimated Time: 30-60 minutes
Get ready to give your houseplant the fresh start it deserves! With the right tools and techniques, you will not only enhance your plant’s health but also enjoy the satisfaction of nurturing it properly. Let’s dive in!
TL;DR Summary
- Gather materials: pot, soil, and tools.
- Carefully remove the plant from its old pot.
- Inspect roots and trim if necessary.
- Add fresh soil to the new pot and place the plant inside.
- Water thoroughly and allow the plant to settle.
TL;DR Summary
Editor’s Choice
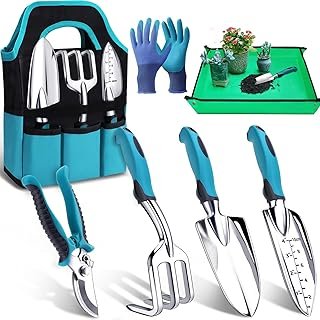
Kynup Garden Tools, Gardening Tools Set with Garden Hand Shovel, Garden …
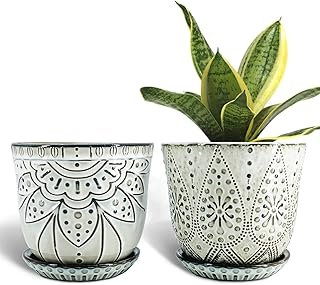
Gepege 6 Inch Beaded Ceramic Planter Set of 2 with Drainage Hole and Sau…
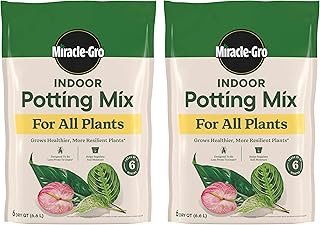
Miracle-Gro Indoor Potting Mix for All Plants, Use with Houseplants and …
Prerequisites/Materials Needed
- New Pot: Choose one that is 1-2 inches larger in diameter than the old pot.
- Potted Plant: Your houseplant needing repotting.
- Potting Soil: Use a type suitable for your plant species.
- Watering Can: For watering your plant after repotting.
- Gloves: Optional, but can protect your hands.
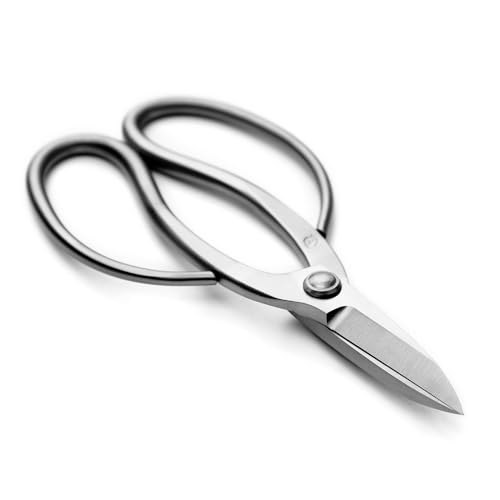
- Scissors or Pruning Shears: For trimming roots if needed.
Recommended Products

Ceramic Plant Pot: The ceramic pot is high temperature fired stoneware which are durable and lightweight that convenient for you to use

Plant Pots / Flower Pots - Invest in a beautiful garden to harvest the seeds of love, with the set of pots for indoor or outdoor plants

[Modern Minimalist Appearance] The planters for indoor plants are designed with a Matte exterior finish in soft. A variety of colors can be selected to enrich the interior space. The modern plant pots with houseplants are a living accessory for interior spaces. It can infuse your home with warmth, soften transitions between spaces.
Prerequisites/Materials Needed
Editor’s Choice

Fiskars Bypass Pruning Shears, 5/8″ Cut Capacity Gardening Scissors, Sel…
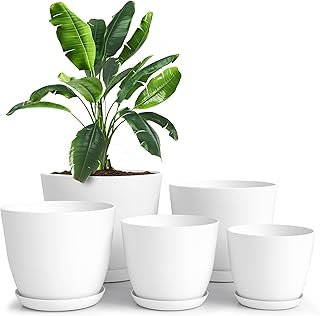
Utopia Home Plant Pots Indoor with Drainage Holes – Set of 5 White Pla…
Miracle-Gro Indoor Potting Mix for All Plants, Use with Houseplants and …
Skill Level & Time Estimate
Skill Level: Beginner
Total time estimate: 30-60 minutes.
Steps breakdown:
- Gather materials: 5-10 minutes
- Remove the plant: 5-10 minutes
- Inspect and trim roots: 10-15 minutes
- Potting the plant: 10-15 minutes
Recommended Products

GARDENING ESSENTIAL: With these stainless steel blade gardening shears, pruning tasks like cutting flower stems or maintaining your herb garden are easier with fast and clean cuts
Name: 160 root pruning scissors

REDUCE HAND STRESS- This scissors was made to eliminate the day to day stress that comes from long time pruning with our soft grip handles, sharp stainless steel blades and springless design to allow free movement
Skill Level & Time Estimate
Editor’s Choice
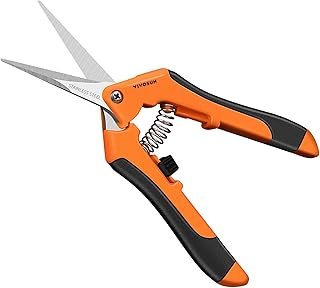
VIVOSUN 6.5 Inch Gardening Scissors Hand Pruner Pruning Shear with Strai…
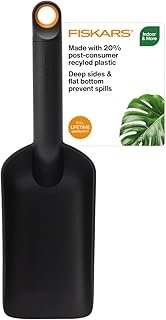
Fiskars Soil Scoop, Indoor Potting & Transplanting Tool for Medium Plant…
Miracle-Gro Indoor Potting Mix for All Plants, Use with Houseplants and …
Step 1: Gather Your Materials
Before you start the repotting process, gather all the necessary materials to ensure a smooth experience. This includes your new pot, potting soil, scissors, and a watering can. Having everything at hand will prevent interruptions while you work.
- Select a new pot that is 1-2 inches larger in diameter than the current one.
- Choose quality potting soil that suits your specific plant type.
- Prepare your workspace by laying out all materials for easy access.
Pro Tip: Make sure the new pot has drainage holes to prevent waterlogging.
Why this matters: Having your tools ready helps you focus on the plant and reduces stress during the repotting process.
Estimated time for this step: 5-10 minutes.
Step 1: Gather Your Materials
Editor’s Choice
Utopia Home Plant Pots Indoor with Drainage Holes – Set of 5 White Pla…
Fiskars Bypass Pruning Shears, 5/8″ Cut Capacity Gardening Scissors, Sel…
Miracle-Gro Indoor Potting Mix for All Plants, Use with Houseplants and …
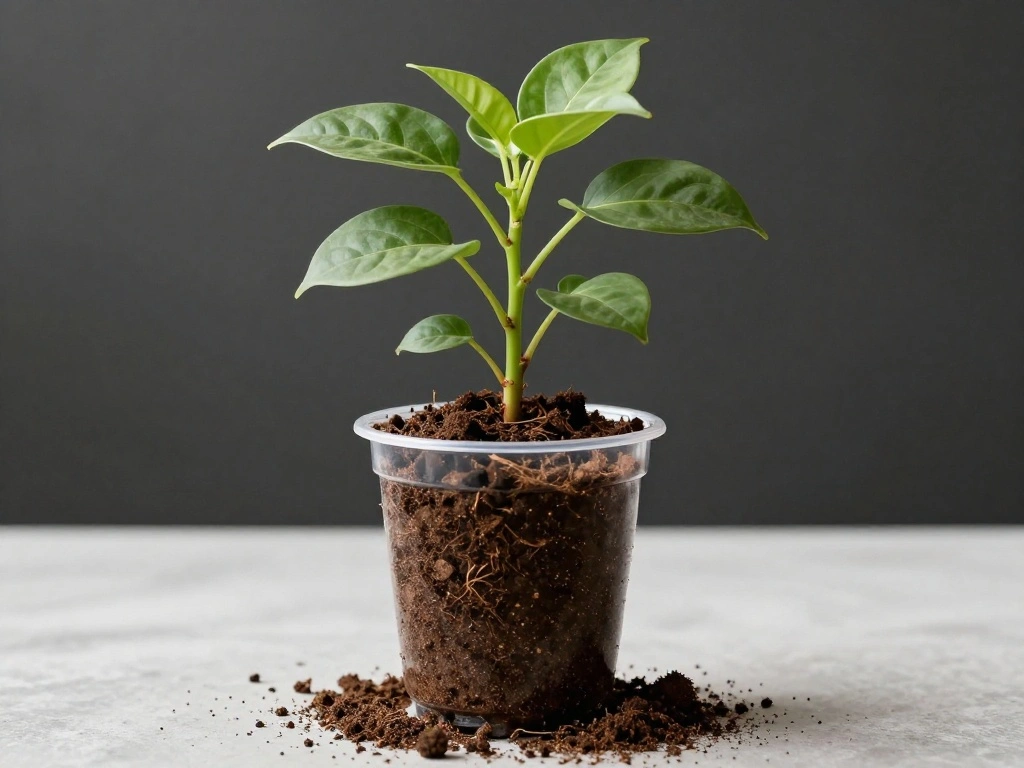
Step 2: Remove the Plant from Its Old Pot
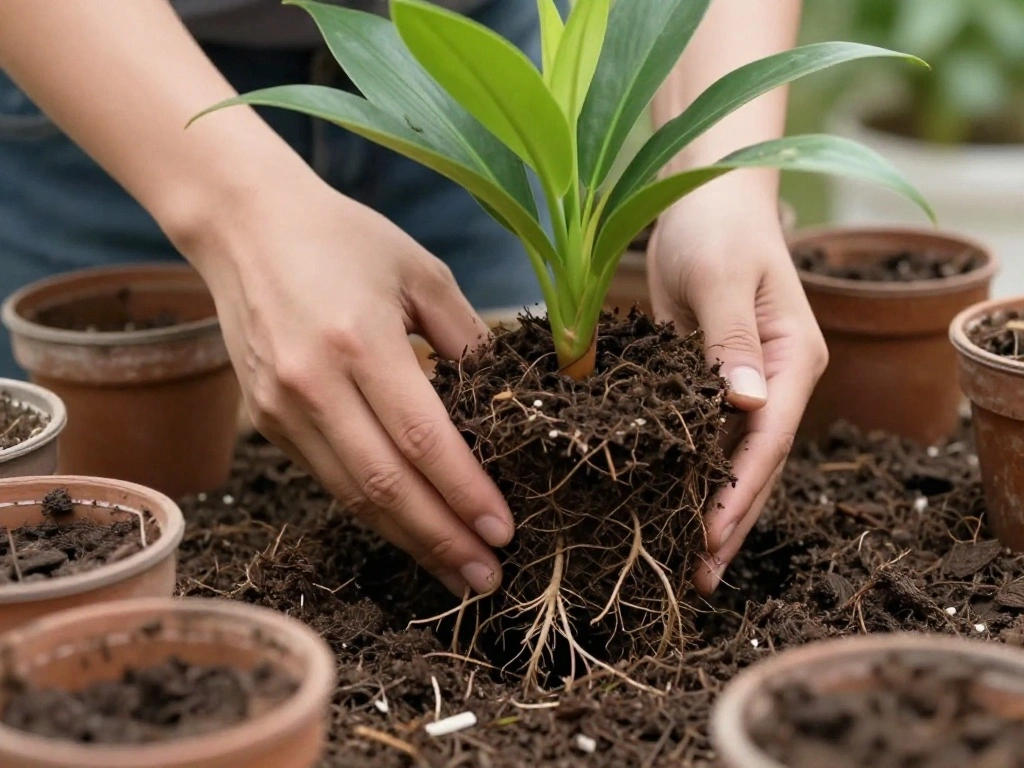
Gently remove your houseplant from its old pot. This step is crucial as it allows you to inspect the roots and assess their condition. Follow the instructions below:
- Hold the base of the plant and tilt the pot to one side.
- Gently tap the pot’s sides to loosen the soil.
- Carefully pull the plant out, supporting the root ball.
Warning: Avoid pulling too hard on the stems as this can damage the plant.
Why this matters: Proper removal ensures you minimize damage to the plant while allowing you to inspect the roots for any issues.
Estimated time for this step: 5-10 minutes.
Recommended Products

Durable Ceramic Material: The ceramic pots for plants are made of high temperature firing, not easy to break and can be used for a long time. With good air permeability, it helps plant roots breathe and promotes healthy plant growth
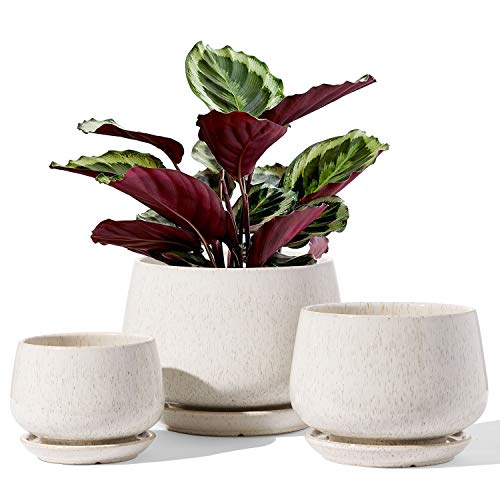
Bringing the Garden to You with Three Plant Pots: No garden? No problem! This set offers three plant pots of different sizes, ideal for your tabletop, bedroom, or even a spacious backyard or patio; Sizes: Large - 6.5" diameter, 5.8" height; Medium - 5" diameter, 4.5" height; Small (for succulents) - 4" diameter, 3.74" height

Size 6.8" (Desktop Friendly): Medium ceramic plant pot (diameter 6.8", height 5.3") designed for peace lily, pothos, spider plant, ZZ plant, or small snake plant. This 6.8-inch pot fits perfectly on desks, shelves, or windowsills—an ideal choice among flower pots for indoor plants
Step 2: Remove the Plant from Its Old Pot
Editor’s Choice
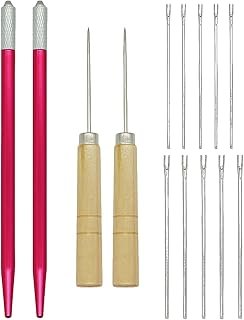
Hair Rooting Holder & Reroot Tool Kit for DIY Wigs, Model Figures, and C…

Patelai 3 Pairs Microfiber Plant Dusting Gloves Leaf Cleaning Gloves for…
Step 3: Inspect and Trim the Roots
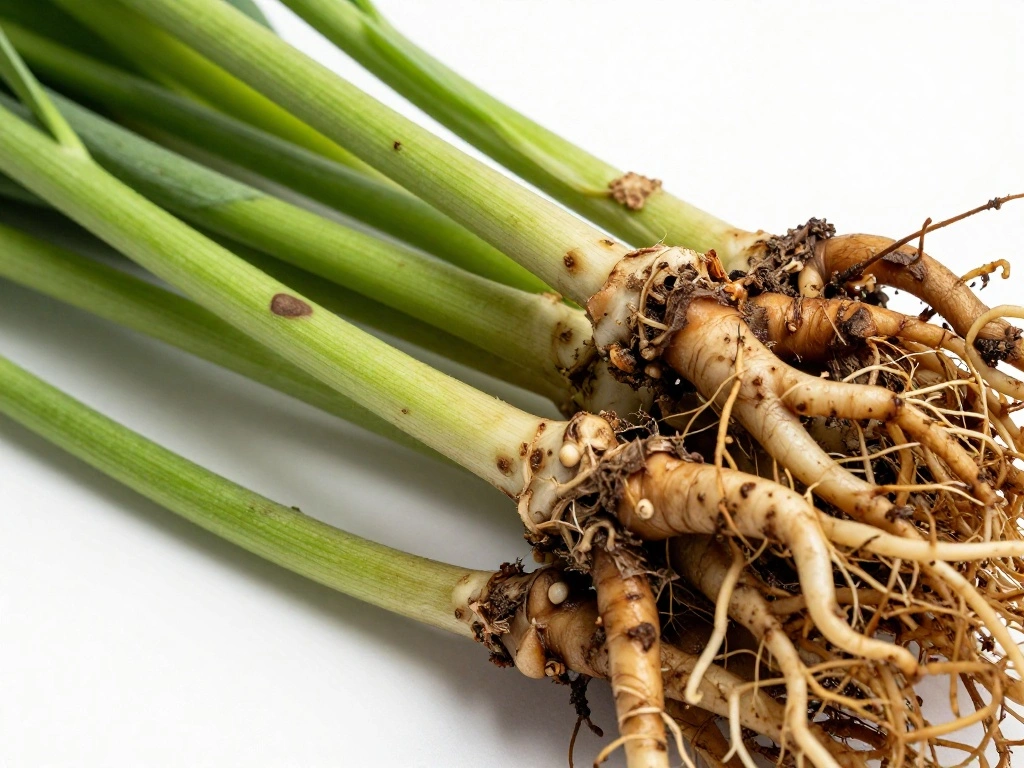
Once the plant is out of its pot, inspect the root system. Healthy roots should be white or light tan and firm. Follow these steps to assess and trim if necessary:
- Look for any brown, mushy, or dead roots that indicate rot.
- Use scissors or pruning shears to trim away any unhealthy roots.
- Check if the roots are tightly bound; if so, gently loosen them with your fingers.
Pro Tip: Prune no more than 20-30% of the root system to avoid shocking the plant.
Why this matters: Trimming unhealthy roots promotes better growth and helps the plant adapt to the new pot.
Estimated time for this step: 10-15 minutes.
Recommended Products

DUAL CUTTING POWER: VERSATILE PRUNING COMBO --- With both Pruning Shears and Pruning Snip, this combo delivers unmatched versatility. Whether you're delicately trimming flowers and shrubs, tackling thicker tree branches, or tending to your vegetable and fruit garden, our combo pack excels in all areas. They're also perfect for landscaping projects and maintaining the health and appearance of indoor plants. With this pack, you have a versatile tool that simplifies your gardening tasks.

Reduce Hand Strain: These micro tip snips are made to reduces hand fatigue which makes them great for those with arthritis, carpal tunnel, hand or wrist issues; Comfortable “grip” handles will make it easy to work for long-time use without making you feel hand pain

We have updated the handles of our gardening scissors by reducing the distance between the handles of the two large pruning shears so that they fit better in one hand, and by reducing the weight of the handles so that you can spend long periods of time picking fruit and pruning your garden, without the weight of the scissors tiring you out.
Step 3: Inspect and Trim the Roots
Editor’s Choice
Fiskars Bypass Pruning Shears, 5/8″ Cut Capacity Gardening Scissors, Sel…
Step 4: Prepare the New Pot
Now it’s time to prepare the new pot with fresh potting soil. This step is essential for providing a nutrient-rich environment for your plant. Follow these sub-steps:
- Place a layer of potting soil at the bottom of the new pot, about 1-2 inches deep.
- Ensure the soil is evenly distributed.
- Make a small indentation in the center for the root ball.
Pro Tip: Use a soil mix that retains moisture but also drains well, especially for potted plants.
Why this matters: Proper soil preparation provides a stable foundation for your plant, promoting healthy growth.
Estimated time for this step: 5-10 minutes.
Recommended Products

High Quality Gardening Gloves:The palms and fingers of gardening gloves for women are made of high-quality 100% cowhide leather.The palms with foam pads to ensure abrasion resistance and grip. The back of the hand and forearm are made of breathable and sweat-absorbent canvas material with bright floral patterns, which are breathable, and comfortable.

Gentle & Effective Plant Care: Expertly designed microfiber gloves gently clean plant leaves without damage, promoting healthier plants by enabling better sunlight absorption and enhancing overall appearance

Durable & Comfortable: Crafted from ultra-soft, premium goatskin leather, these women gardening gloves feature a durable and flexible surface that resists scratches, scrapes and abrasions. Reinforced stitching ensures long-lasting durability, ensuring your hands stay safe and comfortable during your gardening tasks
Step 4: Prepare the New Pot
Editor’s Choice
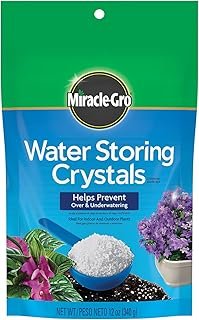
Miracle-Gro Water Storing Crystals – Soil Moisture Retention Crystals fo…
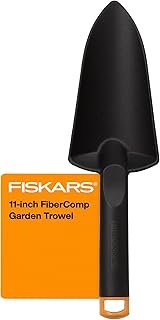
Fiskars Hand Trowel – Fiber Composite Gardening Hand Tool with Hang Hole…
Step 5: Place the Plant in the New Pot

Carefully place the plant into the new pot, ensuring it is centered and upright. Here’s how to do it:
- Lift the plant by the root ball and position it in the center of the new pot.
- Fill in the gaps around the root ball with additional potting soil.
- Press down gently to eliminate air pockets while avoiding damage to the roots.
Warning: Do not bury the plant deeper than it was in the old pot, as this can lead to root rot.
Why this matters: Proper placement helps the plant establish itself in the new pot without stress or damage.
Estimated time for this step: 10-15 minutes.
Step 5: Place the Plant in the New Pot
Editor’s Choice

Fiskars Trowel, Heavy Duty Gardening Hand Tool with Hang Hole, For Diggi…
Miracle-Gro Indoor Potting Mix for All Plants, Use with Houseplants and …
Step 6: Water the Plant Thoroughly
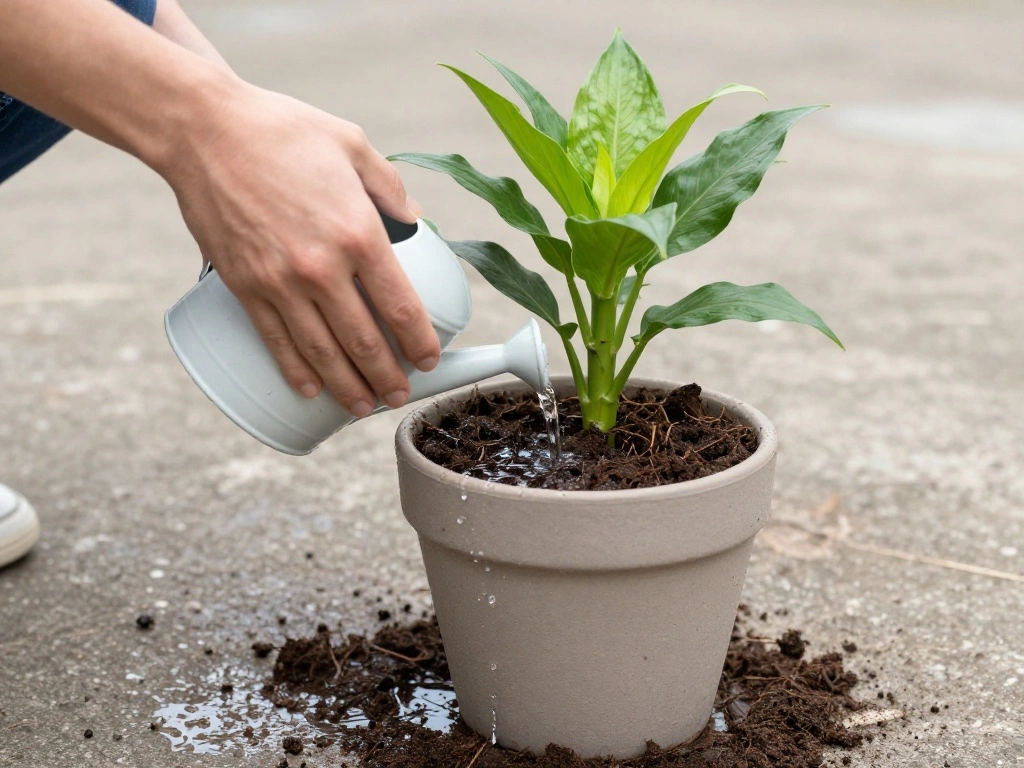
After potting the plant, it’s crucial to water it thoroughly. This step helps the soil settle and provides much-needed hydration. Here’s how to do it:
- Use a watering can to moisten the soil around the plant.
- Water until you see drainage from the bottom of the pot.
- Allow the plant to drain for a few minutes before returning it to its original location.
Pro Tip: Watering immediately after repotting helps reduce transplant shock.
Why this matters: Proper watering not only hydrates the plant but also helps establish connections between roots and new soil.
Estimated time for this step: 5-10 minutes.
Recommended Products

【Long Gardening Gloves Women】This cactus printed garden glove is designed specifically for women, and the size will be more suitable for women. It also ensures protection and breathability while considering the appearance. Wearing this glove when handling plants such as roses in the garden is a great choice. Reminder:These gloves cannot resist 100% cactus thorns. Please be careful not to get injured when using them

GARDENING GLOVES SPECIALLY FOR WOMEN - Lightweight & breathable knitted base for a comfortable fit. Flexible rubber coating in mint green and bright red is designed to keep your hands cool & dry. Thicken fingertip will protect your hands and nails perfectly. Long and flexible cuff will keep dirt and debris out.

Step 6: Water the Plant Thoroughly
Editor’s Choice
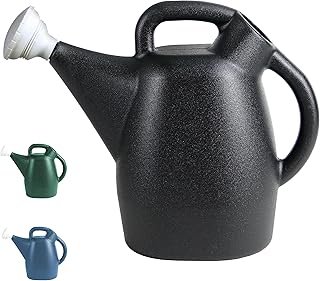
Chapin 47998 Watering Can, 2 Gallon, Indoor and Outdoor Plants, Lawn, Ga…
Step 7: Monitor the Plant After Repotting
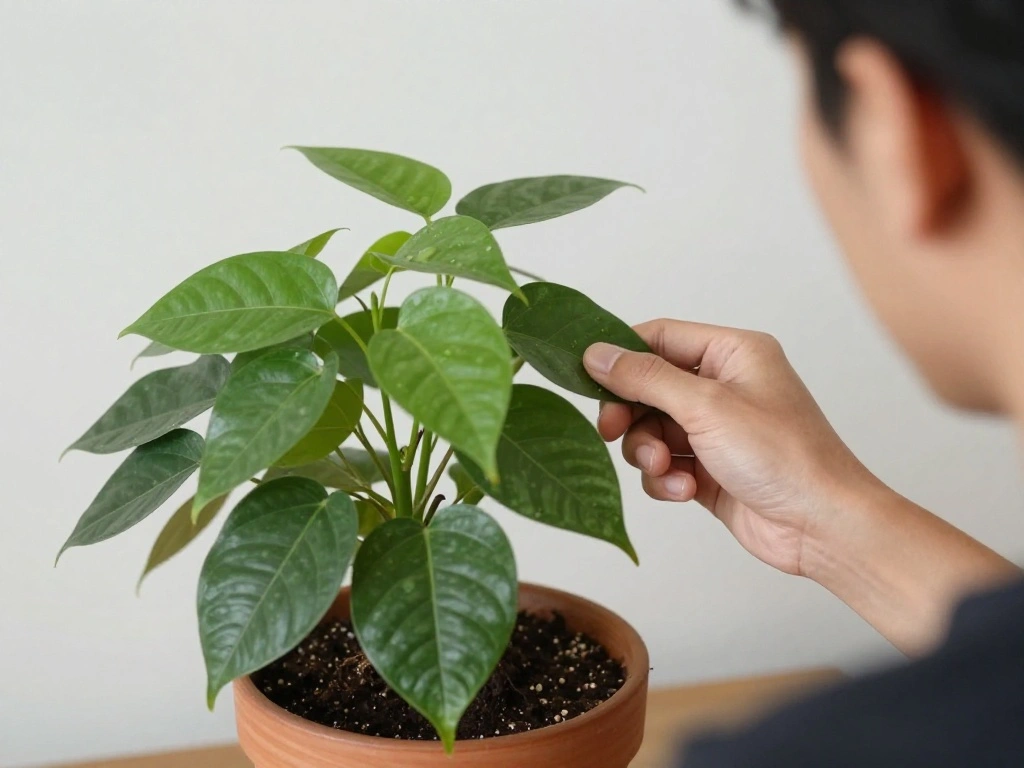
After repotting, keep an eye on your plant for the next few weeks. This monitoring helps you catch any potential issues early. Follow these steps:
- Place the plant in a location with appropriate light but avoid direct sunlight for a few days.
- Check the soil moisture regularly, allowing it to dry slightly between waterings.
- Look for signs of stress, such as yellowing leaves or drooping stems.
Pro Tip: Be patient; it can take time for plants to adjust to their new pots.
Why this matters: Monitoring helps you ensure your plant is adapting well and thriving in its new environment.
Estimated time for this step: Ongoing for several weeks.
Step 7: Monitor the Plant After Repotting
Editor’s Choice

Plant Care Journal: Houseplant Journal and Log Book to Keep Track of You…
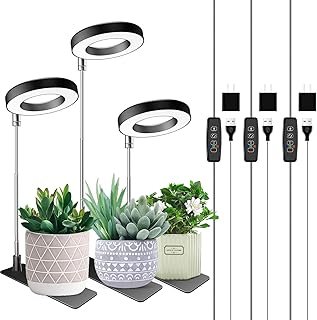
Aokrean Plant Grow Light, 48 LEDs Full Spectrum Grow Lights for Indoor P…
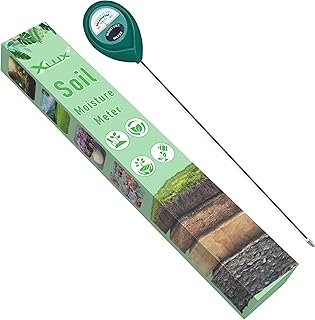
XLUX Long Probe Deep Use Soil Moisture Meter, Water Monitor Indicator Se…
Step 8: Maintain Regular Care
Finally, maintaining regular care after repotting is crucial for your plant’s continued health. Here’s how to ensure your plant thrives:
- Resume your regular watering schedule, adjusting based on the plant’s needs.
- Fertilize lightly after a month to provide nutrients.
- Monitor the plant’s growth and consider future repotting as it grows.
Pro Tip: Keep a calendar or reminders for watering and fertilizing to stay on track.
Why this matters: Consistent care ensures your plant remains healthy and vibrant, reducing the stress of future repottings.
Estimated time for this step: Ongoing.
Step 8: Maintain Regular Care
Editor’s Choice
Plant Care Journal: Houseplant Journal and Log Book to Keep Track of You…

Watering Can for Indoor and Outdoor Plants – Long Spout Water Can for Ga…
Miracle-Gro Liquid All Purpose Plant Food, Concentrate, Feeds Plants Ins…
Pro Tips
- Timing: Repot in spring or early summer when plants are actively growing.
- Soil Choice: Use a high-quality, well-draining potting mix tailored to your plant type.
- Watering Technique: Water thoroughly after potting, then let the top inch of soil dry out before the next watering.
- Temperature: Avoid repotting during extreme temperature changes.
- Outdoor Acclimatization: If moving an indoor plant outside after repotting, acclimate it gradually to avoid shock.
Pro Tips
Editor’s Choice
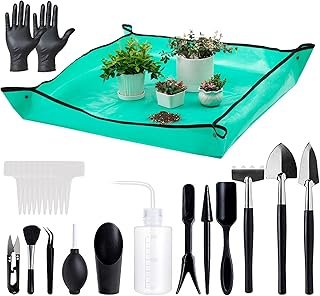
Melphoe 25Pcs Mini Garden Hand Transplanting Succulent Tools Set, 39.4″ …
Watering Can for Indoor and Outdoor Plants – Long Spout Water Can for Ga…
Miracle-Gro Moisture Control Potting Mix – Plant Soil For Container Plan…
Common Mistakes to Avoid
Warning: Overwatering: This can lead to root rot. Ensure the new pot has drainage holes and only water when the top inch of soil is dry.
Warning: Underestimating pot size: Using a pot that is too small restricts growth. Always choose a pot slightly larger than the current one.
Warning: Burying too deep: Don’t plant too deeply to avoid suffocating the roots. The root ball should be at the same level as before.
Common Mistakes to Avoid
Editor’s Choice
Fasmov 1-Gallon Plastic Watering Can with Comfortable Handle, Garden Wat…
Compressed Organic Potting Soil for Garden, Plants & Vegetables – Expand…
Self Watering Pots for Indoor Plants 12/10/9/8 Inch Large Plastic Self W…
Troubleshooting Section
Problem: Plant wilting after repotting.
Solution: Check the soil moisture; if it’s too dry, water thoroughly. Ensure it’s in proper light conditions.
Problem: Leaves turning yellow.
Solution: This may indicate overwatering or nutrient deficiencies. Check soil moisture and consider fertilizing lightly.
Problem: Roots still visible above the soil.
Solution: If the plant is root-bound, consider repotting again into a larger pot.
Troubleshooting Section
Editor’s Choice
Miracle-Gro Indoor Potting Mix for All Plants, Use with Houseplants and …
Miracle-Gro Indoor Plant Food for All Plants, Liquid Plant Food for Hous…
Sustee Aquameter, Set of 5, Plant Soil Moisture Sensor (Green, Medium)
Variations/Alternative Methods
Consider these variations based on your plant type:
- Soil-less Mix: Ideal for orchids and other epiphytes that thrive in airy environments.
- Self-Watering Pots: Great for plants that require consistent moisture without frequent watering.
- Organic Methods: Use homemade compost for a natural approach, especially for edible plants.
Variations/Alternative Methods
Editor’s Choice
Back to the Roots 25.7qt (1 Cubic ft) Organic Premium Compost
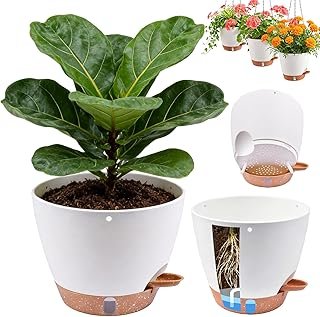
3 Pack 8/9/10 Inch Hanging Self Watering Pots for Indoor/Outdoor Plants …
Miracle-Gro Succulent Potting Mix – Potting Soil Mix for Indoor Succulen…
FAQs
What if I don’t have a larger pot? You can prune the roots and refresh the soil in the existing pot as a temporary solution.
How long should I wait to water after repotting? Water immediately after repotting, then wait for the top inch of soil to dry before the next watering.
Is it safe to repot during winter? It’s best to wait until early spring, as plants are dormant and may experience shock.
FAQs
Editor’s Choice
Miracle-Gro Indoor Potting Mix for All Plants, Use with Houseplants and …
VIVOSUN 6.5 Inch Gardening Scissors Hand Pruner Pruning Shear with Strai…
Watering Can for Indoor and Outdoor Plants – Long Spout Water Can for Ga…
Conclusion
Congratulations on successfully repotting your houseplant! You’ve taken a crucial step in ensuring its health and longevity. With proper care and attention, your plant will thrive in its new environment.
Now that you’ve mastered repotting, consider exploring additional plant care tips or expanding your indoor garden. Remember, every plant has unique needs, so stay curious and keep learning!
Recommended Products

Chapin Watering Can: Designed for standard lawn and garden water tasks, the half gallon black poly water tank means it is lightweight to carry and the convenient large top opening ensures easy filling - making this watering can a versatile tool for all your watering needs

COMPACT INDOOR WATERING SOLUTION: Holds 17 oz of water to hydrate small houseplant collections on windowsills or desktops without taking up valuable storage space in your home

PRECISE POURING FOR PLANTS: Long & slender spout reaches deep into dense foliage to deliver hydration directly to the roots without spilling on leaves or disturbing soil