Are you tired of grocery store vegetables that lack flavor and freshness? With the rising costs of organic produce, many want to grow their own food but don’t have the space or resources for a traditional garden. Hydroponic gardening offers a solution, allowing you to grow vegetables in small spaces without soil, using nutrient-rich water instead.
In this guide, you will learn how to set up your very own hydroponic vegetable garden at home for under $100. You’ll discover the materials you’ll need, step-by-step instructions to build your system, and tips for maintaining your plants.
This guide is designed for beginners and can be completed in about 2-3 hours. By the end, you’ll have fresh herbs and vegetables growing right at home—providing you with a sustainable source of food and enhancing your culinary adventures.
Image Prompt: A vibrant hydroponic vegetable garden setup in a cozy home kitchen.
TL;DR Summary
- Set up a hydroponic garden at home for under $100.
- Follow 9 simple steps to build your system.
- Grow fresh vegetables and herbs without soil.
- Enjoy sustainable gardening in limited space.
Recommended Products

High planting efficiency: Start an indoor herb garden with the Ahopegarden hydroponic growing system, which includes a water reservoir, an overhead LED grow light, and a circulation system that keeps the water fresh. The hydroponic setup and lighting systems allow plants to grow up to faster and healthier in controlled conditions. Simply add plant seeds, water, and nutrients to the reservoir and watch the plants grow

Avant-garde and modern design: Our smart hydroponics growing system kit merges urban farming innovation with minimalist aesthetics. Crafted from durable ABS, its 17" space-saving profile features an LCD touchscreen for one-touch control, perfect for tech-savvy gardeners or as a unique gift. The integrated full-spectrum panel adapts seamlessly to indoor hydroponics, blending functionality with sleek vertical farming appeal.
TL;DR Summary
Editor’s Choice
Liquid Plant Food for use in AeroGarden, IDOO and Hydroponic Growing Sys…
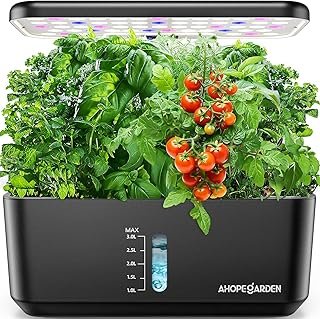
Ahopegarden Indoor Garden Hydroponics Growing System: 10 Pods Plant Germ…
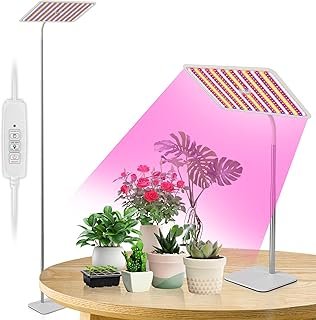
BESTVA 48W Grow Lights for Indoor Plants with Stand, Full Spectrum LED P…
Prerequisites/Materials Needed
- Container: 5-gallon bucket (1)
- Net pots: 3-inch diameter (5)
- Hydroponic growing medium: clay pebbles (1 bag)
- Nutrient solution: hydroponic nutrient mix (1 bottle)
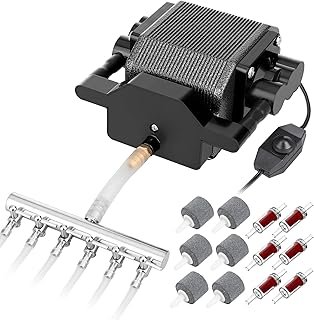
- Air pump: aquarium air pump (1)
- Air stones: for oxygenation (2)
- Water: filtered or distilled (as needed)
- Seeds: your choice of vegetables (e.g., lettuce, basil) (5-10 packets)
- pH testing kit: for checking nutrient solution (1)
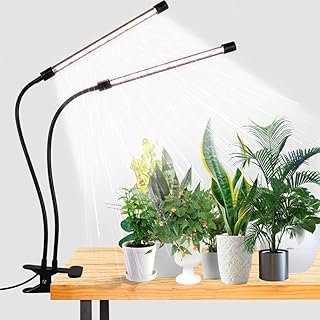
- Light source: grow lights or natural light (as needed)
Prerequisites/Materials Needed
Editor’s Choice
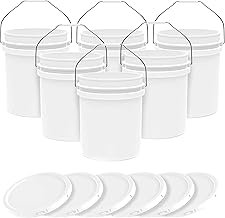
5-Gallon White Bucket Pail Container with Lid | Food Grade | Heavy-Duty …
Liquid Plant Food for use in AeroGarden, IDOO and Hydroponic Growing Sys…
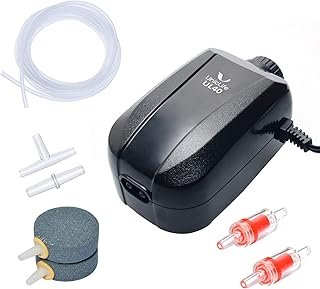
Uniclife Aquarium Air Pump Dual Outlet Fish Tank Aerator with Accessorie…
Skill Level & Time Estimate
Skill Level: beginner
Total time estimate: 2-3 hours.
Breakdown of time:
– Gathering materials: 30 minutes
– Setting up the system: 1-2 hours
– Planting seeds: 30 minutes.
Skill Level & Time Estimate
Editor’s Choice
Liquid Plant Food for use in AeroGarden, IDOO and Hydroponic Growing Sys…
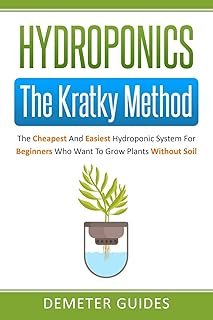
Hydroponics: The Kratky Method: The Cheapest And Easiest Hydroponic Syst…
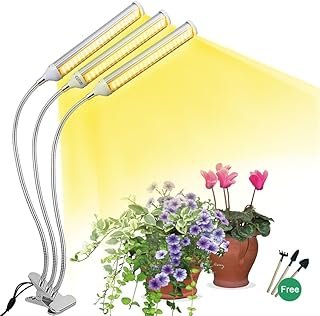
ELITUN LED Grow Light for Indoor Plants, Full Spectrum Plant-Growing Lam…
Step 1: Choose the Right Location
Select a suitable area in your home for your hydroponic garden. Here’s what to consider:
- Identify a spot with good natural light or where you can place grow lights.
- Ensure the location has access to water and is near an electrical outlet for your air pump.
- Check for a stable temperature range (65-75°F is ideal).
Pro Tip: A south-facing window is often the best choice for natural light.
Why this matters: The right location will ensure your plants receive adequate light and temperature for optimal growth.
Time estimate: 15-20 minutes.
Image Prompt: A bright room with a window, showing the area where a hydroponic setup will be placed.
Recommended Products

20 COMPACT VEGETABLE & HERB VARIETIES – Chinese Celery, Lolla Rossa Lettuce, Sugar Daddy Snap Pea, Buttercrunch Lettuce, Spacemaster Cucumber, Little Fingers Carrot, Opal Basil, Arugula, Thyme, Viroflay Spinach, Flat Leaf Parsley, Tokyo Long White Bunching Onion, Dwarf Mix Petunia, French Breakfast Radish, Serrano Pepper, Catnip, Lemon Balm, Red Russian Kale, Marconi Red Pepper, and Cilantro

PATENTED SMART HYDROPONIC SYSTEM: Take your indoor gardening to the next level with our patented smart hydroponic system, featuring the exclusive LetPot app. With just a few taps on your phone, you can effortlessly adjust the 0-24 hours LED lighting schedule to provide your plants with the perfect amount of light and precies on/off time. Our innovative reminder system also ensures you never forget to water your plants again, making growing healthy and vibrant plants easier than ever before.

Personalized Pods and Water Visual Window: Hydroponics growing system with light offers 12 grow stations,allowing you to cultivate a variety of , vegetables, fruits or flowers - perfect for any plant enthusiast! Our customized panels are compatible with most grow baskets and make it easy to harvest your indoor garden. Also it comes with a see-through water level window, allowing one to know how much water in the tank and add water in time with a simple glance
Step 1: Choose the Right Location
Editor’s Choice
Ahopegarden Indoor Garden Hydroponics Growing System: 10 Pods Plant Germ…
AquaMiracle Quiet Aquarium Air Pump 200/317/475GPH High Pressure Commerc…
GooingTop LED Grow Light,6000K Full Spectrum Clip Plant Growing Lamp wit…
Step 2: Prepare the Container
Grab your 5-gallon bucket and prepare it for the hydroponic system:
- Drill holes in the lid of the bucket to fit the net pots (spacing them evenly).
- Fill the net pots with clay pebbles, leaving some space for plants.
- Set the lid aside.
Pro Tip: Ensure that the holes are not too large; you want the net pots to sit securely.
Why this matters: Proper preparation allows for a stable environment for your plants to thrive.
Time estimate: 30 minutes.
Image Prompt: A person drilling holes into the bucket lid with net pots and clay pebbles nearby.
Step 2: Prepare the Container
Editor’s Choice
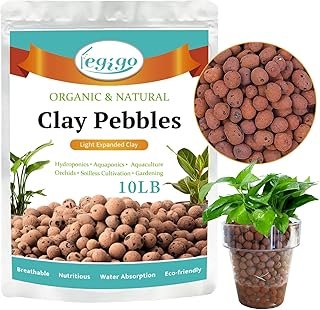
Legigo 10 LB Organic Leca Clay Pebbles for Plants, 4mm-16mm 100% Natural…
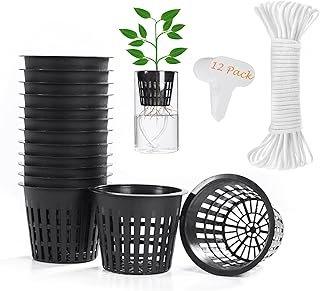
ORIMERC 12 Pack 3 inch Net Cups Pots with 12 feet Hydroponics Self Water…
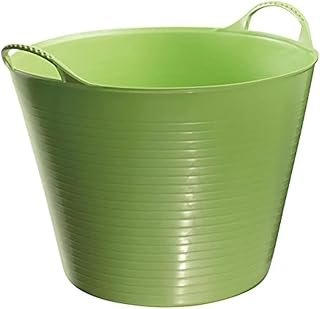
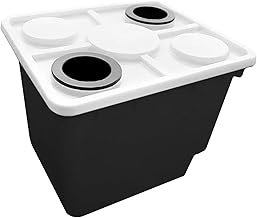
Red Gorilla Small Flexible Plastic Tub, Toy Storage, Laundry, Gardening …
Step 3: Assemble the Hydroponic System
Now it’s time to assemble your hydroponic system:
- Place the air stones at the bottom of the bucket and connect them to the air pump.
- Fill the bucket with filtered water, leaving some space at the top.
- Mix the hydroponic nutrient solution into the water as per the instructions on the bottle.
Pro Tip: Ensure the air stones are submerged to prevent them from drying out.
Why this matters: Proper assembly ensures your plants receive the nutrients and oxygen they need for healthy growth.
Time estimate: 20-30 minutes.
Image Prompt: A person assembling the air pump and air stones inside the bucket.
Step 3: Assemble the Hydroponic System
Editor’s Choice
Uniclife Aquarium Air Pump Dual Outlet Fish Tank Aerator with Accessorie…
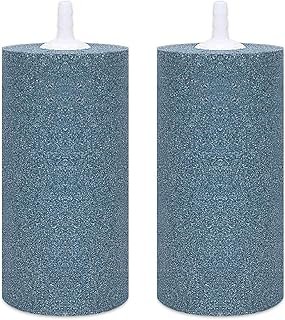
VIVOSUN Air Stone 2PCS 4 x 2 Inch Large Air Stone for Aquarium, Fish Tan…
Liquid Plant Food for use in AeroGarden, IDOO and Hydroponic Growing Sys…
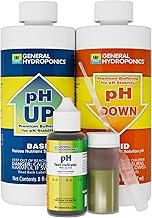
Step 4: Set pH Levels
Testing and adjusting pH levels is crucial for nutrient absorption:
- Use the pH testing kit to check the water’s pH level.
- The ideal pH range for hydroponics is between 5.5 and 6.5.
- If necessary, adjust the pH using pH up or down solutions according to the kit instructions.
Warning: Avoid adding too much pH solution at once, as it can swing the pH drastically.
Why this matters: Maintaining the right pH level allows your plants to absorb nutrients efficiently.
Time estimate: 15 minutes.
Image Prompt: A person using a pH testing kit to check water levels in the bucket.
Step 4: Set pH Levels
Editor’s Choice

Step 5: Plant Your Seeds
Now it’s time to plant your seeds:
- Place the seeds into the clay pebbles in the net pots, following the recommended planting depth on the seed packet.
- Gently mist the seeds with water to keep them moist.
- Replace the lid onto the bucket, ensuring the net pots are securely positioned.
Pro Tip: Start with fast-growing seeds like lettuce or herbs for quicker results.
Why this matters: Proper planting ensures successful germination and healthy growth.
Time estimate: 20-30 minutes.
Image Prompt: A close-up of seeds being placed into the net pots filled with clay pebbles.
Step 5: Plant Your Seeds
Editor’s Choice
Legigo 10 LB Organic Leca Clay Pebbles for Plants, 4mm-16mm 100% Natural…

Spray Bottle for Plants 2 Pack, 16oz – Ultra Fine Mist, Plant Mister Emp…
ORIMERC 12 Pack 3 inch Net Cups Pots with 12 feet Hydroponics Self Water…
Step 6: Provide Light
Light is essential for plant growth:
- If using natural light, place your hydroponic setup in a sunny spot, ensuring it gets at least 6-8 hours of light daily.
- If using grow lights, position them about 12-18 inches above the plants.
- Set a timer for the lights to ensure a consistent light cycle.
Pro Tip: Rotate your plants periodically to ensure even light distribution.
Why this matters: Adequate light promotes photosynthesis, leading to healthy growth.
Time estimate: 15 minutes.
Image Prompt: A hydroponic system under grow lights, showing the plants and light setup.
Step 6: Provide Light
Editor’s Choice
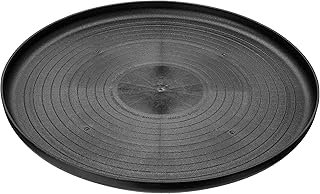
Bosmere S41610 Down Under Plant Turner, Heavy-Duty Rotating Plant Stand,…
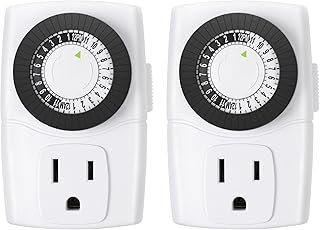
BN-LINK BND-60/U47 Indoor Mini 24-Hour Mechanical Outlet Timer, 3-Prong,…
GooingTop LED Grow Light,6000K Full Spectrum Clip Plant Growing Lamp wit…
Step 7: Monitor Water Levels and Nutrients
Regular maintenance is key to a thriving hydroponic garden:
- Check the water level in the bucket weekly, topping up with fresh water as needed.
- Every two weeks, replace a portion of the nutrient solution to keep it fresh.
- Test the pH every week and adjust as necessary.
Pro Tip: Keep a gardening journal to track your water and nutrient levels over time.
Why this matters: Consistent monitoring ensures your plants receive the right amount of nutrients and water, preventing issues.
Time estimate: 10-15 minutes per week.
Image Prompt: A person checking the water levels and adjusting nutrient solution in the hydroponic system.
Step 7: Monitor Water Levels and Nutrients
Editor’s Choice
Liquid Plant Food for use in AeroGarden, IDOO and Hydroponic Growing Sys…
2Pcs Water Level Indicators Buoy Water Level Gauges for Pots Water Short…
Step 8: Harvest Your Vegetables
After a few weeks, it’s time to enjoy the fruits of your labor:
- When your plants are mature and ready for harvest, use scissors to cut the vegetables just above the root.
- Harvest regularly to encourage new growth.
- Enjoy your fresh produce in your meals!
Pro Tip: Harvesting leaves instead of the whole plant can prolong your growing cycle.
Why this matters: Regular harvesting encourages continued growth and provides you with fresh vegetables.
Time estimate: 15-20 minutes.
Image Prompt: A person harvesting fresh vegetables from the hydroponic system.
Step 8: Harvest Your Vegetables
Editor’s Choice

Fiskars Bypass Pruning Shears, 5/8″ Cut Capacity Gardening Scissors, Sel…
Step 9: Troubleshoot Common Issues
Be prepared to address common hydroponic gardening issues:
- If plants are wilting, check for low water levels or nutrient imbalance.
- If leaves are yellowing, adjust the pH or nutrient levels.
- If growth is slow, consider increasing light exposure or checking for pests.
Warning: Addressing issues promptly can prevent larger problems later on.
Why this matters: Being proactive can save your plants and ensure a fruitful harvest.
Time estimate: Varies based on the issue.
Image Prompt: A person inspecting plants for signs of issues in the hydroponic garden.
Step 9: Troubleshoot Common Issues
Editor’s Choice
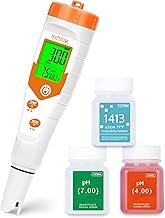
pH Meter for Hydroponics PPM EC Meter for Plant Nutrients Simultaneous M…
GooingTop LED Grow Light,6000K Full Spectrum Clip Plant Growing Lamp wit…
Liquid Plant Food for use in AeroGarden, IDOO and Hydroponic Growing Sys…
Pro Tips
- Choose the Right Crops: Start with fast-growing, low-maintenance crops like lettuce, herbs, or spinach.
- Maintain Cleanliness: Regularly clean your system to prevent algae growth and disease.
- Utilize Companion Planting: Combine compatible plants for better growth and pest control.
- Monitor Temperature: Ensure that the temperature is consistent to promote healthy growth.
- Keep Learning: Join online communities or forums for hydroponic gardening tips and support.
Pro Tips
Editor’s Choice
Ahopegarden Indoor Garden Hydroponics Growing System: 10 Pods Plant Germ…
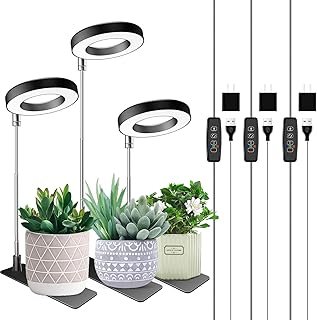
Aokrean Plant Grow Light, 48 LEDs Full Spectrum Grow Lights for Indoor P…
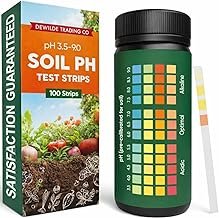
Soil pH Paper Test Kit – 100 Tester Strips (3.5-9 Range) – Use for T…
Common Mistakes to Avoid
Warning: Overwatering: Too much water can drown roots; ensure proper drainage.
Warning: Neglecting pH levels: Unchecked pH can lead to nutrient lockout; test regularly.
Warning: Poor lighting: Insufficient light can stunt growth; ensure plants get enough exposure.
Common Mistakes to Avoid
Editor’s Choice
Aokrean Plant Grow Light, 48 LEDs Full Spectrum Grow Lights for Indoor P…
Ahopegarden Indoor Garden Hydroponics Growing System: 10 Pods Plant Germ…
Troubleshooting Section
Problem: Leaves are yellowing.
Solution: Check nutrient levels and pH. Adjust as necessary.
Problem: Plants are wilting.
Solution: Check water levels and ensure the air pump is functioning.
Problem: Algae growth.
Solution: Clean the system and reduce light exposure to the nutrient solution.
Troubleshooting Section
Editor’s Choice
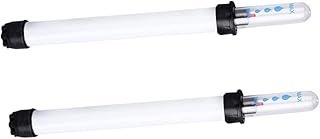
4pcs Rigid PC Tubes Set, Hollow round Plastic Tubing, Small Diameter 5×4…
Liquid Plant Food for use in AeroGarden, IDOO and Hydroponic Growing Sys…
Variations/Alternative Methods
Consider the following variations:
1. Deep Water Culture: Plants sit in a nutrient-rich water solution.
2. Nutrient Film Technique: A thin film of nutrient solution flows over the roots.
3. Wicking System: Uses capillary action to draw water to plants without pumps.
Variations/Alternative Methods
Editor’s Choice
Dutch Bucket Hydroponic System with 2 Hole Lid and Basket, 11.81×9.84×9….

Hydroponics – nutrient film techniques : January 1983 – December 1991 / …
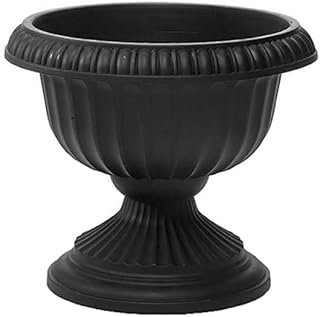
Root & Vessel Grecian Urn Planter, Black, 12-Inch
FAQs
What if I don’t have enough light? Consider using grow lights as a supplement.
How long should I expect to wait before harvesting? Most leafy greens take about 4-6 weeks to mature.
Is it safe to use tap water? It’s best to use filtered water, as tap water may contain chlorine and other chemicals.
FAQs
Editor’s Choice
Liquid Plant Food for use in AeroGarden, IDOO and Hydroponic Growing Sys…
Brita Faucet Mount Water Filter System, White, No-Wait Filtration, Easy …
GooingTop LED Grow Light,6000K Full Spectrum Clip Plant Growing Lamp wit…
Conclusion
Congratulations! You’ve successfully set up your hydroponic vegetable garden at home for under $100. Your fresh vegetables will not only add flavor to your meals but also provide a sense of accomplishment and sustainability.
As you continue this journey, consider experimenting with different plants and techniques. Explore online communities for tips and share your successes. Enjoy the bounties of your new garden!
Image Prompt: A person standing proudly next to their thriving hydroponic garden.