Are you struggling to keep your terrarium thriving? Many beginners face challenges with plant health and overall aesthetics due to improper layering techniques. By learning how to layer a terrarium correctly, you’ll ensure that your plants get the drainage, nutrients, and environment they need to flourish.
This guide will walk you through the essential steps to create a visually stunning and healthy terrarium. By the end, you will have a layered terrarium that not only looks good but also supports plant growth for the long term. You’ll learn about the importance of drainage layers, selecting the right substrate, and choosing suitable plants for your terrarium.
This project is rated as beginner difficulty and will take approximately 1-2 hours to complete. Get ready to dive into the world of terrarium-making and create a beautiful mini-ecosystem that brings life to your space!
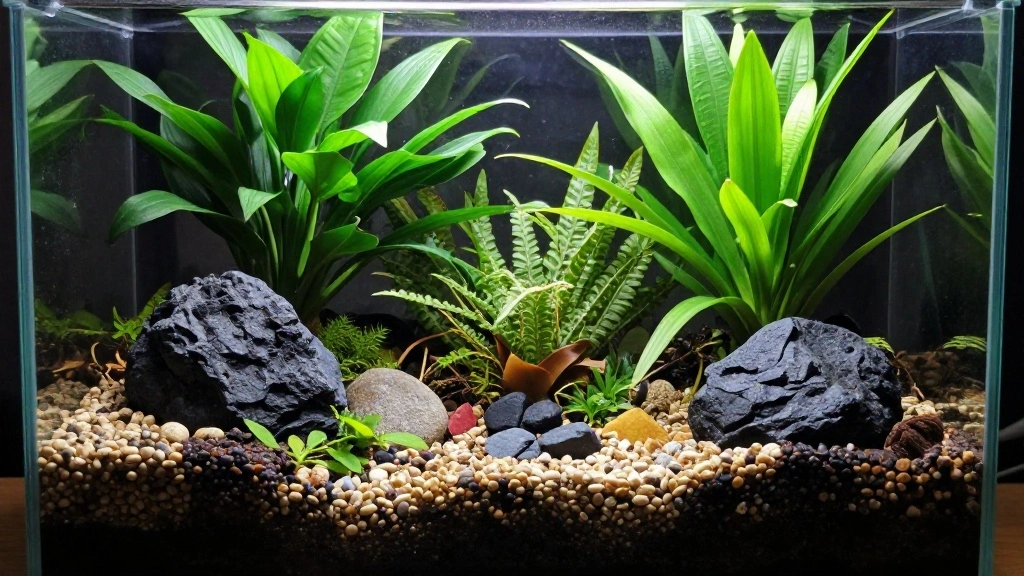
[Screenshot: Image of a beautifully layered terrarium in natural light]
TL;DR Summary
– Start with proper drainage to prevent root rot.
– Use a suitable substrate for nutrients and moisture retention.
– Choose plants that thrive in a terrarium environment.
– Follow a step-by-step process to layer effectively.
TL;DR Summary
Editor’s Choice
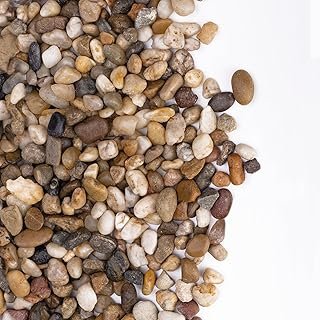
Pulovin 2.5 lbs Drainage Rocks for Potted Plants, 1/5 Inch Small Pebbles…
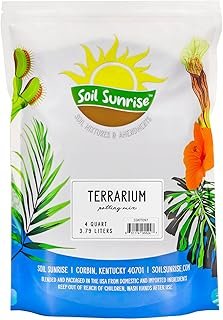
Soil Sunrise Terrarium Potting Soil Mix (4 Quarts) w/Blended Filtering C…
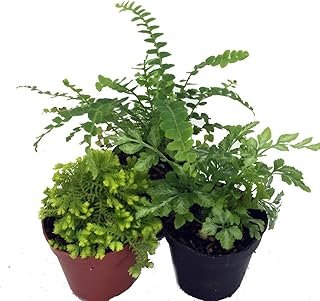
Mini Ferns for Terrariums/Fairy Garden – Live Plants – 3 Different Plant…
Prerequisites/Materials Needed
- Glass container (size depends on your preference)
- Small stones or pebbles for drainage (1-2 cups)
- Activated charcoal (1 cup)
- Potting soil (2-3 cups)
- Plants (2-4 small plants)
- Spoon or small shovel
- Spray bottle for water
- Decorative items (optional)
Prerequisites/Materials Needed
Editor’s Choice
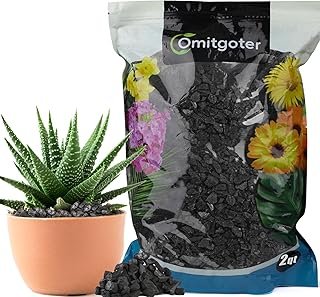
Legigo 2 QT Horticultural Charcoal- Natural Charcoal for Plants, Biochar…
Exclusive Glass Terrarium with Natural Wood Lid and Base, Excellent for …
Miracle-Gro Moisture Control Potting Mix – Plant Soil For Container Plan…
Skill Level & Time Estimate
Skill Level: beginner
Total time estimate: 1-2 hours
Breakdown:
– Gathering materials: 15-30 minutes
– Layering process: 30-60 minutes
– Plant arrangement: 15-30 minutes
Skill Level & Time Estimate
Editor’s Choice
Burpee, 9 Quarts | Premium Organic Potting Natural Soil Mix Food Ideal f…
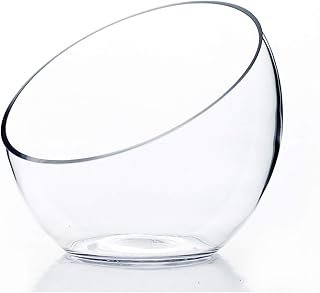
Step 1: Choose Your Container

Select a glass container that suits your aesthetic and space. Consider the size of plants you want to use and the terrarium’s intended location. Pro Tip: A container with a wide opening allows for easier access and plant care.
1. Look for a clear glass container—this allows sunlight to reach the plants.
2. Ensure it is large enough for the plants you plan to use.
3. Check for drainage holes if desired, or opt for a closed system.
Why this matters: The right container helps maintain humidity and supports plant health.
Time estimate: 15 minutes.
[Screenshot: Image of various glass containers suitable for terrariums]
Step 1: Choose Your Container
Editor’s Choice
Legigo 2 QT Horticultural Charcoal- Natural Charcoal for Plants, Biochar…
Miracle-Gro Indoor Potting Mix for Cactus and Succulent, Fast-Draining C…
WGVI Clear Slant Cut Bowl Glass Vase, Glass Terrarium, Candy Dish, Glass…
Step 2: Prepare the Drainage Layer
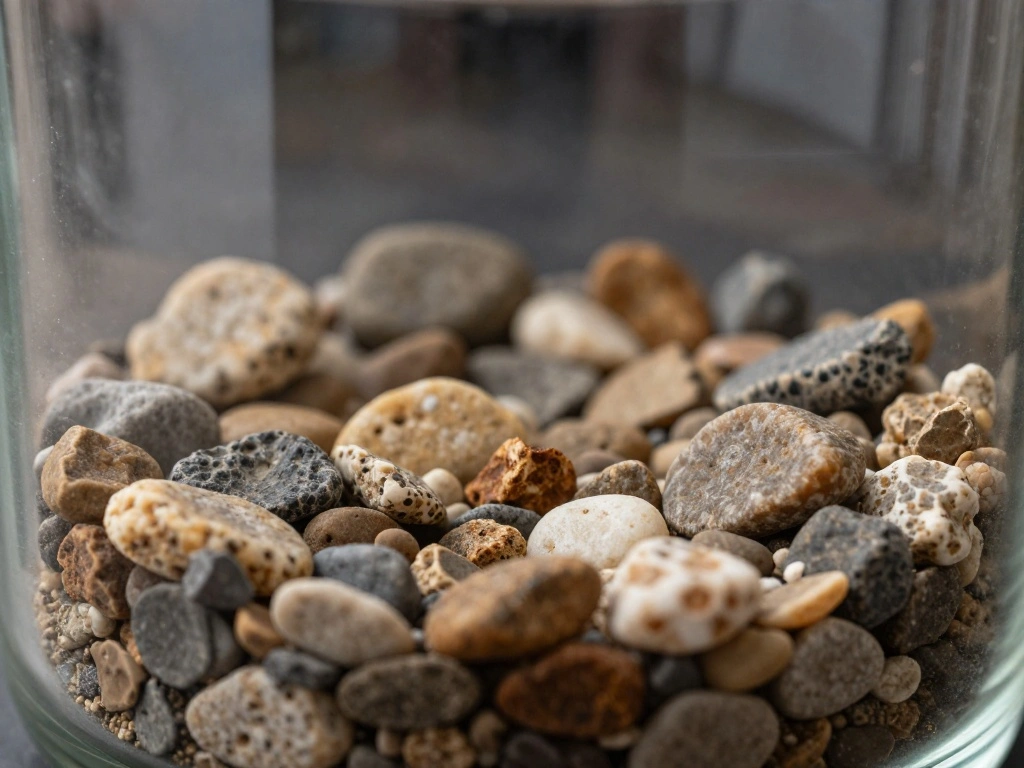
Start with a drainage layer to prevent excess water from sitting at the bottom of the terrarium. This step is crucial for preventing root rot.
1. Place 1-2 cups of small stones or pebbles at the bottom of the container.
2. Ensure an even layer that covers the entire base.
3. Tap gently to settle the stones but do not compress them.
Warning: Avoid using organic materials in this layer, as they can decompose and cause odor.
Why this matters: Proper drainage ensures that your plants have the right moisture levels without oversaturation.
Time estimate: 10 minutes.
[Screenshot: Image showing the drainage layer being placed in the terrarium]
Step 2: Prepare the Drainage Layer
Editor’s Choice
Pulovin 2.5 lbs Drainage Rocks for Potted Plants, 1/5 Inch Small Pebbles…
Step 3: Add Activated Charcoal
Once your drainage layer is set, add activated charcoal to help filter the water and keep the environment fresh.
1. Add 1 cup of activated charcoal on top of the drainage layer.
2. Spread it evenly across the surface.
3. This layer will help prevent mold and odors.
Pro Tip: Look for activated charcoal labeled for terrariums or aquariums for the best results.
Why this matters: Activated charcoal plays a vital role in maintaining a healthy environment for your plants.
Time estimate: 10 minutes.
[Screenshot: Image of activated charcoal spread evenly over the drainage layer]
Step 3: Add Activated Charcoal
Editor’s Choice
Horticultural Charcoal 2qt for Plants, Actived Charcoal Terrarium Suppli…
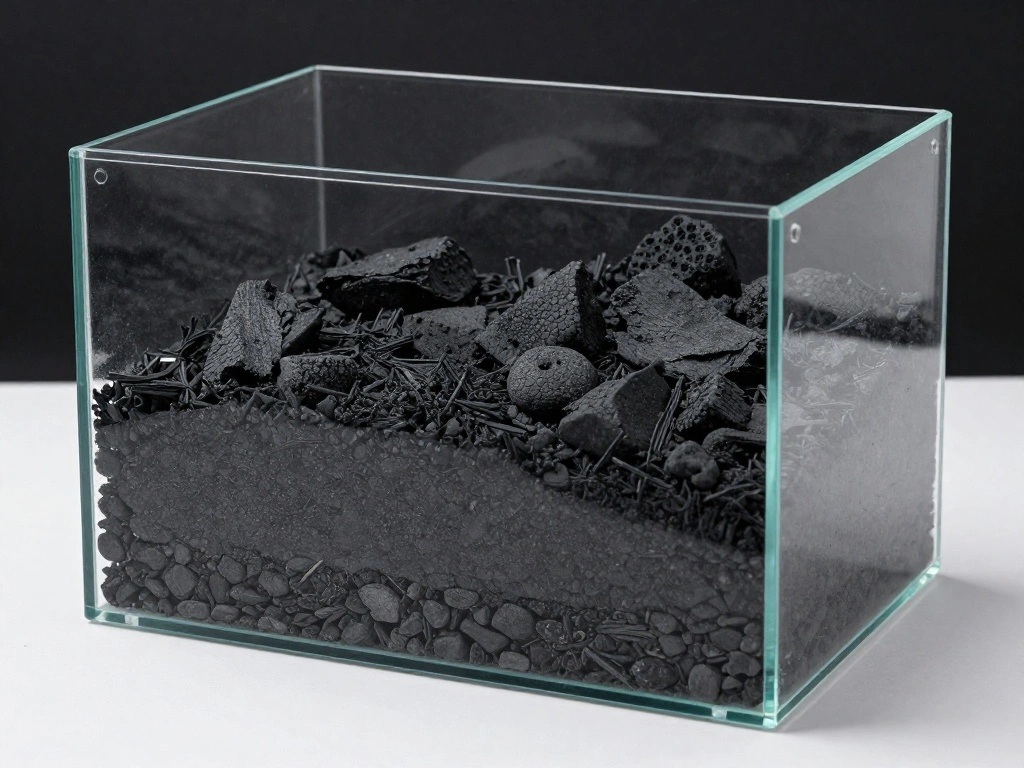
Step 4: Add the Substrate Layer
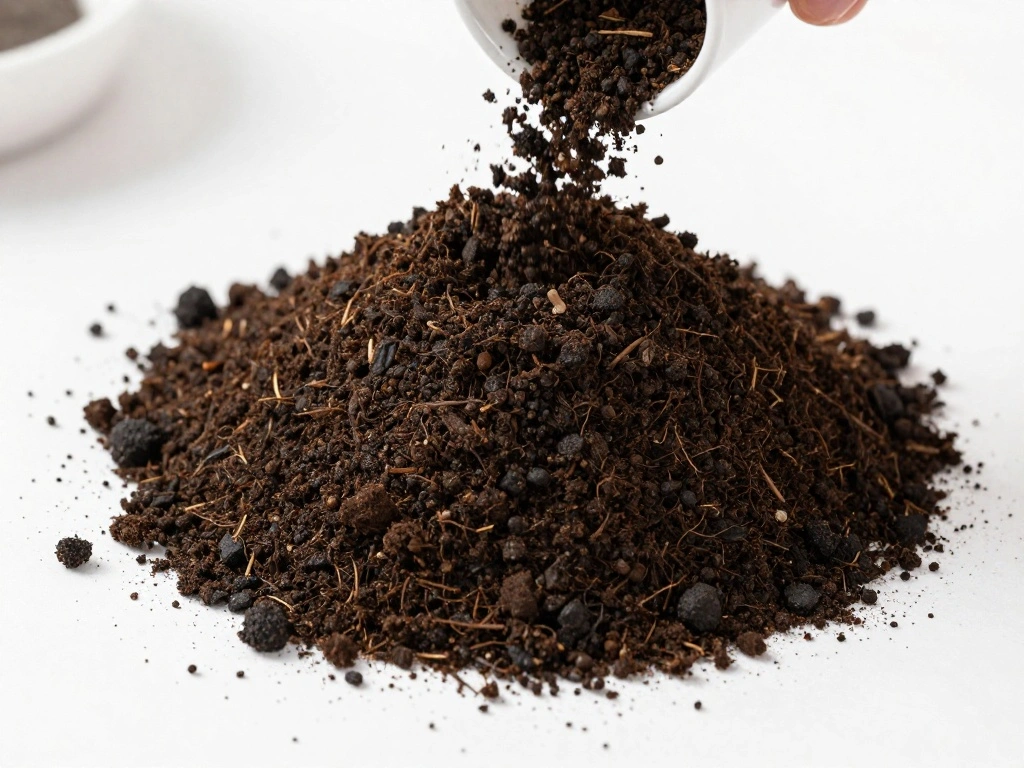
Now it’s time to add the substrate, which provides nutrients for your plants and maintains moisture.
1. Pour 2-3 cups of potting soil over the activated charcoal layer.
2. Spread it evenly and create a depth of at least 2 inches.
3. Use a spoon or shovel to create slight hills and valleys for visual interest.
Warning: Avoid using garden soil, as it can introduce pests and diseases.
Why this matters: A good substrate layer nurtures the plants and helps retain moisture.
Time estimate: 15 minutes.
[Screenshot: Image showing potting soil being spread over activated charcoal in the terrarium]
Step 4: Add the Substrate Layer
Editor’s Choice
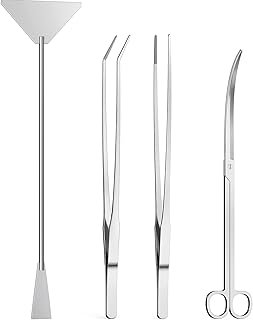
4Pcs Aquascaping Tools, Jeimier Aquascape Kit, Long and Strong Aquarium …
Legigo 2 QT Horticultural Charcoal- Natural Charcoal for Plants, Biochar…
Miracle-Gro Moisture Control Potting Mix – Plant Soil For Container Plan…
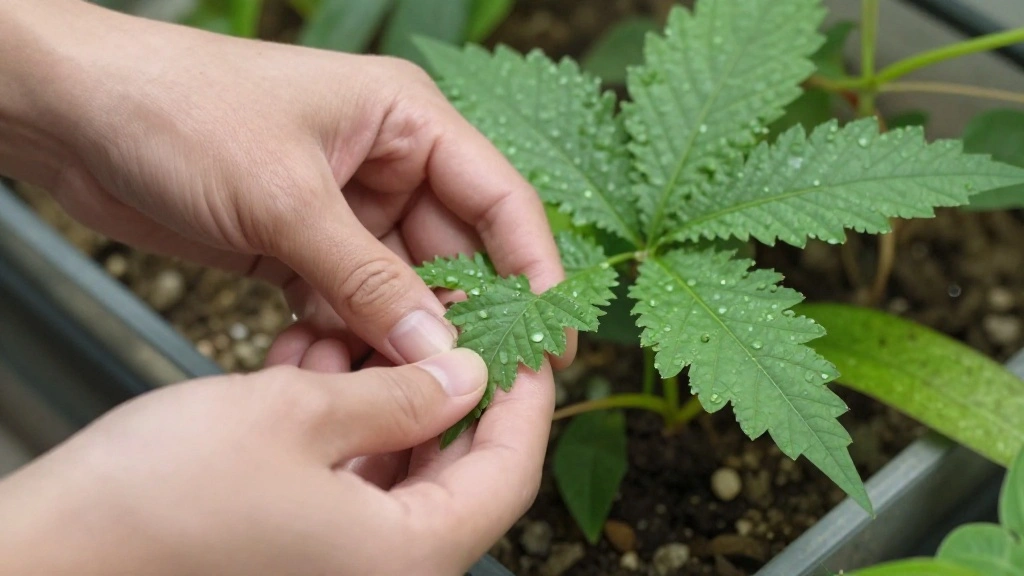
Step 5: Select Your Plants
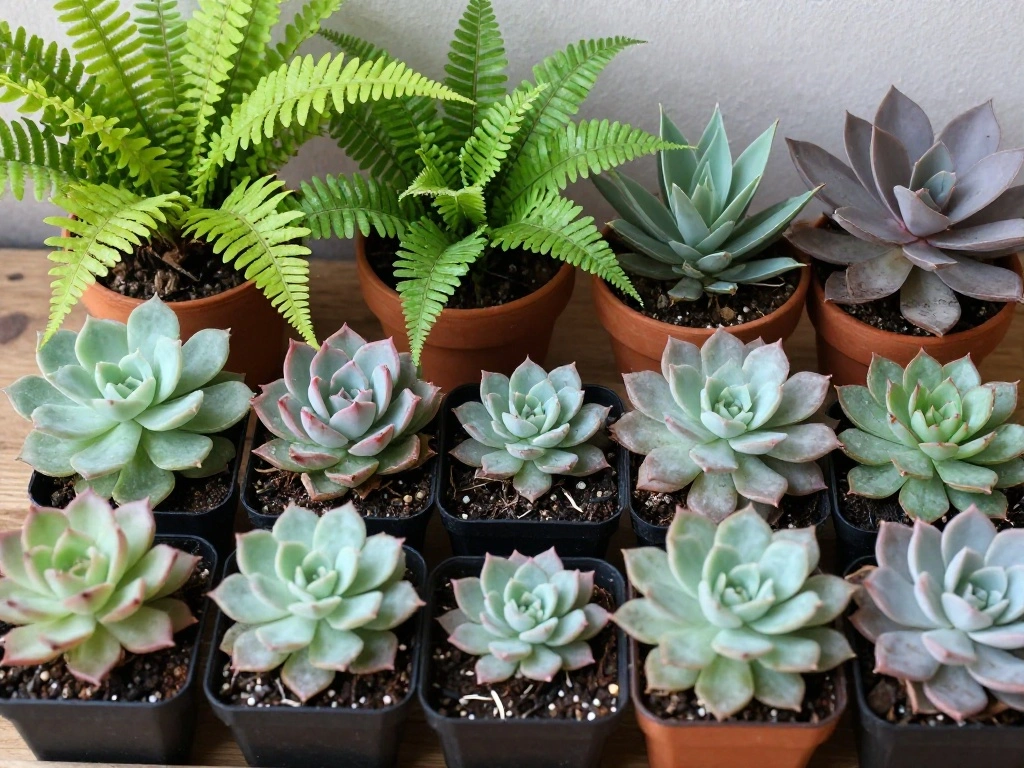
Choose plants that thrive in a terrarium environment, usually small and moisture-loving varieties.
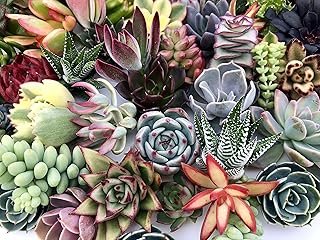
1. Consider plants like ferns, moss, or small succulents.
2. Avoid large or woody plants as they may outgrow the space.
3. Select 2-4 plants to populate your terrarium.
Pro Tip: Research the light and moisture needs of your selected plants to ensure compatibility.
Why this matters: The right plants will create a harmonious ecosystem and thrive in the contained environment.
Time estimate: 15 minutes.
[Screenshot: Image of various small plants suitable for terrariums]
Step 5: Select Your Plants
Editor’s Choice
Terrarium Care Guide: Tips On Caring For A Terrarium: Learning How To Ma…
Soil Sunrise Terrarium Potting Soil Mix (4 Quarts) w/Blended Filtering C…
Sustee Aquameter, Set of 5, Plant Soil Moisture Sensor (Green, Small)
Step 6: Arrange the Plants
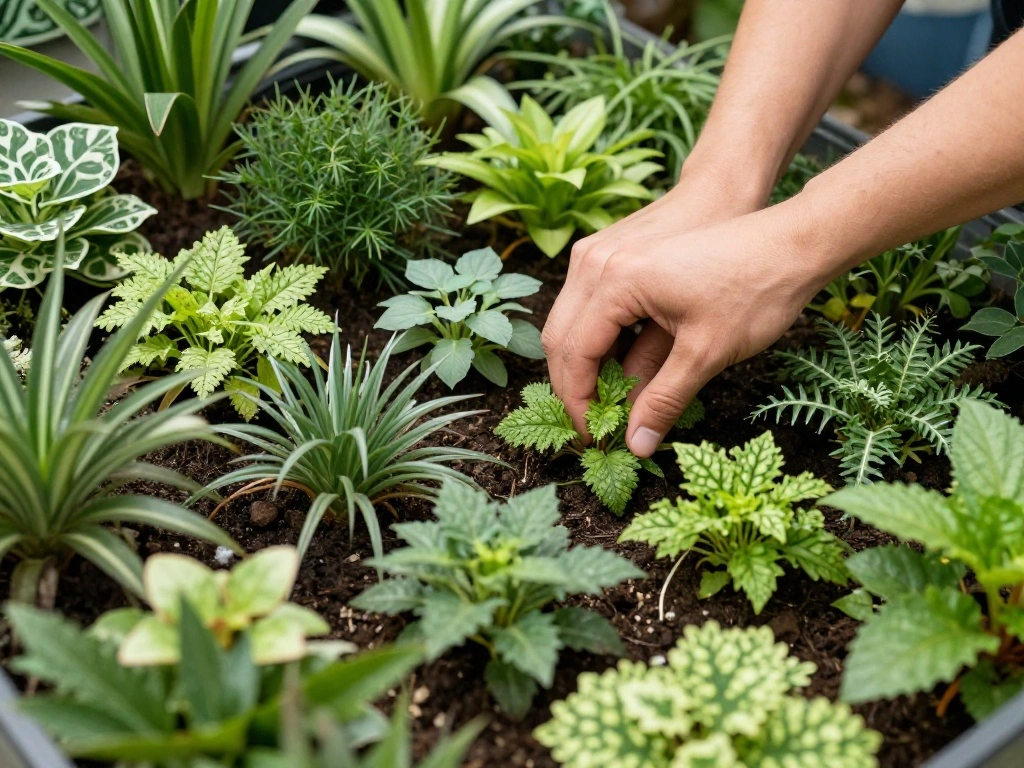
Once you have selected your plants, it’s time to arrange them for optimal growth and aesthetics.
1. Create a layout before planting by placing the plants on top of the soil.
2. Position taller plants in the back and shorter in the front.
3. Dig small holes with your fingers or a tool to plant each one.
Warning: Avoid overcrowding; give plants enough space to grow.
Why this matters: Proper arrangement enhances visibility and ensures each plant receives adequate light and airflow.
Time estimate: 20 minutes.
[Screenshot: Image of plants being arranged in the terrarium before planting]
Step 6: Arrange the Plants
Editor’s Choice
4Pcs Aquascaping Tools, Jeimier Aquascape Kit, Long and Strong Aquarium …
Soil Sunrise Terrarium Potting Soil Mix (4 Quarts) w/Blended Filtering C…
Pulovin 2.5 lbs Drainage Rocks for Potted Plants, 1/5 Inch Small Pebbles…
Step 7: Water the Plants
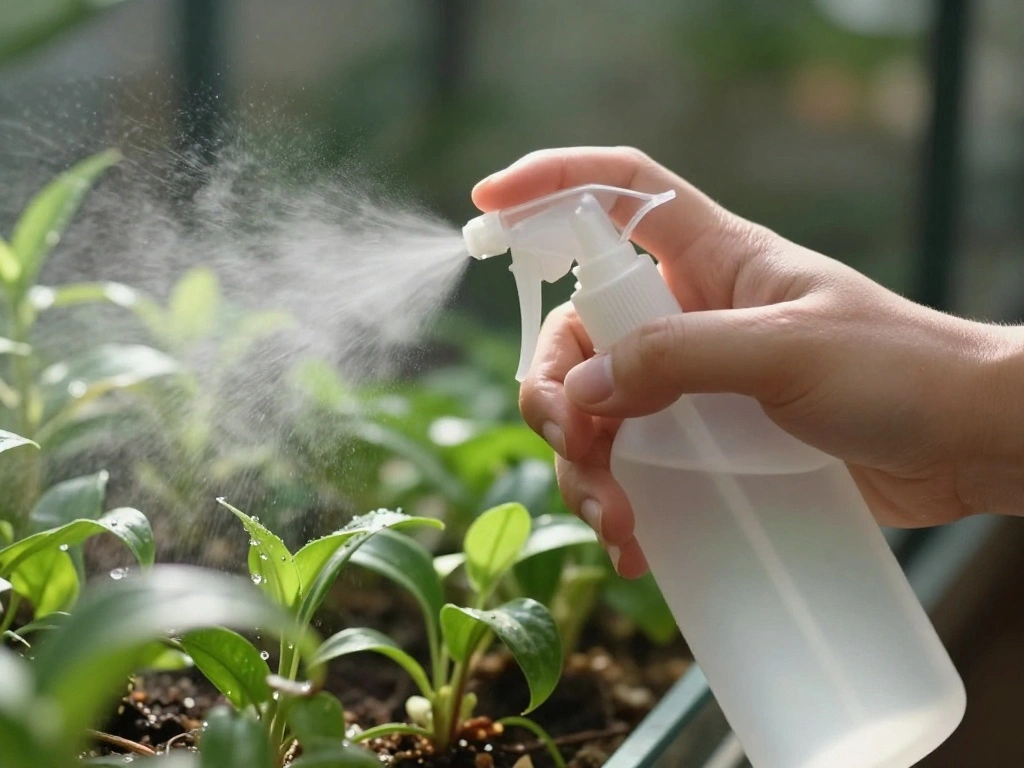
After planting, it’s essential to water the plants to help them settle and establish.
1. Use a spray bottle to mist the plants lightly.
2. Avoid soaking; the soil should be damp but not waterlogged.
3. Monitor the moisture level for the next few days.
Pro Tip: Use distilled water to avoid mineral buildup in the terrarium.
Why this matters: Proper watering at this stage helps the plants adapt to their new environment.
Time estimate: 10 minutes.
[Screenshot: Image of a hand spraying water onto the newly arranged plants in the terrarium]
Step 7: Water the Plants
Editor’s Choice
SUPER+ 2 Pack Continuous Spray Bottles – Ultra Fine Mist Sprayer | Water…

Tap Water Conditioner for Plants by The Green Alcove | Distilled Water A…
XLUX Long Probe Deep Use Soil Moisture Meter, Water Monitor Indicator Se…
Step 8: Add Decorative Items (Optional)
If desired, enhance the aesthetic of your terrarium by adding decorative elements.
1. Consider using stones, figurines, or driftwood.
2. Place items strategically to complement the plants.
3. Avoid overcrowding the space with decorations.
Pro Tip: Choose items that are safe for plants and won’t decompose.
Why this matters: Decorative elements can add personality and charm to your terrarium.
Time estimate: 15 minutes.
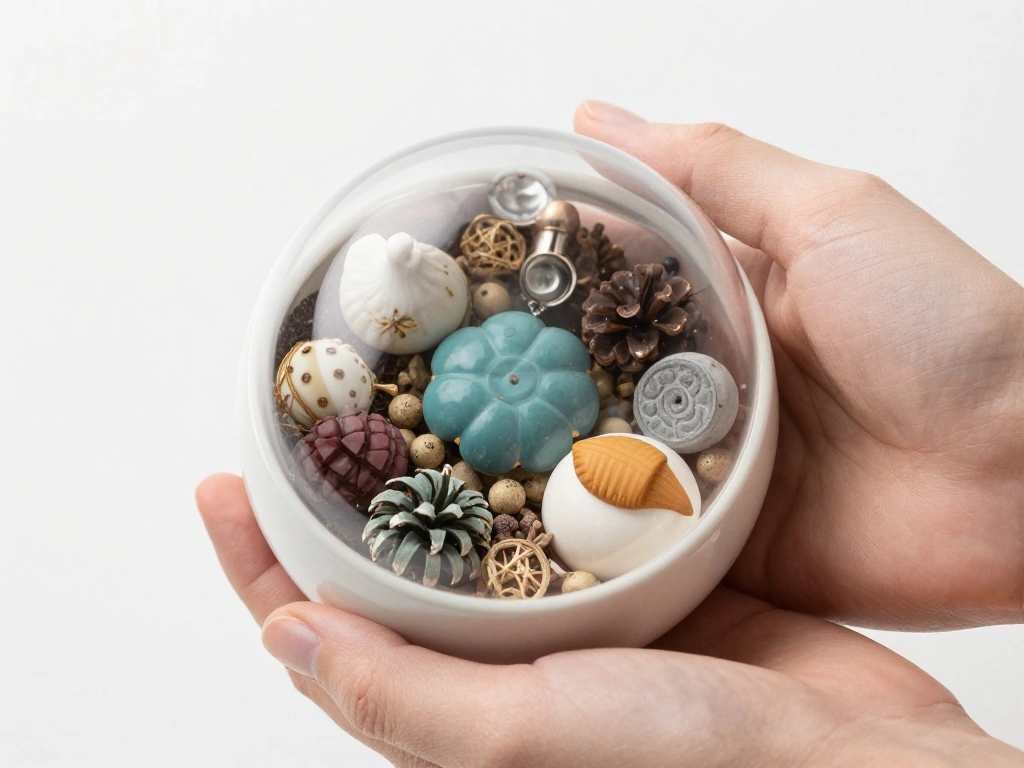
[Screenshot: Image of decorative items being placed in the terrarium alongside plants]
Step 8: Add Decorative Items (Optional)
Editor’s Choice
Natural Rocks Dragon Stone 1-2.5 Inches Decorative Rocks for Miniature T…
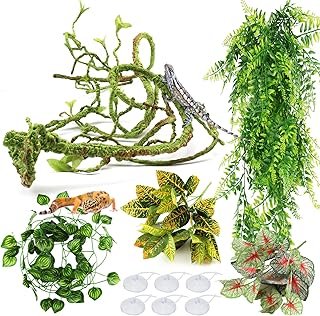
Reptile Plants, Terrarium Hanging Plant Vines Artificial Leaves Reptile …
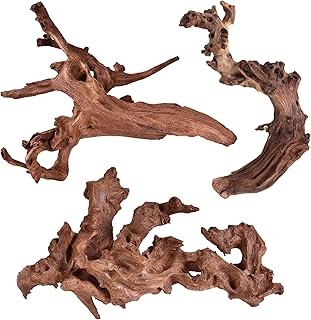
majoywoo Natural Coral Driftwood for Aquarium Decor Fish Tank Decoration…
Step 9: Monitor and Maintain Your Terrarium
Finally, monitor your terrarium regularly to ensure it stays healthy.
1. Place your terrarium in a suitable location with indirect sunlight.
2. Check the moisture level and water as needed—avoid overwatering.
3. Trim any dead leaves or overgrown plants as necessary.
Warning: Do not place your terrarium in direct sunlight, as it can overheat.
Why this matters: Ongoing maintenance is key to a thriving terrarium and helps prevent issues like mold or plant die-off.
Time estimate: Ongoing care, check weekly.
[Screenshot: Image of a person checking the terrarium for moisture and plant health]
Step 9: Monitor and Maintain Your Terrarium
Editor’s Choice

EWPJDK 3 Pack Garden Pruning Shears, Stainless Steel Shears, Gardening S…
Aokrean Plant Grow Light, 48 LEDs Full Spectrum Grow Lights for Indoor P…

Klein Tools ET140 Pinless Moisture Meter for Non-Destructive Moisture De…
Pro Tips
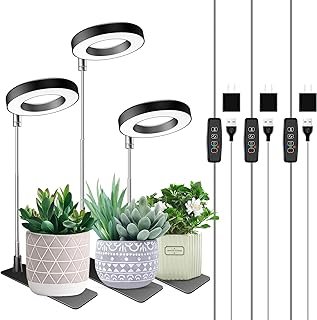
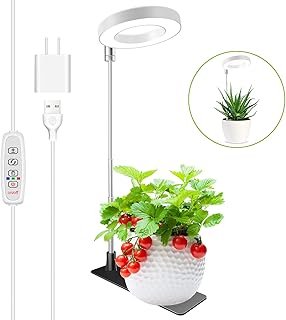
- Light Requirements: Ensure your plants receive appropriate light; use grow lights if necessary.
- Humidity Control: If your terrarium has a lid, occasionally remove it to allow airflow.
- Pest Prevention: Use neem oil or insecticidal soap if you notice pests.
- Seasonal Care: Adjust watering frequency with seasonal changes.
- Use a Moisture Meter: Consider using a moisture meter for precise watering needs.
Pro Tips
Editor’s Choice
THIRDREALITY Smart Soil Moisture Sensor Gen2 3Pack,Zigbee hub Needed, nh…
Aokrean Plant Grow Light, 48 LEDs Full Spectrum Grow Lights for Indoor P…
Garden Safe Brand Fungicide3, 1 Gallon, Fungicide, Insecticide and Mitic…
Common Mistakes to Avoid
Warning: Overwatering: Too much water can lead to root rot. Check moisture levels regularly and adjust as needed.
Warning: Poor Plant Selection: Using plants that don’t thrive in a closed environment can lead to failure. Research plant needs before buying.
Warning: Neglecting Light: Ensure your terrarium is placed in indirect light; direct sun can overheat and harm plants.
Common Mistakes to Avoid
Editor’s Choice
FARMLITE LED Grow Lights for Indoor Plants Full Spectrum Growing Light B…
Mini Ferns for Terrariums/Fairy Garden – Live Plants – 3 Different Plant…
XLUX Long Probe Deep Use Soil Moisture Meter, Water Monitor Indicator Se…
Troubleshooting Section
Problem: Plants are wilting.
Solution: Check the moisture level and ensure not too dry or overwatered. Adjust watering as necessary.
Problem: Mold growth.
Solution: Increase airflow by removing the lid occasionally and reduce watering frequency.
Problem: Leaves turning yellow.
Solution: This may indicate overwatering; reduce watering and improve drainage if needed.
Problem: Plants are outgrowing the terrarium.
Solution: Trim plants regularly or consider transplanting them to a larger container.
Problem: Pests are present.
Solution: Remove affected plants and treat with insecticidal soap or neem oil.
Troubleshooting Section
Editor’s Choice
Zilla Pet Reptile Terrarium Fresh Air Screen Cover with Hinged Door 20″ …
Soil Sunrise Terrarium Potting Soil Mix (4 Quarts) w/Blended Filtering C…
Legigo 2 QT Horticultural Charcoal- Natural Charcoal for Plants, Biochar…
Variations/Alternative Methods
Consider these alternatives for your terrarium:
1. Closed Terrariums: These maintain higher humidity levels and are ideal for tropical plants.
2. Open Terrariums: Best for succulents and cacti, allowing for better air circulation.
3. Layered Terrariums: Experiment with different substrate layers for specialized plant needs.
Variations/Alternative Methods
Editor’s Choice

Sukh Horticultural Charcoal for Plants – 1Qt. Natural Earth Regulated Su…
Soil Sunrise Terrarium Potting Soil Mix (4 Quarts) w/Blended Filtering C…
10 Assorted Live Succulent Cuttings, No 2 Succulents Alike, Great for Te…
FAQs
What if I don’t have a glass container? You can use any clear container, but ensure it allows light in.
How long should I wait to water my terrarium again? Wait until the top layer of soil feels dry before watering again.
Is it safe to use regular potting soil? Yes, but avoid using garden soil to prevent pests.
How can I tell if my plants need more light? If they appear leggy or stretched, they likely need more light.Can I use artificial plants in my terrarium? Yes, but it won’t provide the same benefits as live plants.
FAQs
Editor’s Choice
Soil Sunrise Terrarium Potting Soil Mix (4 Quarts) w/Blended Filtering C…
Kullsinss Grow Lights for Indoor Plants, Full Spectrum Halo Growing lamp…
Legigo 2 QT Horticultural Charcoal- Natural Charcoal for Plants, Biochar…
Conclusion
Congratulations on creating your terrarium! You should feel proud of your new, vibrant mini-ecosystem. Remember to monitor and maintain it regularly for the best results.
Next steps: Consider expanding your collection with various terrarium styles or experimenting with different plants. Explore more resources on plant care and terrarium design to further enhance your skills. Happy gardening!
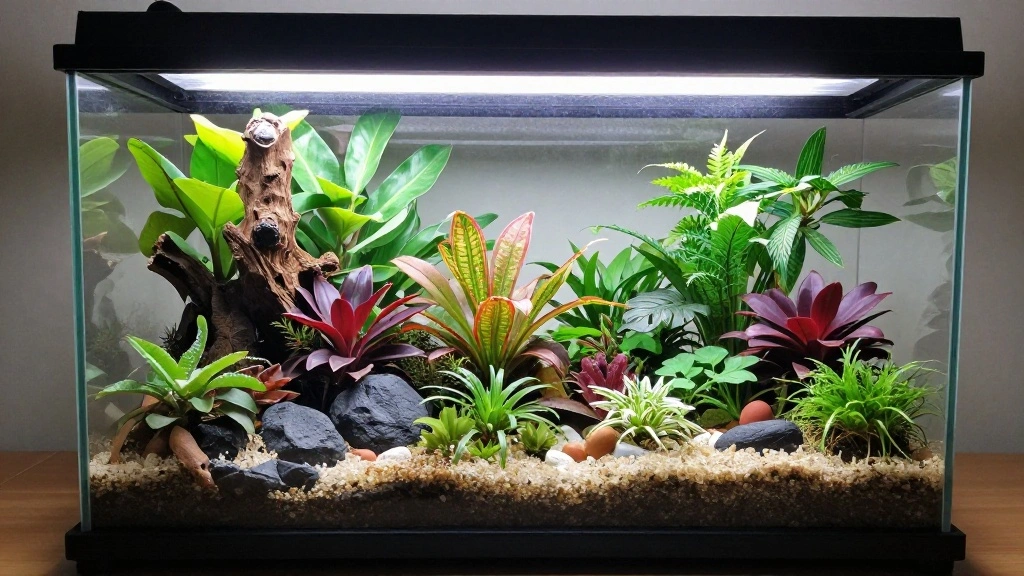
[Screenshot: Image of a completed terrarium in a beautiful setting]