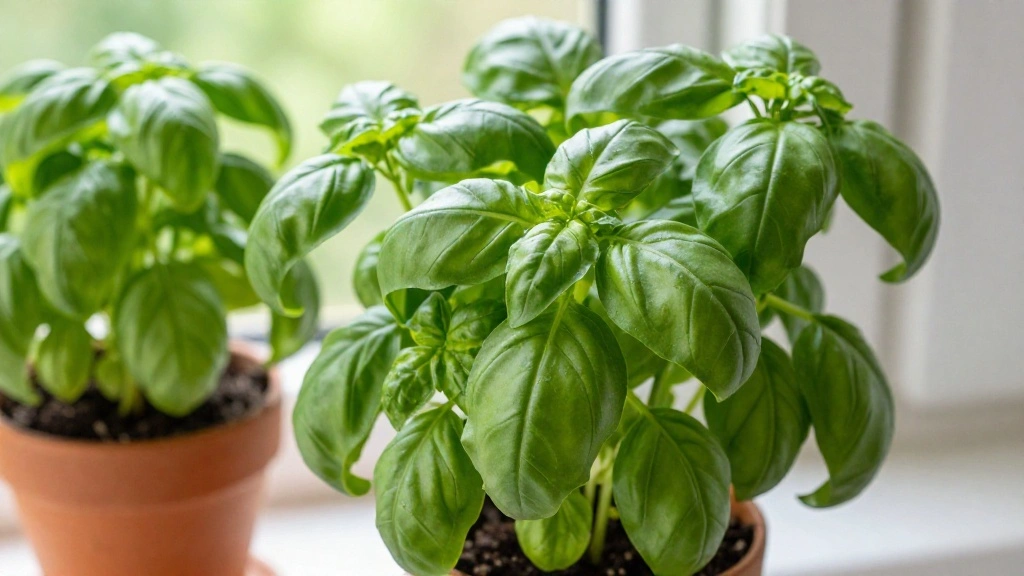
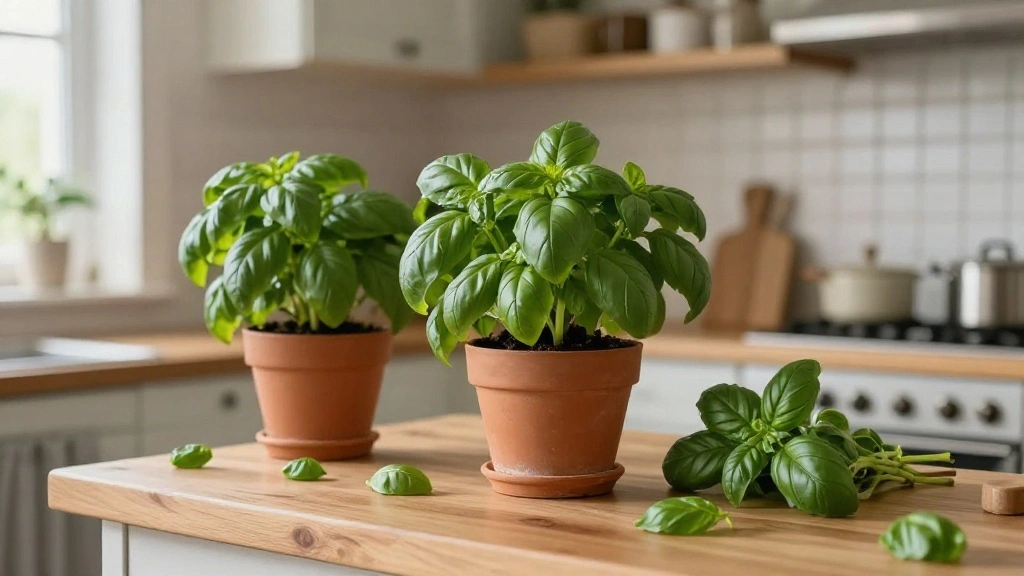
Are you tired of bland winter meals? Do you wish you could have fresh basil at your fingertips, even when it’s cold outside? The good news is that you can easily grow basil indoors year-round! This guide will show you how to cultivate this aromatic herb, ensuring that you have a constant supply of fresh basil, regardless of the season.
By the end of this guide, you will learn the essential steps to successfully grow basil indoors, including the best potting soil, watering techniques, and lighting conditions required for optimal growth. You’ll also discover practical tips for maintaining healthy basil plants throughout the year.
This project is rated as beginner-friendly and will take you approximately 2-3 hours to complete, including setup and care. With just a few simple steps, you can transform your indoor space into a thriving herb garden that brings flavor to your dishes and joy to your cooking.
TL;DR Summary
- Grow basil indoors to enjoy fresh herbs year-round.
- Use appropriate pots, soil, and lighting conditions.
- Follow specific care instructions for optimal growth.
- Learn from common mistakes and troubleshooting tips.
TL;DR Summary
Editor’s Choice
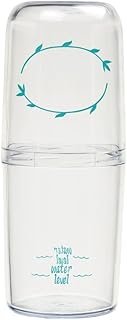
T4U 4 Pack 6 Inch Self Watering Pots – Water Level Indicator & Deep Rese…
Aokrean Plant Grow Light, 48 LEDs Full Spectrum Grow Lights for Indoor P…
Burpee, 9 Quarts | Premium Organic Potting Natural Soil Mix Food Ideal f…
Prerequisites/Materials Needed
- Seeds or Seedlings: 1 packet of basil seeds or 2-3 seedlings
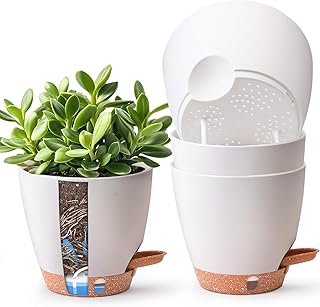
- Pots: 2-3 pots (6-8 inches in diameter) with drainage holes
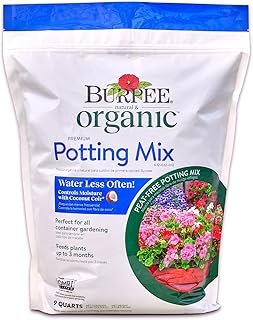
- Potting Soil: 1 bag of high-quality potting mix
- Watering Can: 1 medium-sized watering can
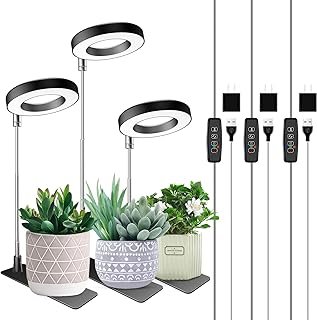
- Grow Lights (optional): 1-2 LED grow lights
- Fertilizer: Organic fertilizer or plant food
Prerequisites/Materials Needed
Editor’s Choice
Aumtrly Grow Light, Full Spectrum Desktop Plant Lights for Indoor Growin…
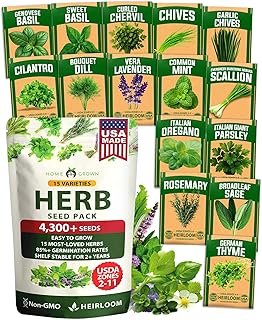
HOME GROWN Herb Seeds for Planting 15-Pack Massive Seed Count 4,300+ See…
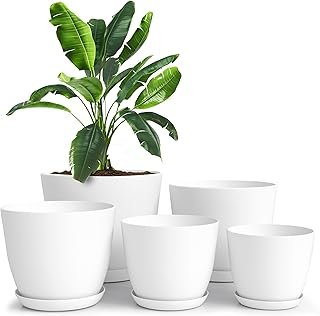
Utopia Home Plant Pots Indoor with Drainage Holes – Set of 5 White Pla…
Skill Level & Time Estimate
Skill Level: beginner
Total time estimate: 2-3 hours. This includes:
- 30 minutes: Gathering materials
- 1 hour: Planting and setup
- 1-2 hours: Care and maintenance over the following days
Skill Level & Time Estimate
Editor’s Choice
Aokrean Plant Grow Light, 48 LEDs Full Spectrum Grow Lights for Indoor P…
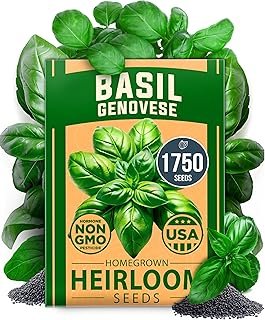
HOME GROWN Non GMO Genovese Basil Seeds Pack 1,750+ High Germination Hei…
inbloom Culinary Herbs Seed Pod Kit for Hydroponics Growing System, 12 P…
Step 1: Gather Materials
Start by gathering all the materials you need for growing basil indoors. This ensures that you have everything at hand when you begin the planting process. Follow these sub-steps:
- Collect your pots, ensuring they have drainage holes.
- Get your potting soil and place it in a convenient area.
- Have your seeds or seedlings ready for planting.
Pro Tip: Use pots that are at least 6 inches in diameter to allow for healthy root growth. Warning: Avoid using pots without drainage, as this can lead to overwatering and root rot.
Why this matters: Having everything ready before you start makes the planting process smoother and more enjoyable. This step should take you about 30 minutes.
Step 1: Gather Materials
Editor’s Choice
HOME GROWN Non GMO Genovese Basil Seeds Pack 1,750+ High Germination Hei…
Step 2: Prepare the Pots
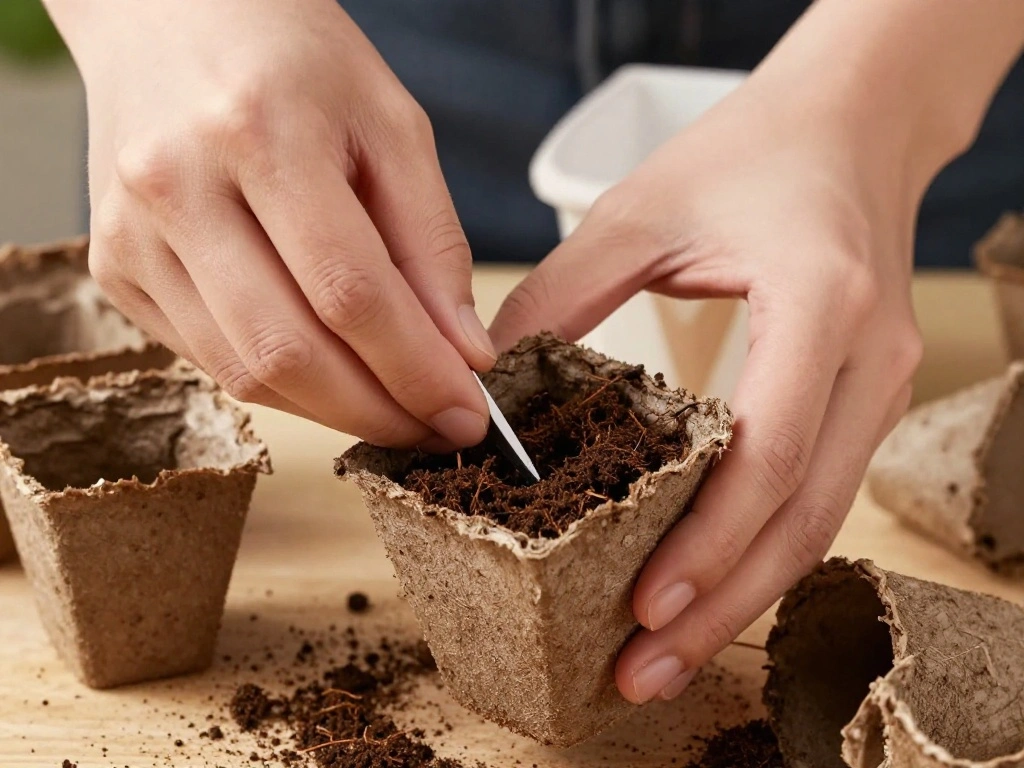
Now that you have your materials, it’s time to prepare the pots. This step is crucial for ensuring proper drainage and soil aeration. Here’s how to do it:
- Fill each pot with potting soil, leaving about an inch of space at the top.
- Gently press down the soil to eliminate air pockets.
- Water the soil lightly to moisten it, but avoid soaking it.
Pro Tip: Adding perlite or vermiculite to your potting mix can enhance drainage. Warning: Do not overwater the soil at this stage, as this can lead to waterlogging.
Why this matters: Properly prepared pots support healthy plant growth by ensuring good drainage and moisture levels. This step should take about 20 minutes.
Step 2: Prepare the Pots
Editor’s Choice
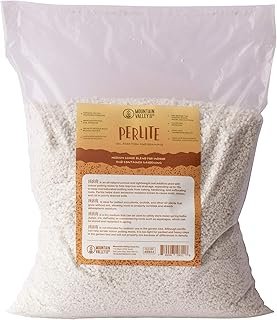
Horticultural Grade Perlite – One 8 Quart Bag ~2 Lbs – (~1/8 Inch Partic…
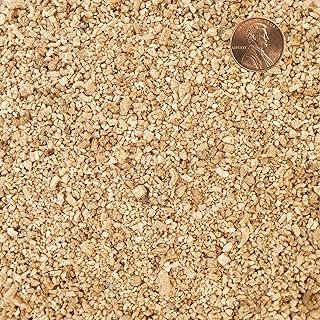
Organic Fine Vermiculite for Indoor Gardening Plants and Mushrooms – E…
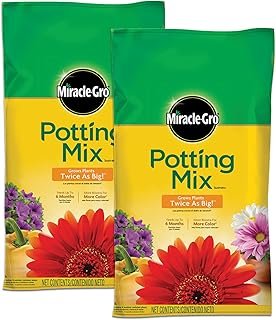
Miracle-Gro Potting Mix – For Container Plants, Flowers, Vegetables, Shr…
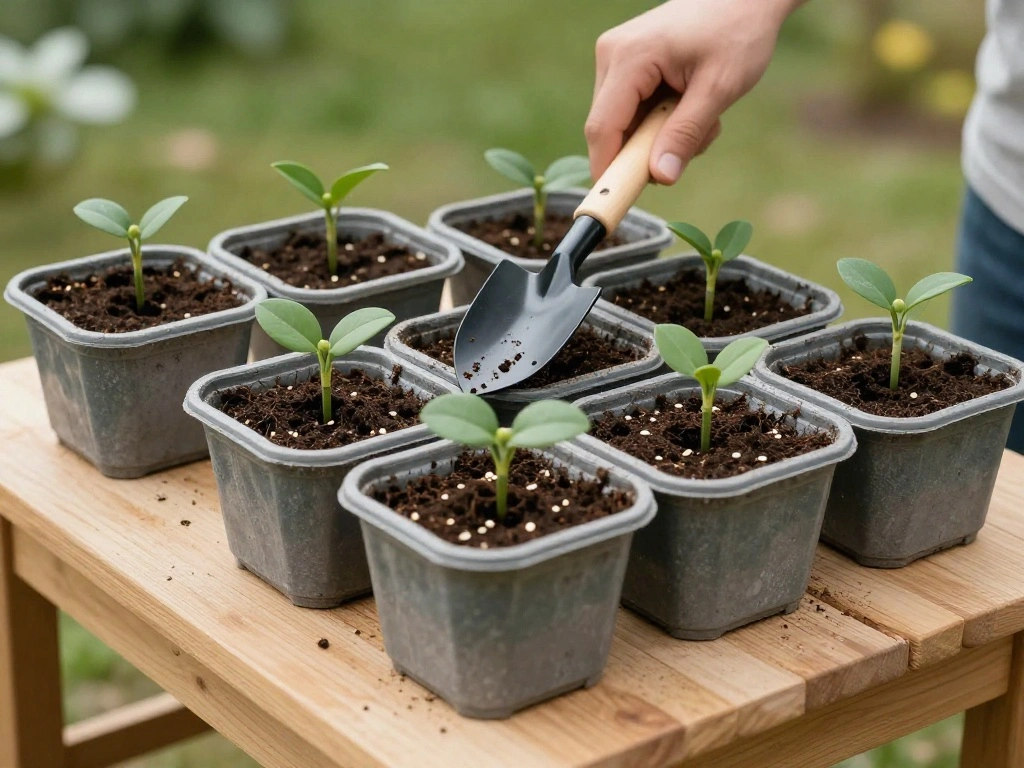
Step 3: Plant the Seeds or Seedlings
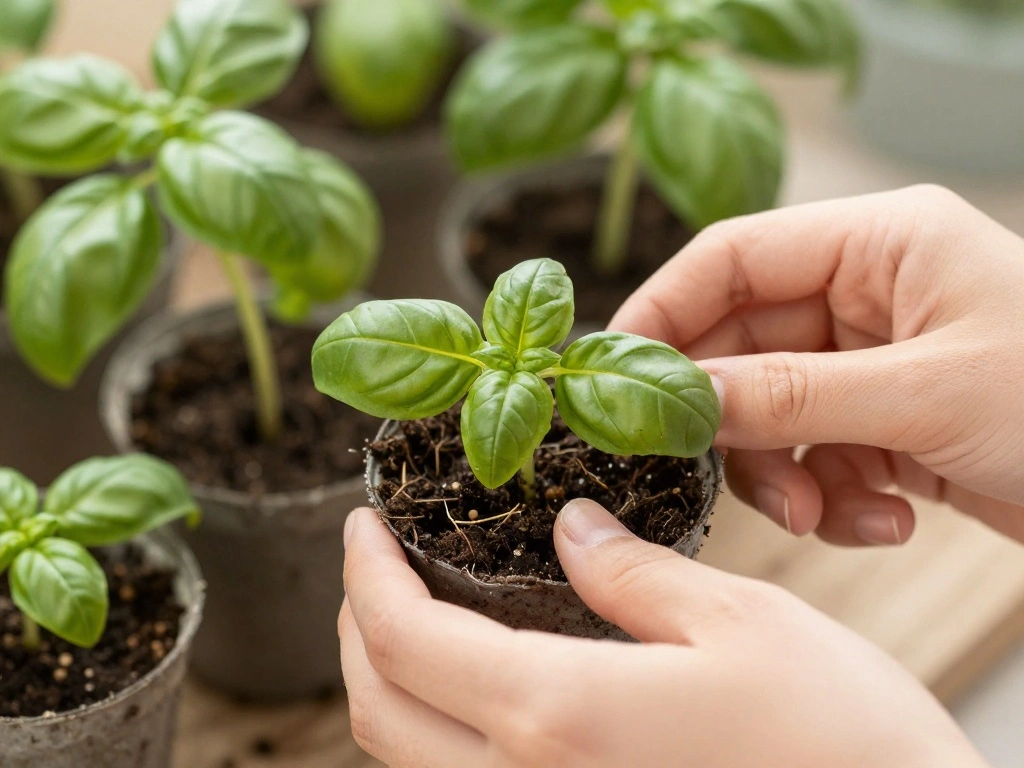
With your pots ready, it’s time to plant the basil seeds or seedlings. Follow these steps to ensure successful planting:
- If using seeds, plant 2-3 seeds per pot, covering them lightly with soil.
- If using seedlings, make a small hole in the soil and gently place the seedling in.
- Cover the roots with soil and press down lightly.
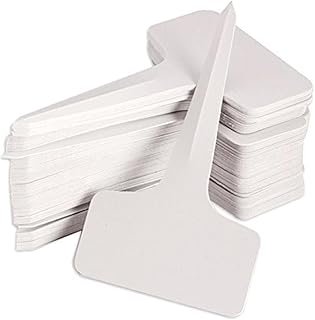
Pro Tip: Label each pot with the type of basil you are planting for easy identification. Warning: Be careful not to bury the seedlings too deep; they should be just below the surface.
Why this matters: Proper planting techniques promote healthy germination and growth. This step will take about 30 minutes.
Step 3: Plant the Seeds or Seedlings
Editor’s Choice
KINGLAKE 100 Pcs 6 x10cm Plastic Plant T-Type Tags Nursery Garden Labels
Miracle-Gro Potting Mix – For Container Plants, Flowers, Vegetables, Shr…
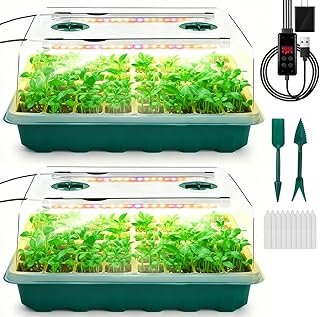
Seed Starter Tray with Grow Light, 96-Cell Seed Starter Kit, Seedling St…
Step 4: Provide Adequate Light
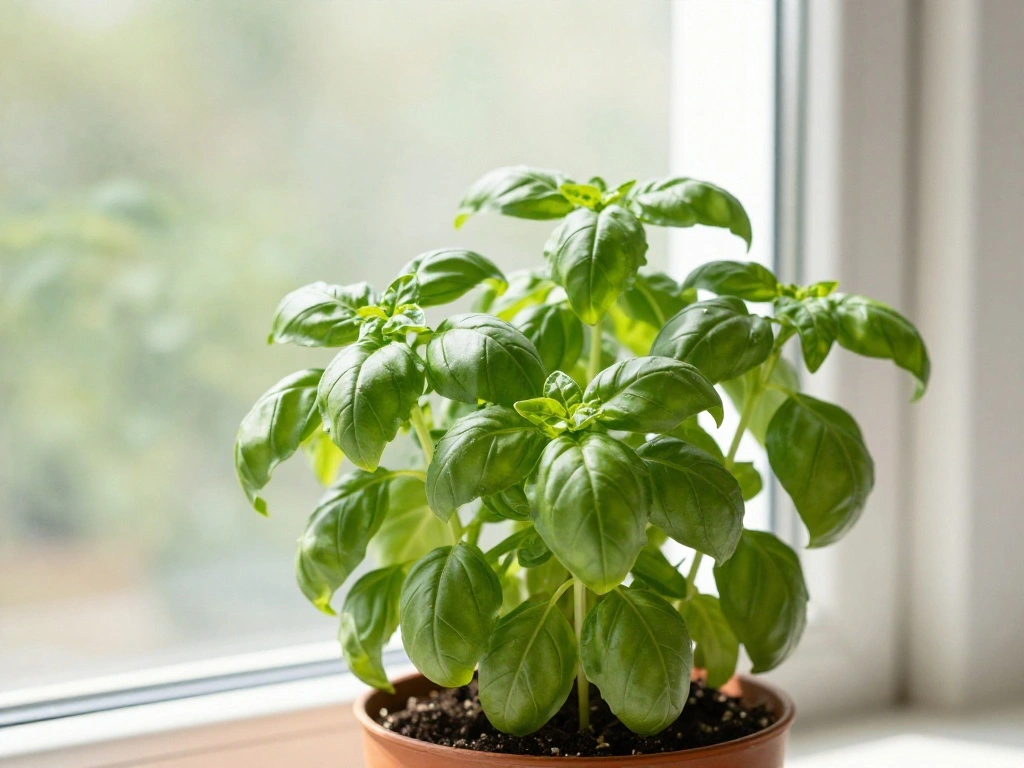
Light is essential for basil growth, especially when growing indoors. Ensure your basil plants receive sufficient light by following these steps:
- Place the pots in a sunny window that receives at least 6-8 hours of sunlight daily.
- If natural light is insufficient, set up grow lights 12-18 inches above the plants.
- Adjust the height of the grow lights as the plants grow taller.
Pro Tip: Rotate the pots weekly to ensure even light exposure on all sides. Warning: Avoid placing pots in direct sunlight for too long, as this can scorch the leaves.
Why this matters: Adequate light promotes healthy photosynthesis, which is crucial for growth. This step should take about 15 minutes.
Step 4: Provide Adequate Light
Editor’s Choice
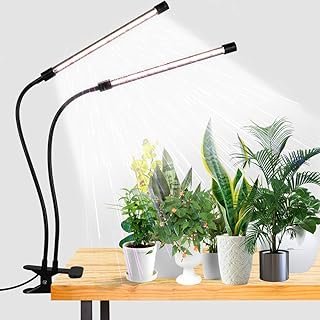
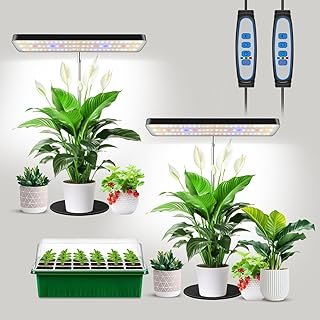
GooingTop LED Grow Light,6000K Full Spectrum Clip Plant Growing Lamp wit…
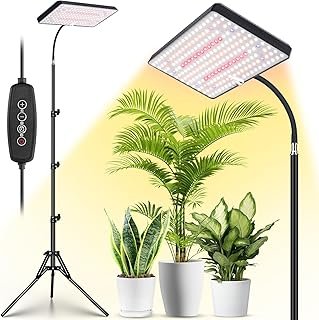
LBW Grow Lights for Indoor Plants Full Spectrum with Stand,214 LEDs Stan…
Step 5: Watering the Plants
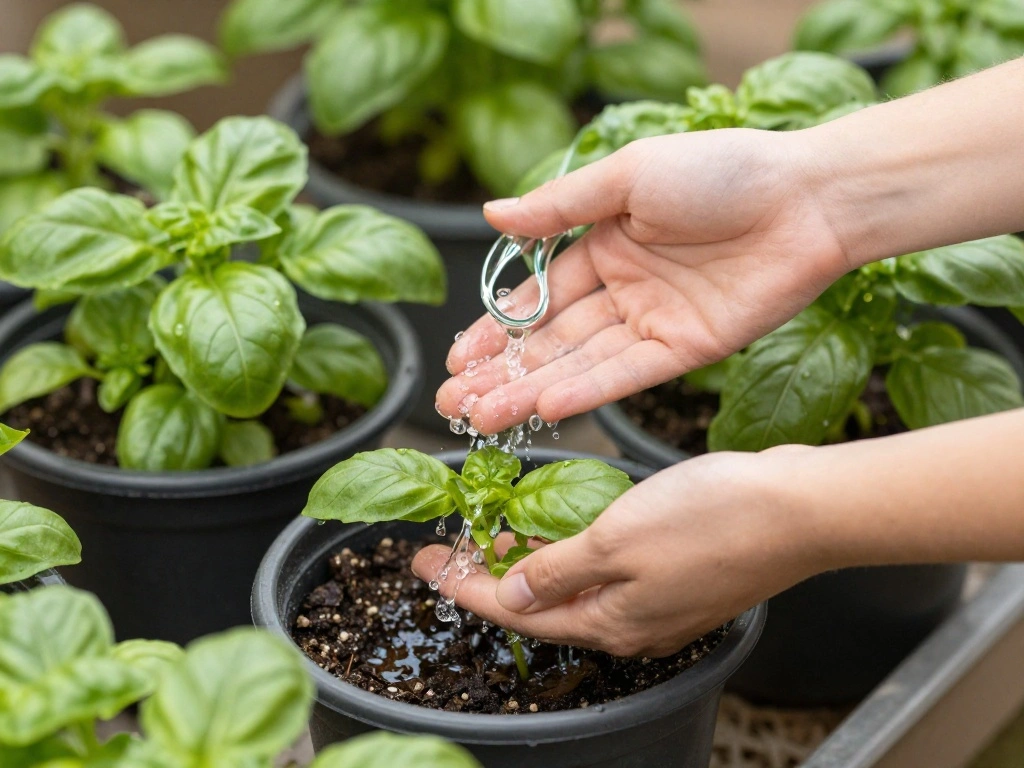
Watering is a vital aspect of caring for your basil plants. Follow these steps to ensure your plants get the right amount of water:
- Check the soil moisture by sticking your finger about an inch into the soil.
- If it feels dry, water the plants until water drains from the bottom of the pots.
- Allow the top inch of soil to dry out between waterings.
Pro Tip: Use room temperature water for the best results. Warning: Overwatering can lead to root rot, so always check moisture levels before watering.
Why this matters: Proper watering ensures that your basil plants remain hydrated without becoming waterlogged. This step should take about 15 minutes.
Step 5: Watering the Plants
Editor’s Choice
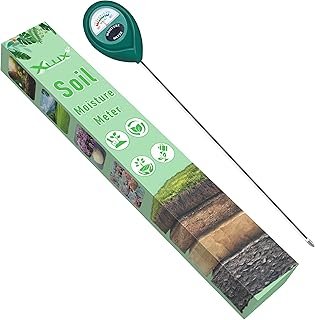
XLUX Long Probe Deep Use Soil Moisture Meter, Water Monitor Indicator Se…
Watering Can for Indoor and Outdoor Plants – Long Spout Water Can for Ga…
Automatic Drip Irrigation System for Indoor Plants, 2026 Automatic Plant…
Step 6: Fertilizing Your Basil
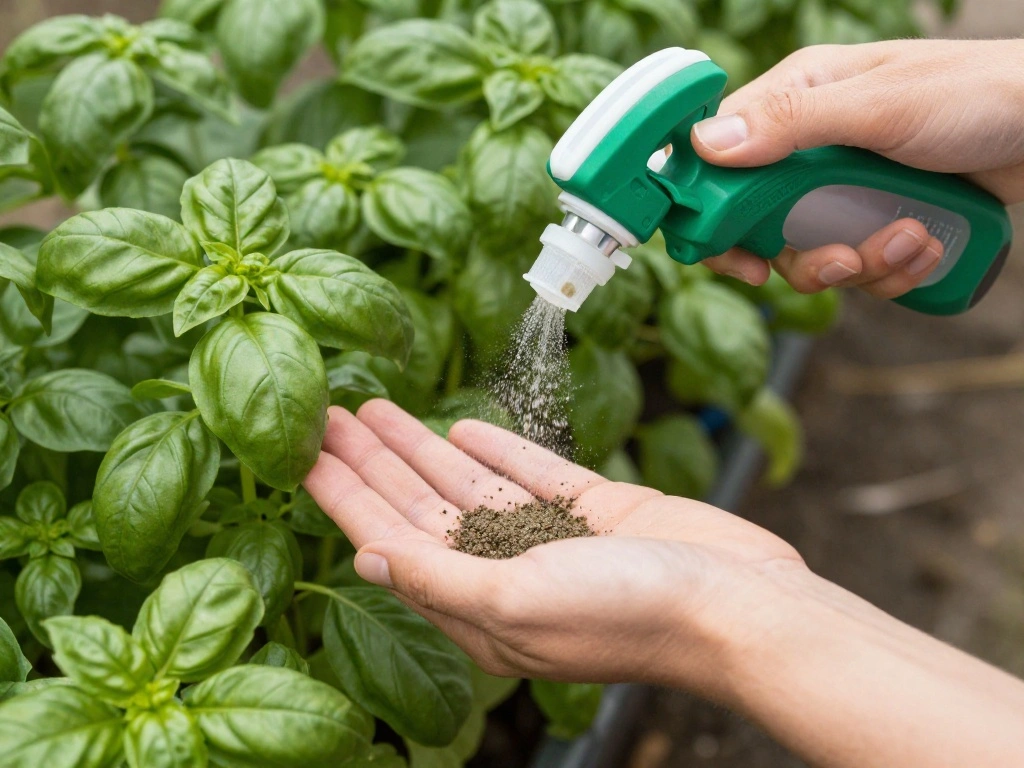
Fertilizing your basil plants is essential for promoting growth and health. Here’s how to do it:
- Choose a balanced, organic fertilizer suitable for herbs.
- Follow the manufacturer’s instructions for the correct dosage.
- Apply the fertilizer every 4-6 weeks during the growing season.
Pro Tip: Dilute the fertilizer in water for better absorption. Warning: Avoid over-fertilizing, as this can lead to excessive leaf growth with less flavor.
Why this matters: Regular fertilization provides the nutrients your basil needs to thrive. This step should take about 10 minutes.
Step 6: Fertilizing Your Basil
Editor’s Choice
Chapin G390 Hose End Sprayer for Water Soluble Materials, 20 Gallon, 32 …
Herb Plant Food – Liquid Fertilizer for All Edible Herbs, Supports Fas…
Step 7: Harvesting Your Basil
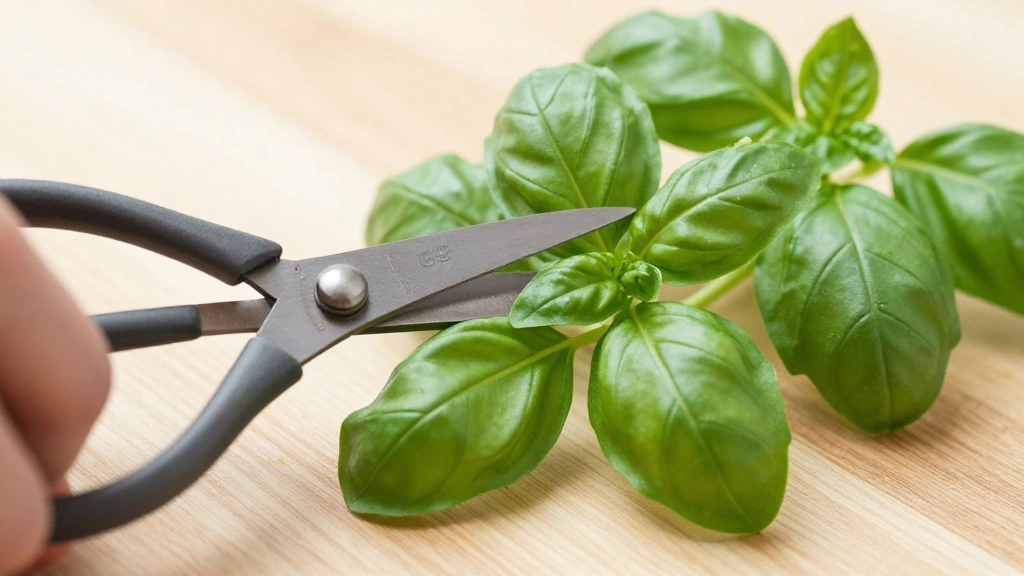
After a few weeks of care, your basil will be ready for harvesting. Follow these steps to harvest effectively:
- Use clean scissors to snip off leaves from the top of the plant, leaving at least two leaves on each stem.
- Avoid harvesting more than one-third of the plant at a time to ensure continued growth.
- Wash the harvested basil leaves gently and store them in a cool place.
Pro Tip: Regular harvesting encourages bushier growth. Warning: Do not pull leaves off by hand, as this can damage the plant.
Why this matters: Proper harvesting techniques promote healthy growth and ensure a continuous supply of fresh basil. This step will take about 15 minutes.
Step 7: Harvesting Your Basil
Editor’s Choice
Norpro Fresh Herb Keeper Refrigerator Container Basil Cilantro Etc. 9″ x…
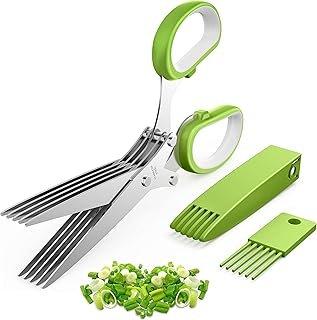
2026 Upgraded Herb Scissors, Effortless Herb Shears Cutter Tool with Sha…
Pro Tips
- Tip 1: Use a humidity tray or a small humidifier to maintain humidity levels around your basil.
- Tip 2: Pinch off flower buds as they appear to promote leaf growth.
- Tip 3: Keep an eye on pests like aphids; use insecticidal soap if needed.
- Tip 4: Consider companion planting with other herbs like parsley or oregano for improved growth.
- Tip 5: Experiment with different basil varieties for unique flavors and aromas.
Pro Tips
Editor’s Choice
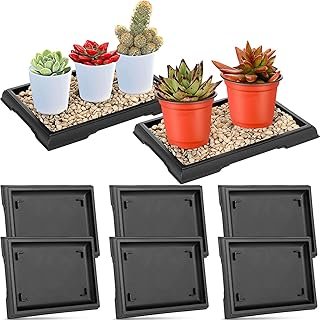
Pinkunn 2 Pcs Bonsai Humidity Tray Rectangular Drip Tray Plastic Plant W…
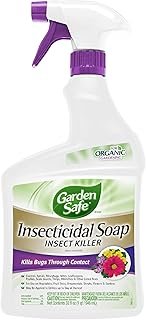
Garden Safe Brand Insecticidal Soap Insect Killer, 32 Fluid Ounces, For …
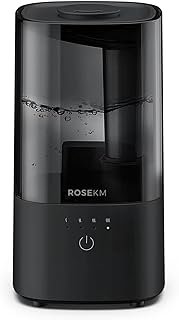
ROSEKM Humidifiers for Bedroom (1.1L), Small Cool Mist Humidifier for Ho…
Common Mistakes to Avoid
Warning: Not providing enough light can lead to leggy plants that don’t thrive. Ensure your basil gets at least 6 hours of light daily.
Warning: Overwatering is a common issue. Always check the soil moisture before watering.
Warning: Using the wrong type of soil can hinder growth. Always choose a quality potting mix designed for herbs.
Common Mistakes to Avoid
Editor’s Choice
GooingTop LED Grow Light,6000K Full Spectrum Clip Plant Growing Lamp wit…
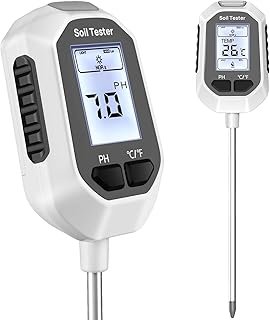
YAMRON 4-in-1 Soil Moisture Meter, Digital Plant Temperature/Soil Moistu…
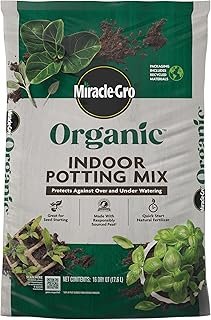
Miracle-Gro Organic Indoor Potting Mix – Protects Against Over and Under…
Troubleshooting Section
Problem: Leaves are yellowing.
Solution: Check for overwatering or nutrient deficiencies. Adjust watering habits and consider fertilizing.
Problem: Plants are leggy.
Solution: Ensure they are getting enough sunlight. Adjust their position or supplement with grow lights.
Problem: Leaves have brown spots.
Solution: This may indicate a fungal infection. Remove affected leaves and improve air circulation around the plants.
Troubleshooting Section
Editor’s Choice
GooingTop LED Grow Light,6000K Full Spectrum Clip Plant Growing Lamp wit…
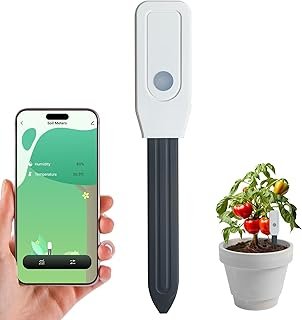
Smart WiFi Soil Moisture Meter for Plants, 2-in-1 Sensor with App Alerts…
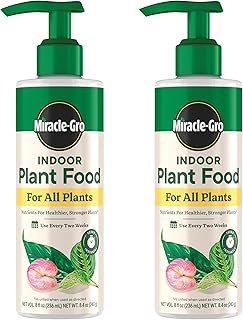
Miracle-Gro Indoor Plant Food for All Plants, Liquid Plant Food for Hous…
Variations/Alternative Methods
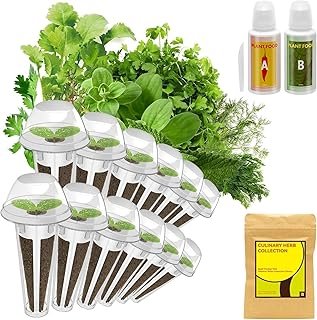
1. Hydroponic Basil: Consider growing basil in a hydroponic system for faster growth and higher yields. Ideal for small spaces but requires more equipment.
2. Window Box: If you have limited pot space, use a window box to grow multiple basil varieties together. This method is space-efficient but requires regular monitoring of moisture levels.
Variations/Alternative Methods
Editor’s Choice
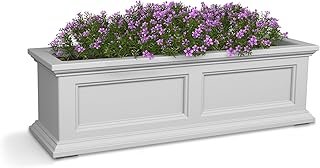
Mayne Fairfield 3ft Window Box, Self Watering Flower Box with Double Wal…
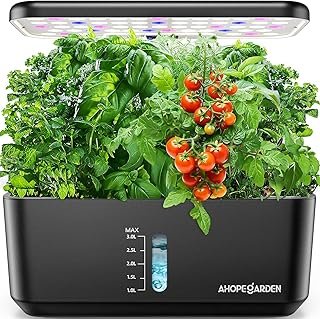
Ahopegarden Indoor Garden Hydroponics Growing System: 10 Pods Plant Germ…
XLUX Long Probe Deep Use Soil Moisture Meter, Water Monitor Indicator Se…
FAQs
What if I don’t have a sunny window? You can use grow lights to provide the necessary light for your basil plants.
How long should I wait to harvest my basil? You can start harvesting when the plants are about 6 inches tall, usually within 4-6 weeks of planting.
Is it safe to use tap water for watering? Yes, but let the water sit for 24 hours to allow chlorine to dissipate.
FAQs
Editor’s Choice
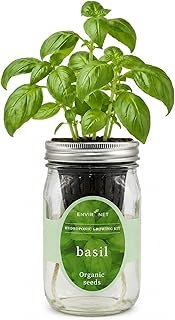
Hydroponic Growing Kit, Self-Watering Mason Jar Herb Garden Starter Kit …
Watering Can for Indoor and Outdoor Plants – Long Spout Water Can for Ga…
GooingTop LED Grow Light,6000K Full Spectrum Clip Plant Growing Lamp wit…
Conclusion
Congratulations! You’ve successfully learned how to grow basil indoors year-round. With just a little care and attention, you can enjoy fresh basil for your cooking throughout the winter months. Remember to maintain the right conditions and harvest regularly to keep your plants healthy.
As a next step, consider exploring other herbs to grow alongside your basil, or dive into cooking recipes that utilize your fresh harvest. Enjoy your indoor gardening journey!