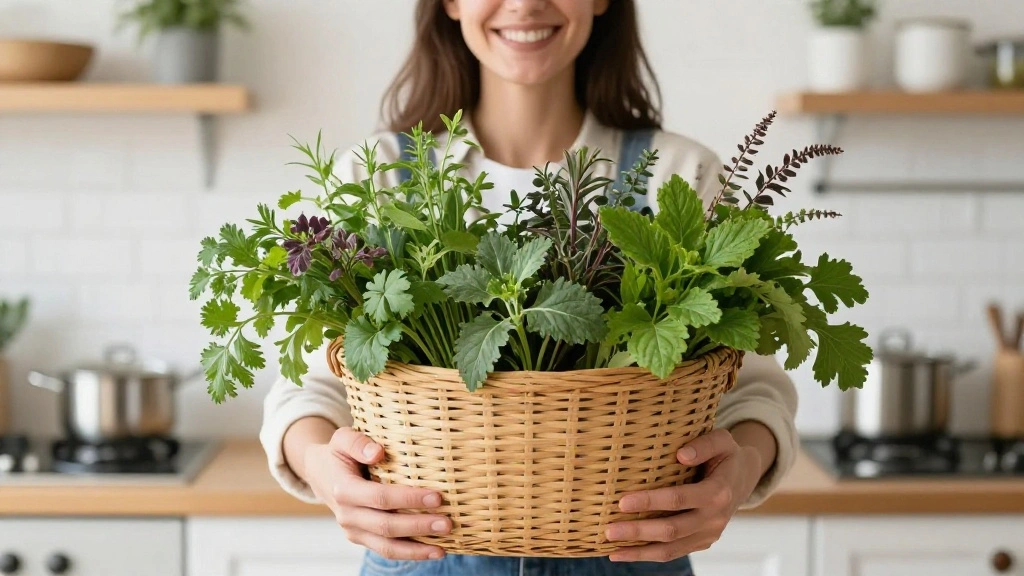
Are you struggling to keep your indoor herbs thriving while reaping the benefits of fresh flavors? Many beginner gardeners face the challenge of harvesting herbs without damaging the plants, leading to frustration and disappointment.
But worry not! This guide will teach you how to effectively harvest herbs indoors, ensuring your plants remain healthy and productive.
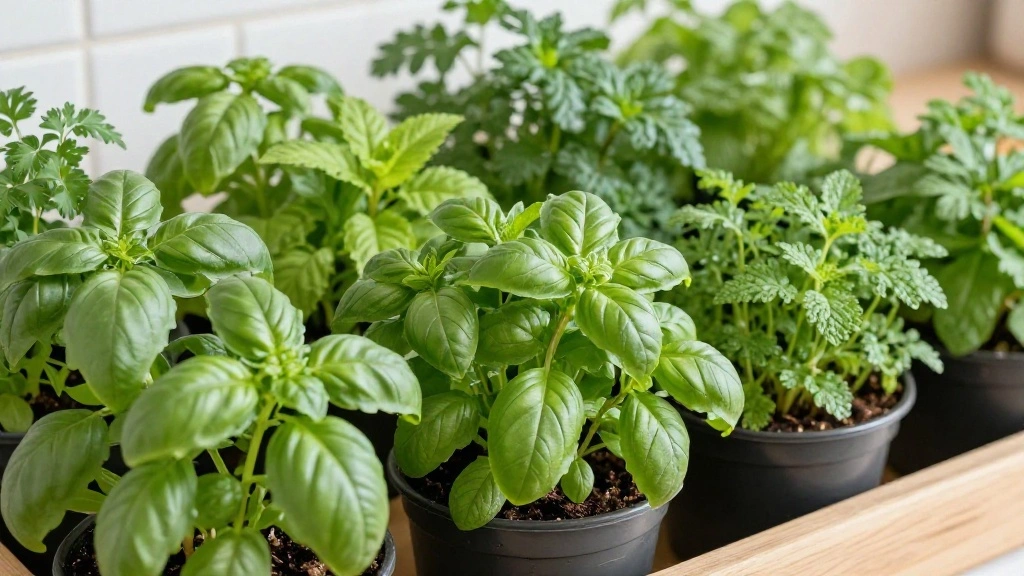
By following this step-by-step process, you will learn the best techniques for cutting and caring for your herbs, so you can enjoy fresh basil, mint, parsley, and more right from your kitchen.
With an easy skill level and an estimated time of 30 minutes, you’ll be ready to become your own herb expert in no time.
Let’s dig in and elevate your indoor gardening game!
TL;DR Summary
– Harvest herbs without harming the plant
– Use proper techniques to encourage growth
– Enjoy fresh herbs for cooking and garnishing
– Follow the simple steps outlined in this guide
TL;DR Summary
Editor’s Choice
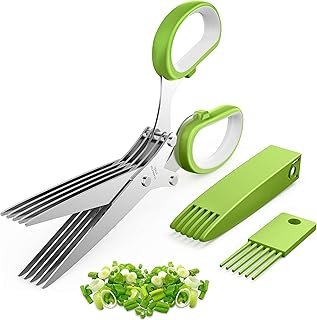
2026 Upgraded Herb Scissors, Effortless Herb Shears Cutter Tool with Sha…

Spray Bottle for Plants 2 Pack, 16oz – Ultra Fine Mist, Plant Mister Emp…
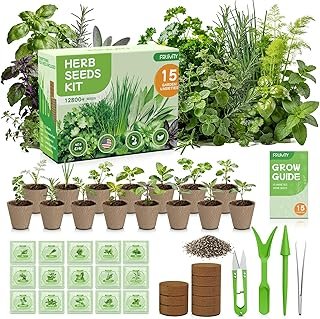
Herb Garden Starter Kit – Fruivity 12800+ 15 in 1 Herb Heirloom Seed K…
Prerequisites/Materials Needed
- Herb plants (e.g., basil, mint, parsley)
- Sharp scissors or herb snips
- Small container for harvested herbs
- Water (for watering the herbs if needed)
- Fertilizer (optional, for plant health)
Prerequisites/Materials Needed
Editor’s Choice
2026 Upgraded Herb Scissors, Effortless Herb Shears Cutter Tool with Sha…
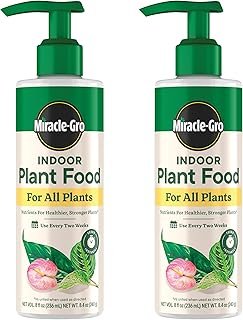
Miracle-Gro Indoor Plant Food for All Plants, Liquid Plant Food for Hous…
Skill Level & Time Estimate
Skill Level: beginner
Total time estimate: 30 minutes
This includes preparation, harvesting, and aftercare.
Skill Level & Time Estimate
Editor’s Choice
2026 Upgraded Herb Scissors, Effortless Herb Shears Cutter Tool with Sha…
The Indoor Herb Garden: A Complete Guide to Growing Fresh Herbs at Home …
Ahopegarden Indoor Garden Hydroponics Growing System: 10 Pods Plant Germ…
Step 1: Assess Your Herbs
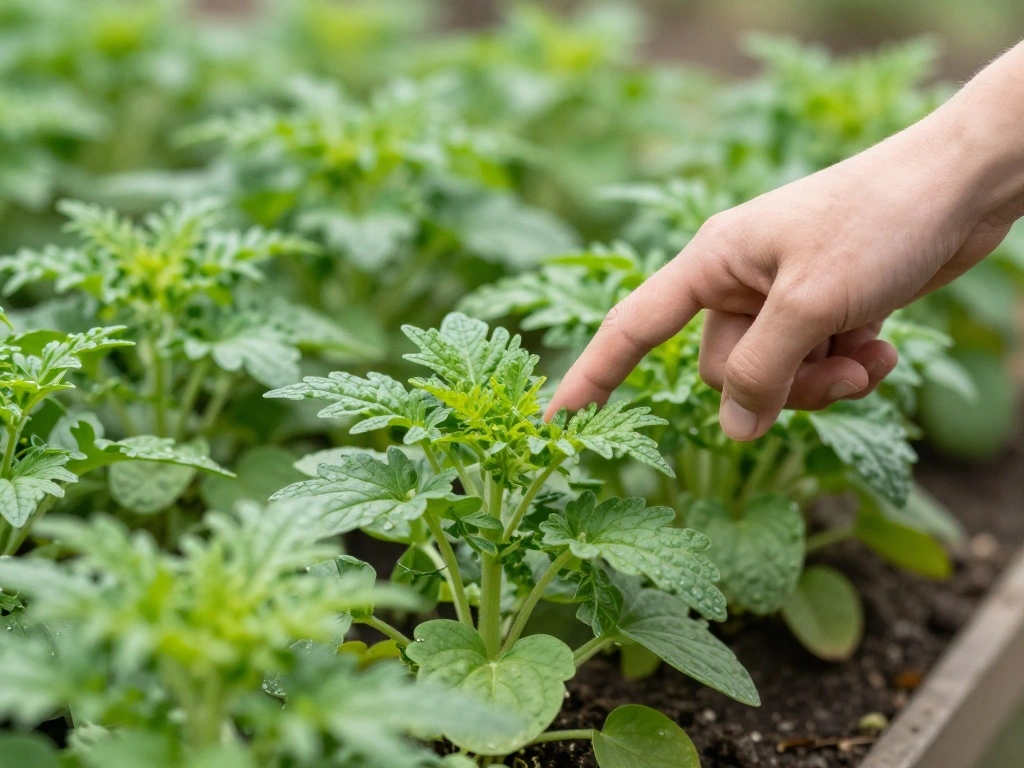
Evaluate the health and growth of your herb plants. This step is crucial for ensuring you only harvest what the plant can afford to lose.
1. Look for the healthiest stems; they should be vibrant and green.
2. Identify which herbs need trimming to promote new growth.
3. Avoid harvesting if the plant looks stressed or unhealthy.
Pro Tip: Regularly assess your herbs to maintain a thriving garden.
Why this matters: Proper evaluation prevents overharvesting and encourages robust growth.
Time estimate: 5 minutes.
Step 1: Assess Your Herbs
Editor’s Choice
XLUX Long Probe Deep Use Soil Moisture Meter, Water Monitor Indicator Se…
2026 Upgraded Herb Scissors, Effortless Herb Shears Cutter Tool with Sha…

Fiskars Bypass Pruning Shears, 5/8″ Cut Capacity Gardening Scissors, Sel…
Step 2: Gather Your Tools

Collect the right tools for harvesting. Using the appropriate tools will ensure a clean cut and minimize damage to the plants.
1. Grab your sharp scissors or herb snips.
2. Have a small container ready for your freshly cut herbs.
3. Ensure your tools are clean to prevent introducing any diseases.
Pro Tip: Sterilize your scissors with rubbing alcohol to keep your plants safe.
Why this matters: Clean and sharp tools make a significant difference in plant health.
Time estimate: 5 minutes.
Step 2: Gather Your Tools
Editor’s Choice
2026 Upgraded Herb Scissors, Effortless Herb Shears Cutter Tool with Sha…
Step 3: Choose the Right Time to Harvest
Harvest your herbs at the right time of day. Timing can affect flavor and plant health.
1. Aim for early morning or late afternoon when temperatures are cooler.
2. Avoid harvesting when the plant is wet from watering or dew.
3. Check the weather if your plants are near a window; avoid strong sunlight.
Warning: Harvesting in the heat can stress the plant.
Why this matters: Proper timing promotes optimal flavor and reduces stress on your herbs.
Time estimate: 5 minutes.
Step 3: Choose the Right Time to Harvest
Editor’s Choice
2026 Upgraded Herb Scissors, Effortless Herb Shears Cutter Tool with Sha…
Aokrean Plant Grow Light, 48 LEDs Full Spectrum Grow Lights for Indoor P…
Step 4: Cut the Herbs Correctly
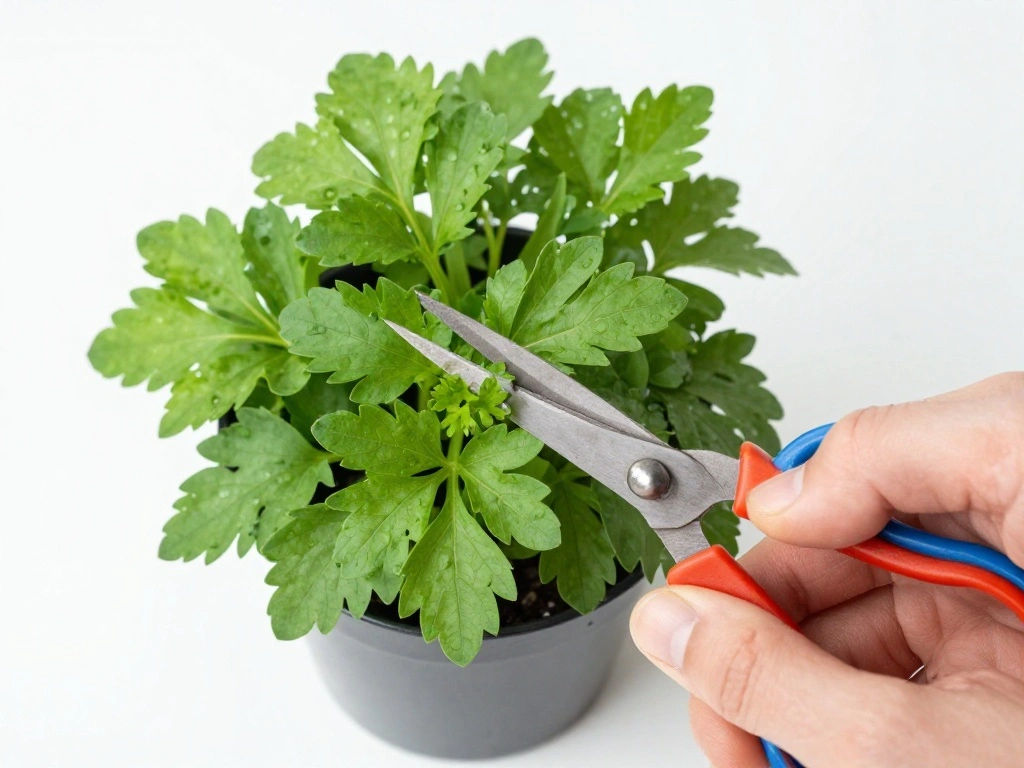
Use the right cutting technique. Proper cutting promotes healthy regrowth.
1. Identify the stems you want to cut; always choose the outer leaves or stems.
2. Cut above a pair of leaves, leaving at least 1/3 of the stem intact.
3. Make clean cuts to avoid bruising.
Pro Tip: Use scissors instead of tearing to minimize damage.
Why this matters: Correct cutting encourages new growth and keeps your plants healthy.
Time estimate: 10 minutes.
Step 4: Cut the Herbs Correctly
Editor’s Choice
Fiskars Bypass Pruning Shears, 5/8″ Cut Capacity Gardening Scissors, Sel…
The Indoor Herb Garden: A Complete Guide to Growing Fresh Herbs at Home …
2026 Upgraded Herb Scissors, Effortless Herb Shears Cutter Tool with Sha…
Step 5: Store Your Harvested Herbs
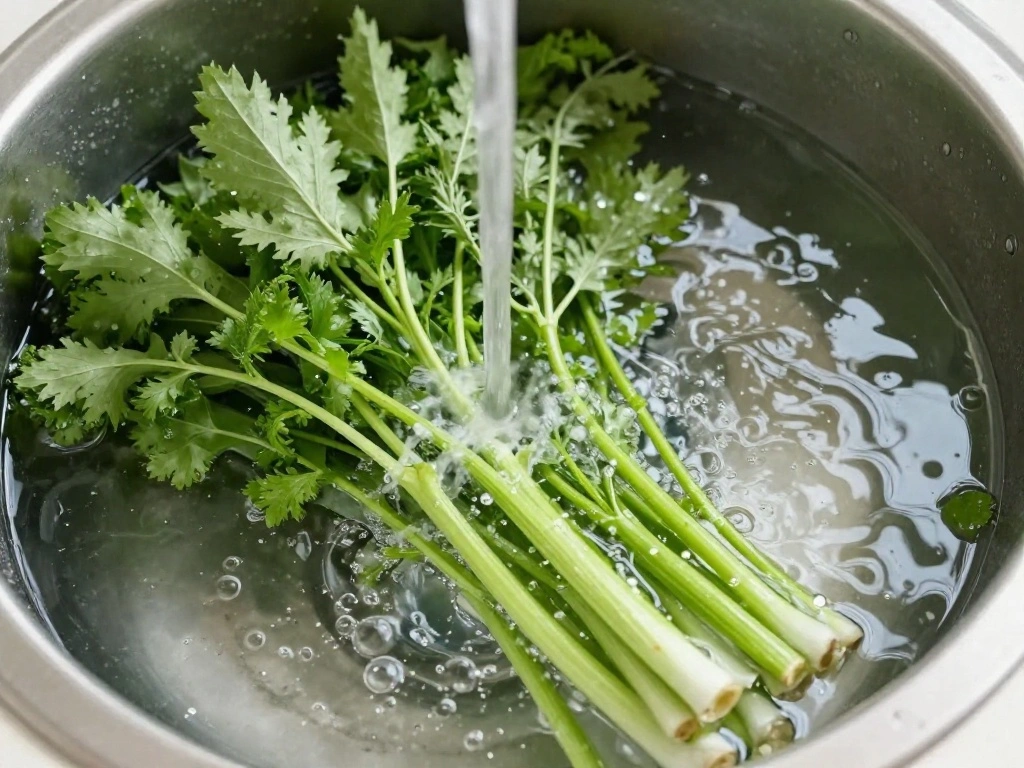
Properly store your harvested herbs for freshness. This step ensures you enjoy your herbs at their best flavor.
1. Rinse the herbs gently under cool water to remove any dirt.
2. Pat them dry with a paper towel.
3. Place them in the container; loosely cover with a damp paper towel or store in a plastic bag with air holes.
Pro Tip: Store herbs upright in a glass of water like cut flowers for maximum freshness.
Why this matters: Proper storage maintains flavor and extends shelf life.
Time estimate: 5 minutes.
Step 5: Store Your Harvested Herbs
Editor’s Choice
Paper Towel Holder Countertop, Standing Paper Roll Holder with Anti Slip…
ComSaf Set of 6 Square Glass Jars with Airtight Lids (8 Oz), Pantry Cani…
Step 6: Care for Your Herbs After Harvesting

Ensure your herbs continue to thrive post-harvest. This step is vital for plant recovery.
1. Water the plants lightly if the soil feels dry.
2. Consider applying a diluted fertilizer to promote growth.
3. Monitor for pests or diseases.
Warning: Overwatering can harm your herbs; check soil moisture first.
Why this matters: Proper care encourages your herbs to continue growing robustly after harvesting.
Time estimate: 5 minutes.
Step 6: Care for Your Herbs After Harvesting
Editor’s Choice
Kate’s Home & Garden Peppermint Oil Spray for Bugs, Ants, Insects, Spide…
Miracle-Gro Organic Plant Food – Use with Indoor or Outdoor Plants, Orga…
XLUX Long Probe Deep Use Soil Moisture Meter, Water Monitor Indicator Se…
Step 7: Enjoy Your Fresh Herbs
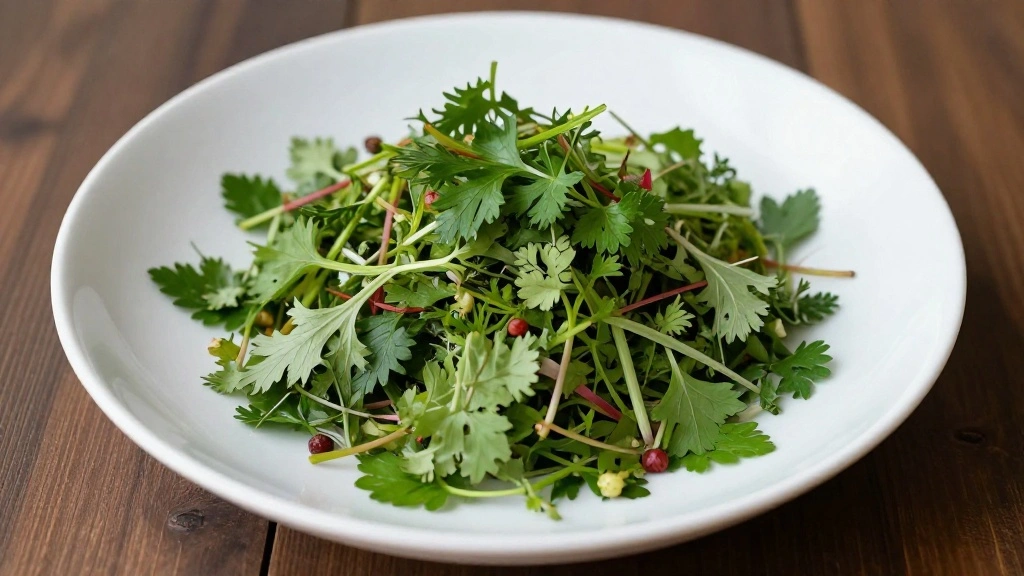
Incorporate your freshly harvested herbs into your meals. This is the most rewarding part!
1. Use them fresh in salads, soups, or as garnishes.
2. Experiment with drying or freezing any excess herbs for later use.
3. Share your bounty with friends or family!
Pro Tip: Make herb-infused oils or vinegars for a special touch.
Why this matters: Enjoying your herbs adds flavor to your dishes and gives you a sense of accomplishment.
Time estimate: 5 minutes.
Step 7: Enjoy Your Fresh Herbs
Editor’s Choice
Vacuum Sealer Machine, Automatic Bag Detection, Sous Vide Friendly, with…
Pure Zen Tea Infuser Bottle – Double Wall Glass Travel Mug with Stainles…
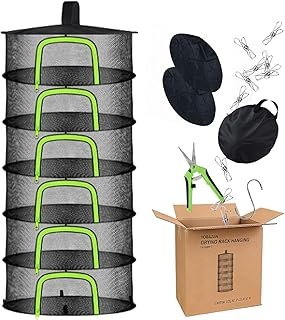
Herb Drying Rack Hanging Mesh Net – 6 Tier plant drying rack Foldable De…
Pro Tips
- Regular Pruning: Regularly prune your herbs to keep them bushy and productive.
- Rotate Harvesting: Harvest from different parts of the plant to balance growth.
- Herb Companions: Grow herbs together that thrive in similar conditions for better care.
- Light Exposure: Ensure your herbs get enough light; rotate pots if needed.
- Seasonal Care: Adjust watering and feeding based on seasonal growth patterns.
Pro Tips
Editor’s Choice
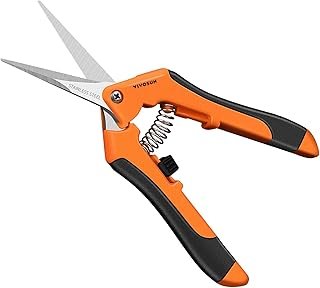
VIVOSUN 6.5 Inch Gardening Scissors Hand Pruner Pruning Shear with Strai…
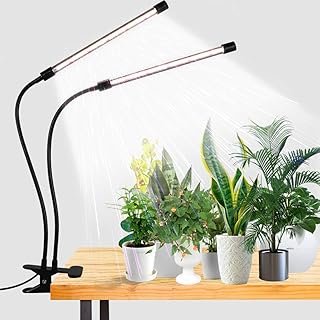
GooingTop LED Grow Light,6000K Full Spectrum Clip Plant Growing Lamp wit…
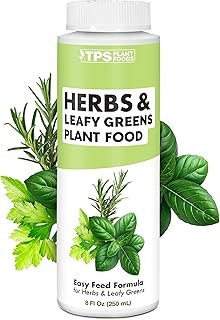
Herb Plant Food – Liquid Fertilizer for All Edible Herbs, Supports Fas…
Common Mistakes to Avoid
Warning: Cutting too much at once can stress the plant.
Solution: Only harvest 1/3 of the plant at a time.
Warning: Harvesting when wet can promote mold.
Solution: Always wait until the leaves are dry.
Warning: Using dull scissors can bruise stems.
Solution: Ensure your tools are sharp and clean.
Common Mistakes to Avoid
Editor’s Choice
2026 Upgraded Herb Scissors, Effortless Herb Shears Cutter Tool with Sha…
Fiskars Bypass Pruning Shears, 5/8″ Cut Capacity Gardening Scissors, Sel…
Herb Drying Rack Hanging Mesh Net – 6 Tier plant drying rack Foldable De…
Troubleshooting Section
Problem: My herbs are wilting after harvesting.
Solution: Ensure they are watered properly and placed in a suitable light environment.
Problem: The herbs seem to stop growing.
Solution: Check for pests and consider fertilizing the plants.
Problem: I cut too much and the plant looks sparse.
Solution: Avoid cutting more than 1/3 of the plant, and allow it time to recover.
Troubleshooting Section
Editor’s Choice
XLUX Long Probe Deep Use Soil Moisture Meter, Water Monitor Indicator Se…
Herb Plant Food – Liquid Fertilizer for All Edible Herbs, Supports Fas…
GooingTop LED Grow Light,6000K Full Spectrum Clip Plant Growing Lamp wit…
Variations/Alternative Methods
Different methods for harvesting herbs include:
1. Pinching: Use fingers to pinch off leaves instead of cutting, which can be gentler on the plant.
2. Scissors vs. Snips: Some prefer snips for small, delicate herbs; find what works best for you.
3. Hydroponic Techniques: Consider growing herbs hydroponically for easier access and less mess.
Variations/Alternative Methods
Editor’s Choice
Ahopegarden Indoor Garden Hydroponics Growing System: 10 Pods Plant Germ…
Fiskars 6″ Pruning Scissors for Flower Stems, Herbs, Buds, and Small Pla…
2026 Upgraded Herb Scissors, Effortless Herb Shears Cutter Tool with Sha…
FAQs
What if I don’t have herb snips? You can use sharp scissors instead; ensure they are clean.
How long should I let the herbs grow before harvesting? Wait until the plant is well-established, typically after a few weeks.
Is it safe to eat herbs with brown spots? Inspect thoroughly; remove any affected areas before using.
FAQs
Editor’s Choice
Herb Scissors, X-Chef Multipurpose 5 Blade Kitchen Herb Shears Herb Cutt…
Conclusion
Congratulations! You have successfully learned how to harvest herbs indoors without harming your plants. Now that you have the skills, continue to care for your herbs and enjoy the fresh flavors they bring to your meals.
Consider expanding your herb garden or experimenting with different varieties. Remember, the journey of indoor gardening is ongoing, and each successful harvest will inspire you further. Happy gardening!