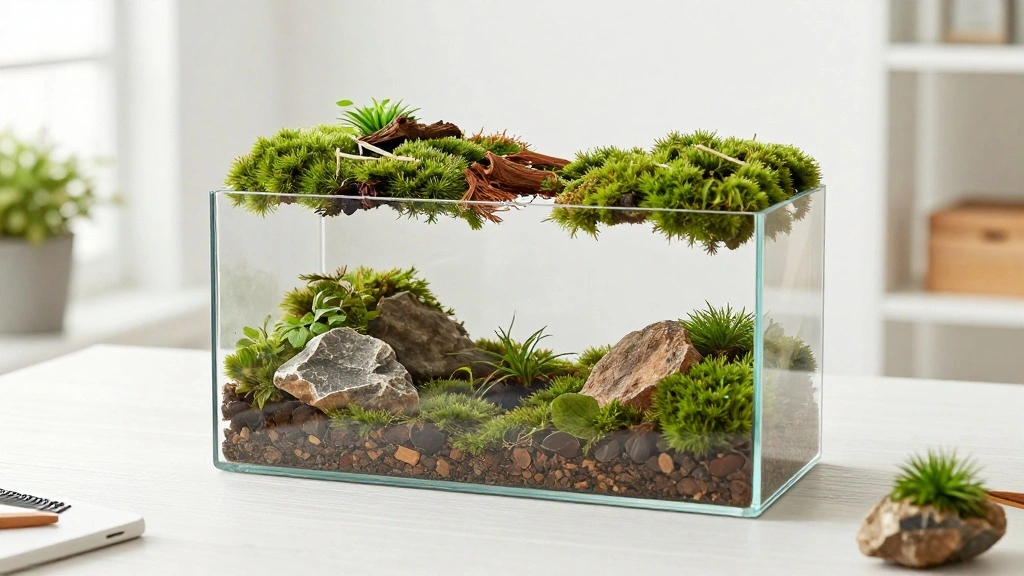
In today’s fast-paced world, many people seek ways to reconnect with nature and bring a bit of the outdoors inside. Unfortunately, the busy lifestyle often leads to a disconnect from the natural beauty around us. Creating a moss terrarium from foraged materials not only helps to bridge that gap but also provides a unique and beautiful piece of living art for your home.
In this guide, you will learn how to create your very own moss terrarium using materials you can easily find in your local environment. You will gather supplies, prepare your container, and arrange the moss and other elements to create a stunning display. By the end of this guide, you will have a deep appreciation for the natural world, and a beautiful terrarium that you can be proud of.
This project is designed for beginners and should take approximately 2-3 hours to complete. You’ll learn about the different elements that go into a terrarium, how to maintain it, and tips for foraging responsibly. So grab your supplies and let’s get started!
TL;DR Summary
- Gather foraged materials like moss, rocks, and twigs.
- Prepare your container with drainage layers.
- Arrange moss and decorative elements inside the terrarium.
- Learn how to care for and maintain your moss terrarium.
Recommended Products

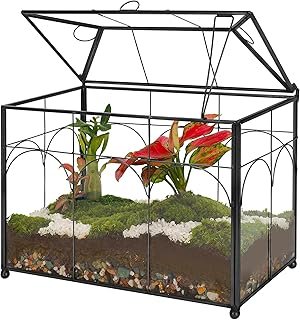
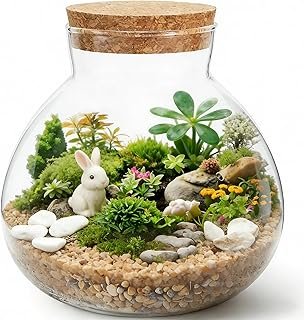
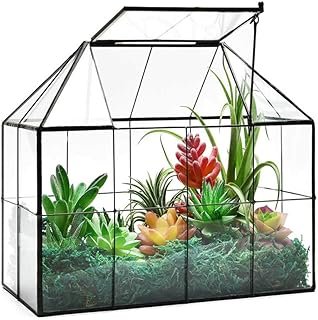
Crystal-Clear Glass Material: Crafted from high-quality, thick glass, this terrarium offers exceptional clarity to showcase your plants, succulents, or decorative items beautifully.

Create a Closed Terrarium: The snug-fitting cork lid helps maintain ideal humidity levels, forming a self-sustaining environment. small terrarium is enclosed design is perfect for moisture-loving greenery like ferns, mosses, requiring minimal watering and effort
TL;DR Summary
Editor’s Choice
REDHUGO Handmade Glass Planter Terrarium with Lid, Indoor Tabletop Cente…

Succulent Planter Kit – Terrarium Kit with Succulent Soil, Gravel, Pebbl…

Garden Tools Set, 3 Pack Heavy Duty Gardening Tools Set Include Garden S…
Prerequisites/Materials Needed
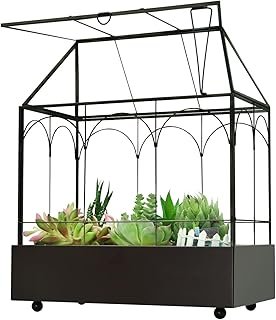
- Container: Clear glass jar or terrarium (1, size varies)
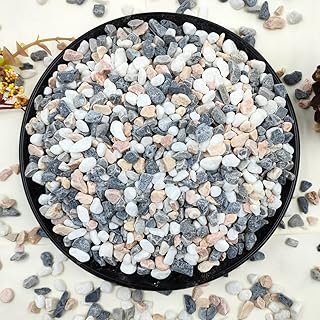
- Drainage materials: Small rocks or pebbles (1 cup)
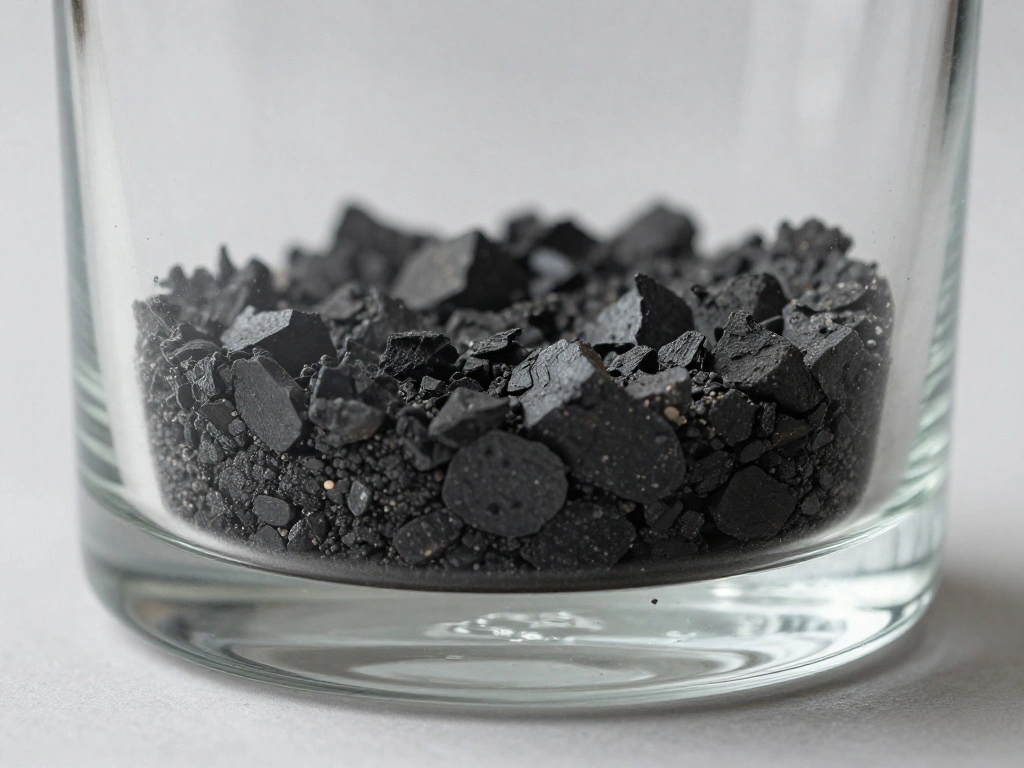
- Activated charcoal: (1/4 cup)
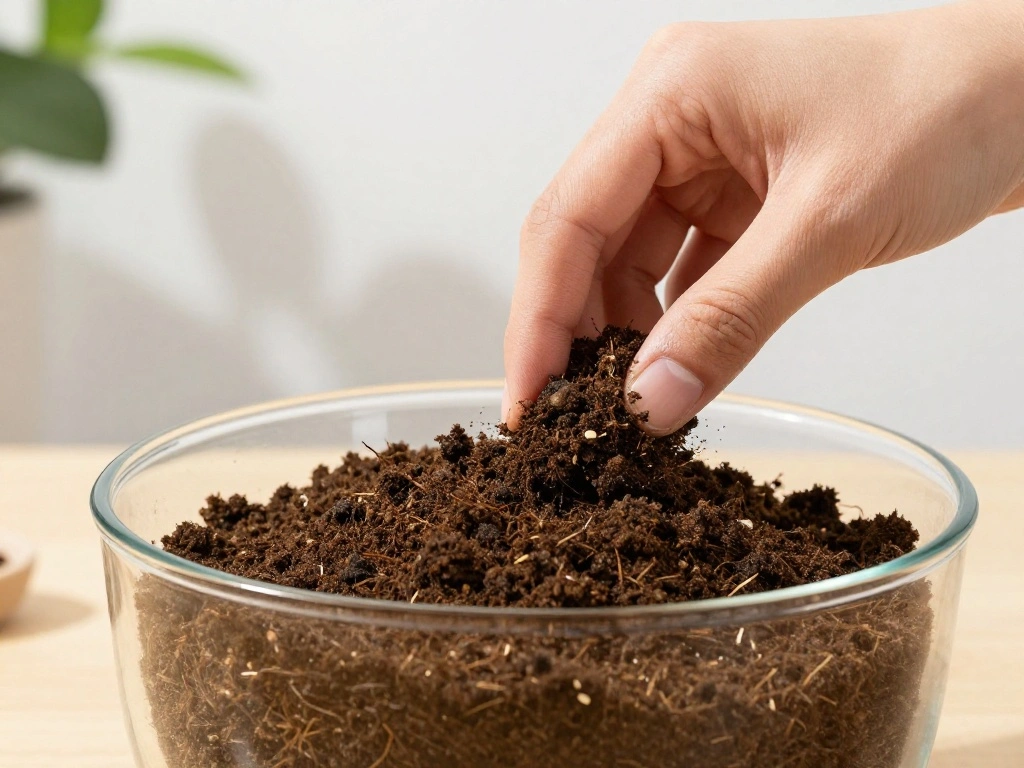
- Potting soil: (1 cup)
- Moss: Foraged moss (2-3 handfuls)
- Decorative elements: Twigs, stones, or small figurines (optional)
- Hand trowel: For planting (1)
- Spray bottle: For watering (1)
Recommended Products

💧 PRECISE PLANT PAMPERING - Our fine mist technology ensures optimal hydration for your leafy friends. Perfect for delicate houseplants, seedlings, and young sprouts. Witness your plants thrive with just the right amount of moisture!
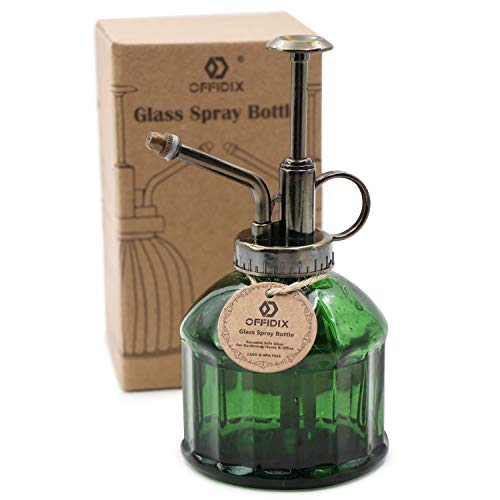
Small Size with Large Capacity: Only 6.3" Tall 3" Diameter with 200ml,enough for indoor plants like succulents.It is the best present for plants lover

FAST CHARGING & POWERFUL BATTERY: This powerful battery sprayer features a 2000mAh battery for long-lasting use and smooth operation. With fast charging, it’s always ready for watering, making plant care effortless without frequent recharging.
Prerequisites/Materials Needed
Editor’s Choice

WGVI Clear Slant Cut Bowl Glass Vase, Glass Terrarium, Candy Dish, Glass…
Olivette Horticultural Biochar Activated Charcoal for Plants, USDA Organ…

Heavy Duty Gardening Hand Trowel – Carbon Steel Garden Trowel with Rubbe…
Skill Level & Time Estimate
Skill Level: beginner
Total time estimate: 2-3 hours
Here’s a quick breakdown of the time allocation:
- Gathering materials: 30-45 minutes
- Assembling the terrarium: 1-1.5 hours
- Final touches and care instructions: 30 minutes
Recommended Products
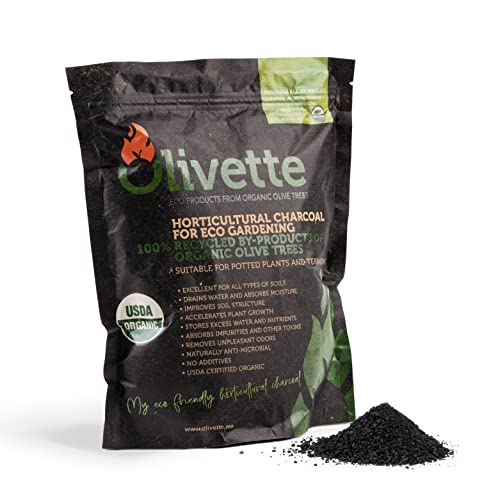
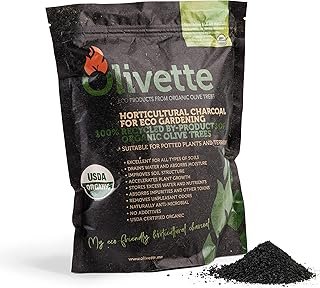
Premium Olive-Derived Activated Charcoal: Olivette's Biochar formula is made from recycled olive pits, pulp, and prunings, ideal for improving soil for indoor plants. It provides excellent moisture control while promoting sustainability and reducing waste.

Temperature Regulator: Charcoal absorbs and retains the heat of sunlight, so that the soil temperature is regulated and seeds are promoted to germinate.If you want indoor plants to grow healthily, horticultural charcoal is an ideal choice
[Exceptional Drainage]: The porosity of horticultural charcoal helps drain excess water, especially beneficial for containers without drainage holes, creating a keep fit environment for plant roots
Skill Level & Time Estimate
Editor’s Choice
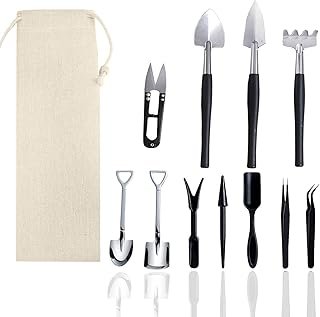
12 Pcs Succulent Tools Set Mini Transplanting Garden Tools Kit for Indoo…
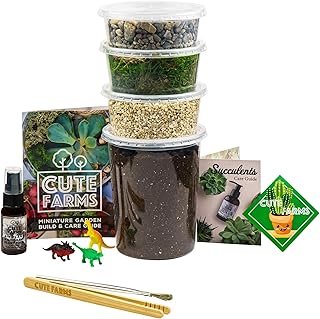
Cute Farms Terrarium Starter Kit | Moss, Vermiculite, Soil, Pebbles, Pla…
WGVI Clear Slant Cut Bowl Glass Vase, Glass Terrarium, Candy Dish, Glass…
Step 1: Gather Foraged Materials

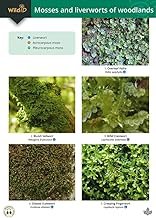
Begin your journey by exploring nature to find suitable materials for your terrarium. Look for various types of moss, interesting twigs, and small stones. Follow these sub-steps:
- Choose a local area where foraging is permitted and safe.
- Look for healthy, vibrant moss. Avoid areas with pollution or chemicals.
- Collect a few decorative elements like twigs or stones to enhance your terrarium.
Pro Tip: Always forage sustainably; take only what you need and leave enough for the ecosystem to thrive. Warning: Ensure you know how to identify safe plants and moss, as some can be harmful.
Time estimate: 30-45 minutes.
Recommended Products

1 PACK SET: 6x9 inch, plant terrarium. Check and pick the right size for your plants to prevent unpleasant experiences and potential wastage of resources. Plants NOT included.

A Must for Plant Lovers: Create a piece of nature in your home and liven up the space with freshness with this glass terrarium with lid! Easy to use, self-sustaining and efficient, this plant terrarium is the perfect choice for plant lovers who love how micro ecosystems develop right in front of their eyes.

VERSATILE GLASS TERRARIUM JAR: Use this glass container for small plants, succulents, or craft decorative displays. Small terrarium jar has a clear design, making them ideal for creating a tabletop garden in your home or office space. Glass terrariums for plants can also be used to hold a variety of other items
Step 1: Gather Foraged Materials
Editor’s Choice
Cute Farms Terrarium Starter Kit | Moss, Vermiculite, Soil, Pebbles, Pla…
Garden Tools Set, 3 Pack Heavy Duty Gardening Tools Set Include Garden S…
Step 2: Prepare Your Container
Once you have collected your materials, it’s time to prepare your container. This step is crucial for ensuring your terrarium thrives. Follow these sub-steps:
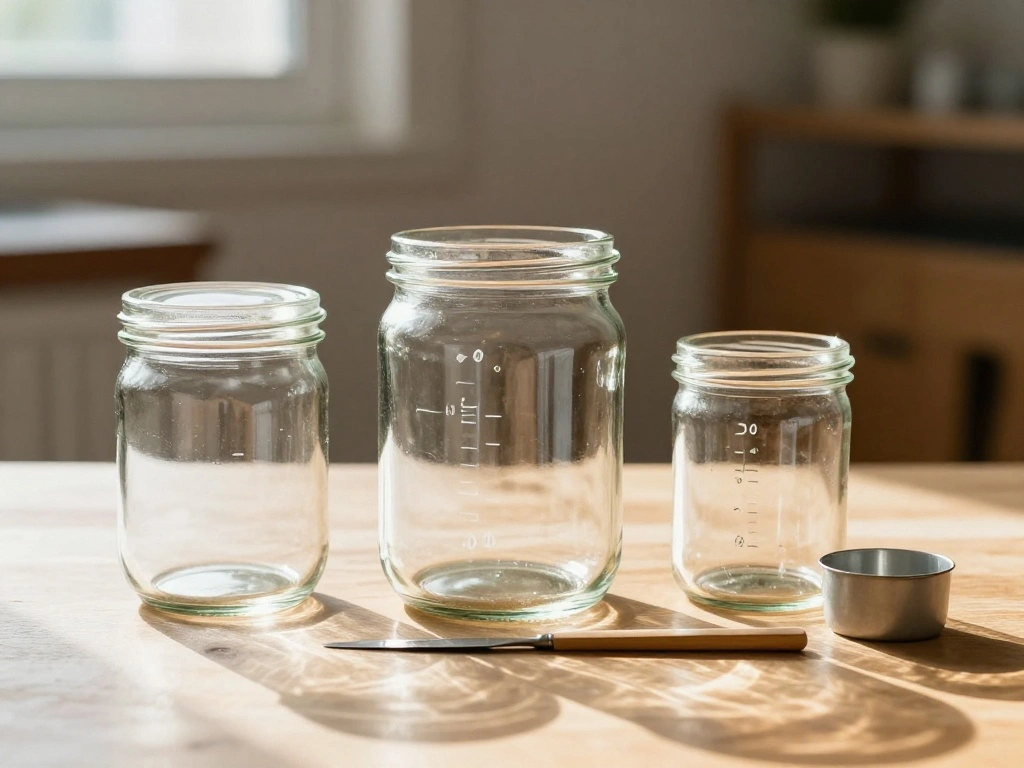
- Choose a container that allows for visibility, like a glass jar or bowl.
- Clean the container thoroughly with soap and water.
- Let the container dry completely before adding any materials.
Pro Tip: Consider using a container with a lid to help maintain humidity, especially if you live in a dry climate. Warning: Avoid using containers that have had chemicals or food residues, as they can harm your plants.
Time estimate: 15-20 minutes.
Recommended Products

INSTANT LEAF REVITALIZER: This plant care solution works as a powerful foliar spray for plants, lifting dust and dirt from leaves to reveal glossy, healthy foliage, keeping plants vibrant and fresh.

MATERIAL:The top sprayer is made of premium PET material,and the spray bottle is made of thickened glass,not easily broken.

Small Size with Large Capacity: Plant mister is only 6.3" tall 3" diameter with 200ml, plant spray bottle large capacity is enough for indoor plants like succulents.
Step 2: Prepare Your Container
Editor’s Choice

4Pcs Aquascaping Tools, Jeimier Aquascape Kit, Long and Strong Aquarium …
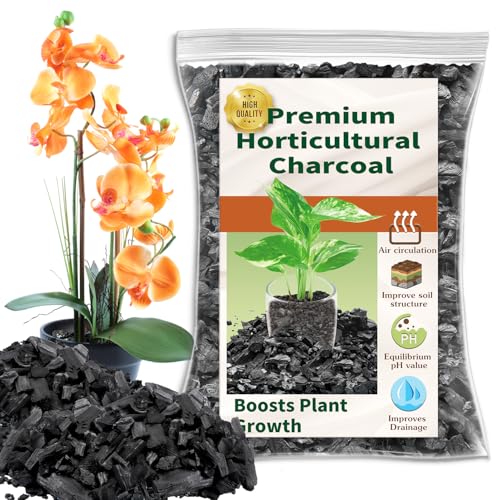
Legigo 2 QT Horticultural Charcoal- Natural Charcoal for Plants, Biochar…
NCYP Glass Terrarium Planter with Lid for Small Succulent Plants, Grid H…
Step 3: Create a Drainage Layer
The drainage layer is essential for preventing water from pooling at the bottom of your terrarium. Here’s how to set it up:
- Add a layer of small rocks or pebbles to the bottom of your container, about 1 inch deep.
- Ensure the rocks are evenly distributed across the bottom.
- Gently tap the container to settle the rocks in place.
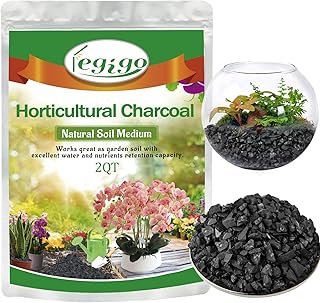
Pro Tip: If you have activated charcoal, sprinkle a thin layer on top of the rocks to help control odors. Warning: Do not skip this step; without proper drainage, your moss may rot.
Time estimate: 15 minutes.
Step 3: Create a Drainage Layer
Editor’s Choice
YISZM 2LB Succulent and Cactus Gravel Pebbles, 1/5 Inch Natural Decorati…
Large Tall Glass Plant Terrarium – House Succulent Terrarium Kit with …
Legigo 2 QT Horticultural Charcoal- Natural Charcoal for Plants, Biochar…
Step 4: Add Potting Soil
Now it’s time to add the potting soil, which will provide nutrients for your moss. Follow these steps:
- Add about 1 cup of potting soil on top of the drainage layer.
- Spread the soil evenly with your hand or a trowel.
- Gently pat it down to create a flat surface.
Pro Tip: Use organic potting soil to ensure a healthy environment for your moss. Warning: Avoid using garden soil, as it may contain pests and pathogens.
Time estimate: 10 minutes.
Recommended Products

Lecca for Plants:The size of the small leca is between 8-10mm. Please note that due to the small size and high density of our heavyweight ceramsite balls, the quantity of 15OZ (ounces) is less than that of lightweight ceramsite balls. Please be aware of this before purchasing and determine if the product is suitable based on your plants' needs. Thank you for your support and understanding!

【Well Drainage】This succulent gritty mix is super well in water drainage, best for drought tolerant succulents and cactus, help your plants grow beautiful colors and also effective prevent rover water
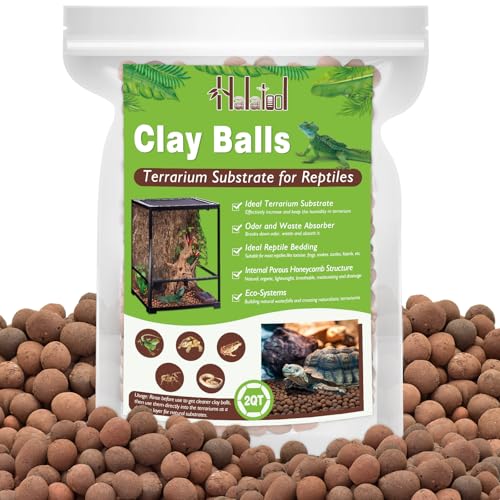
𝐏𝐚𝐜𝐤𝐚𝐠𝐞 𝐈𝐧𝐜𝐥𝐮𝐝𝐞𝐬: You will receive 2 quarts (≈1.5 lbs) of 4–16 mm expanded clay balls – enough for a 1" drainage layer in a 10-gallon tank. Perfect for small enclosures, nano setups, or as a lightweight top-up layer
Step 4: Add Potting Soil
Editor’s Choice
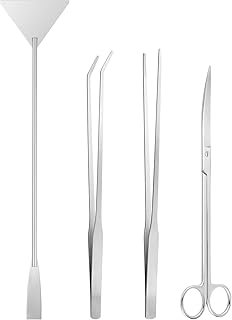
Ohtomber Aquascape Tools Aquarium Kit – 4PCS Terrarium Supplies Include …
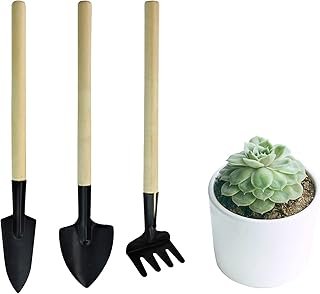
Andiker Mini Gardening Tools, 3pcs Portable Garden Hand Tools Set, Minia…
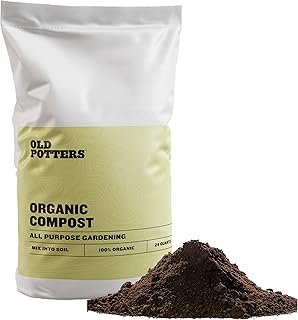
Old Potters Organic Compost – Plant Based Potting Soil – Home, Garden Fe…
Step 5: Arrange the Moss
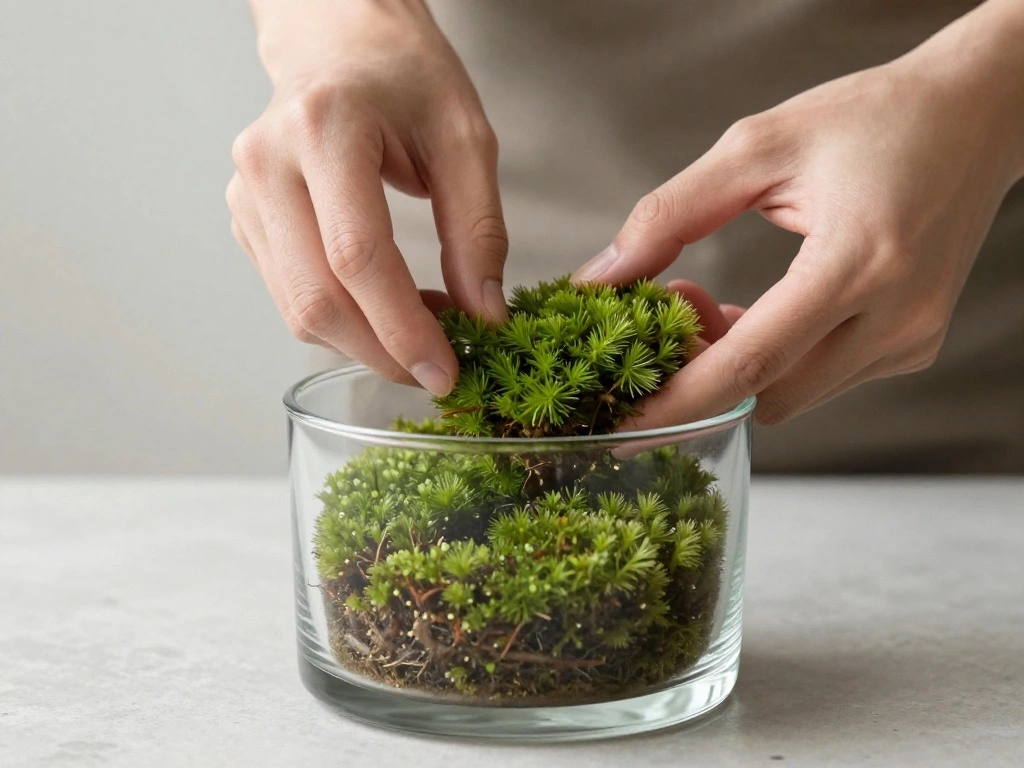
With your container prepared, it’s time to arrange the moss creatively. Follow these steps:
- Take small clumps of moss and gently separate them with your fingers.
- Place the moss clumps onto the soil, leaving some space between them for aesthetics.
- Press down lightly to ensure good contact with the soil.
Pro Tip: Mix different types of moss for varied textures and colors. Warning: Do not overcrowd the container; moss needs airflow to thrive.
Time estimate: 30 minutes.
Step 5: Arrange the Moss
Editor’s Choice
NUOBESTY Glass Terrarium Jar with Cork Lid, 6×6.3 Inch Closed Terrarium …

4pcs Garden Tweezers Set – 6.3″ Long Plant Tweezers for Succulent, Bonsa…
Cute Farms Terrarium Starter Kit | Moss, Vermiculite, Soil, Pebbles, Pla…
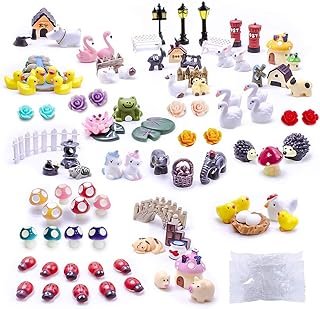
Step 6: Add Decorative Elements
Now it’s time to personalize your terrarium with decorative elements. Here’s how:
- Choose decorative elements such as twigs or stones.
- Place them strategically around the moss to enhance the visual appeal.
- Consider creating a focal point with a larger decorative item.
Pro Tip: Use natural, organic materials that complement the moss for a cohesive look. Warning: Avoid plastic or synthetic items, as they can harm the ecosystem inside your terrarium.
Time estimate: 20 minutes.
Step 6: Add Decorative Elements
Editor’s Choice
Dracarys Selected 100 Pcs Fairy Garden Accessories, Mini Resin Animals, …
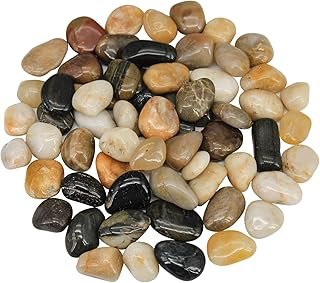
Virekm River Rocks, Decorative Ornamental Pebbles,Garden Landscaping Sto…
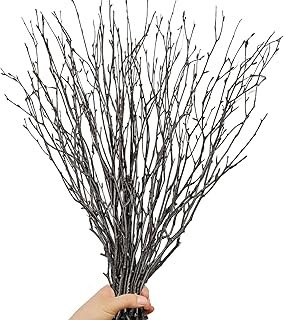
30Pcs Real Dried Birch Twigs – 16” Decorative 100% Natural Birch Branc…
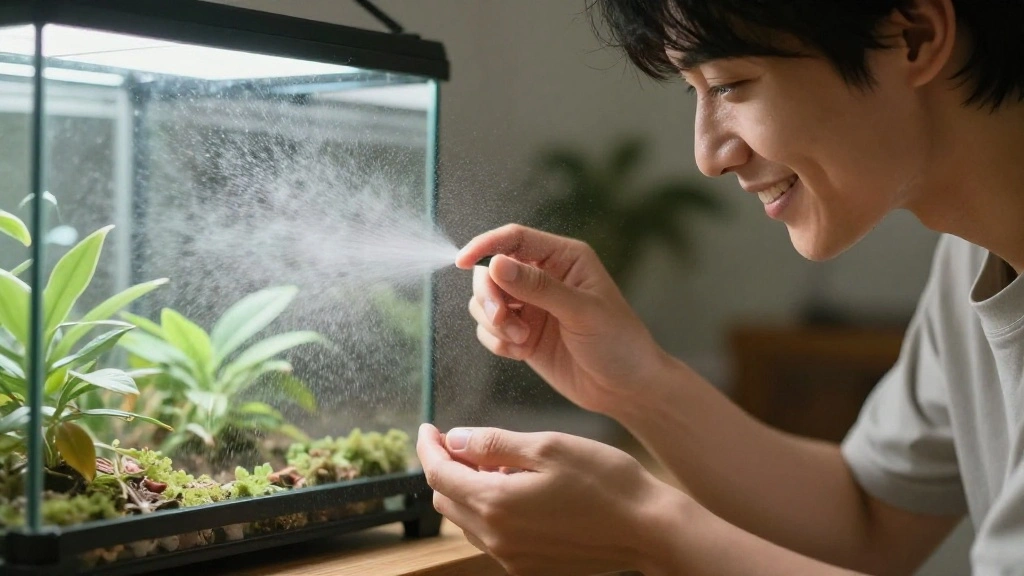
Step 7: Water the Moss
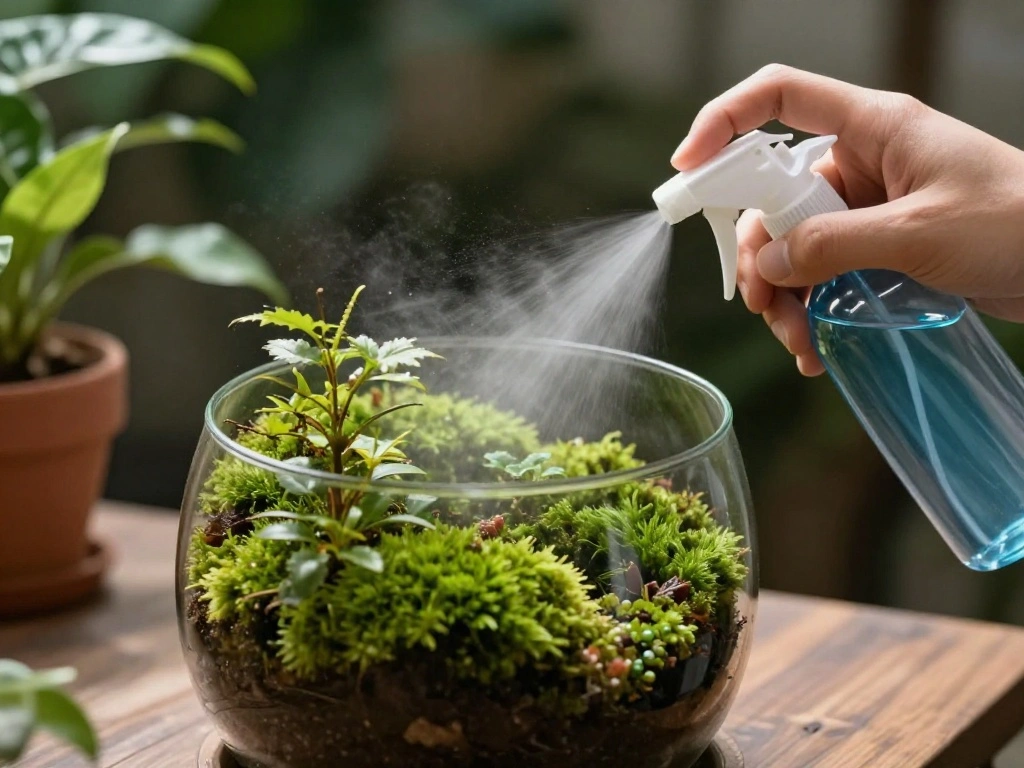
To ensure your moss thrives, it needs moisture. Follow these steps to water it properly:
- Fill a spray bottle with clean water.
- Lightly mist the moss and soil until moist but not soggy.
- Let the terrarium sit for a few minutes to absorb the moisture.
Pro Tip: Water sparingly; moss prefers a humid environment but can rot if overwatered. Warning: Do not pour water directly into the container; this can disturb your arrangement.
Time estimate: 10 minutes.
Recommended Products

【Versatile Decoration】These gravel are widely used in aquariums, fish tanks, succulent displays, bamboo arrangements, glass jars, vases, and even as sidewalk embellishments. They enhance the beauty of any space.
【Versatile Decoration】These gravel are widely used in aquariums, fish tanks, succulent displays, bamboo arrangements, glass jars, vases, and even as sidewalk embellishments. They enhance the beauty of any space.

【Highly Polished】These natural decorative stones add a dazzling shine to your garden, enhancing its visual appeal with their smooth and lustrous finish.
Step 7: Water the Moss
Editor’s Choice
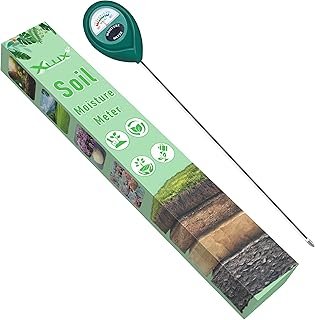
XLUX Long Probe Deep Use Soil Moisture Meter, Water Monitor Indicator Se…
Upgraded Reinforced 1.3 Gallon Pump Pressure Sprayer-Watering for Plants…
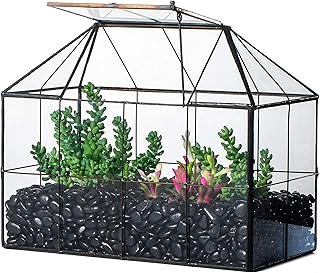
Step 8: Seal the Container (Optional)
If you want to create a closed environment, sealing the container will help maintain humidity. Here’s how:
- Place a lid or cover on your terrarium if you have one.
- Observe the moisture levels over the next few days.
- Open the lid occasionally to allow fresh air in.
Pro Tip: A sealed terrarium requires less frequent watering due to humidity retention. Warning: Monitor for condensation, as excessive moisture can lead to mold.
Time estimate: 5 minutes.
Step 8: Seal the Container (Optional)
Editor’s Choice

JEDEW 2 Pack Hygrometer Thermometer Digital Humidity Meter Indoor/Outdoo…
Zilla Fresh Air Screen Cover, Secure and Durable Metal Mesh Cover for Re…
WGVI Clear Slant Cut Bowl Glass Vase, Glass Terrarium, Candy Dish, Glass…
Step 9: Place Your Terrarium
Finding the right location for your terrarium is essential for its growth. Follow these steps:
- Choose a spot with indirect sunlight; direct sunlight can cause overheating.
- Ensure the area has stable temperatures, avoiding drafts.
- Consider displaying it on a table or a shelf for visibility.
Pro Tip: Rotate your terrarium occasionally to promote even growth. Warning: Avoid placing it near heaters or air conditioning vents, as they can dry out the moss.
Time estimate: 10 minutes.
Step 9: Place Your Terrarium
Editor’s Choice
Large Glass Terrarium House Planter – Succulent Plant Glass Greenhouse…
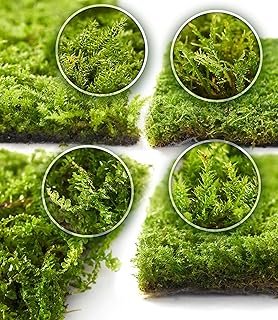
Live Moss 4-Pack (Each 3.5″x7″) – Real Mixed Moss for Terrariums, Rept…
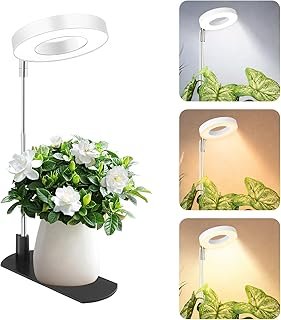
LBW Grow Light for Indoor Plants, Full Spectrum Plant Light with Base, H…
Step 10: Maintain Your Terrarium
To keep your moss terrarium healthy, regular maintenance is key. Follow these steps:
- Check moisture levels weekly; mist if the moss looks dry.
- Remove any yellow or dying leaves promptly.
- Fertilize sparingly with diluted liquid fertilizer every few months.
Pro Tip: Keep a journal of your terrarium’s growth and changes for future reference. Warning: Avoid over-fertilizing, as this can harm your moss.
Time estimate: Ongoing, check weekly.
Step 10: Maintain Your Terrarium
Editor’s Choice
Organic Liquid Indoor Plant Food, Houseplant, Tropical & All-Purpose Ind…

Plant Care Journal: Houseplant Journal and Log Book to Keep Track of You…
SUPER+ 2 Pack Continuous Spray Bottles – Ultra Fine Mist Sprayer | Water…
Pro Tips
- Choose the Right Moss: Different moss species have varying light and moisture needs; research your local varieties.
- Layering Techniques: Experiment with layers of different textures for a more dynamic look.
- Seasonal Adjustments: Consider changing your terrarium based on the seasons to keep it fresh.
- Observe Growth: Pay attention to how your moss responds to its environment and adjust care accordingly.
- Share Your Work: Document your process and share it on social media to inspire others.
Pro Tips
Editor’s Choice

Aquarium Aquascape Tools Kit, 4 in 1 Anti-Rust Aquatic Plant Aquascaping…
Live Moss 4-Pack (Each 3.5″x7″) – Real Mixed Moss for Terrariums, Rept…

Butterflies of Britain and Western Europe and Their Caterpillars: An Ide…
Common Mistakes to Avoid
Warning: Overwatering: Too much moisture can lead to mold. Solution: Mist lightly and allow for drying periods.
Warning: Using Garden Soil: It may contain pests. Solution: Always use sterile potting soil.
Warning: Poor Lighting: Insufficient light can stunt growth. Solution: Place in a brightly lit area away from direct sunlight.
Warning: Neglecting Airflow: A sealed container can lead to mold. Solution: Open occasionally to allow air circulation.
Warning: Choosing Non-Natural Decor: Synthetic materials can harm the ecosystem. Solution: Stick to natural elements.
Common Mistakes to Avoid
Editor’s Choice
Back to the Roots 100% Organic Indoor Potting Mix (6 Quart), Promotes He…
Aokrean Plant Grow Light, 48 LEDs Full Spectrum Grow Lights for Indoor P…

Create Your Serene Moss Sanctuary with The Unique Gardener Moss Bowl Ter…
Troubleshooting Section
Problem: Moss looks brown and wilted.
Solution: Check moisture levels; mist if dry and remove any dead parts.
Problem: Mold appears on the soil.
Solution: Open the terrarium to improve airflow and reduce moisture.
Problem: Moss is growing too tall.
Solution: Trim back the moss to encourage bushier growth.
Problem: Terrarium smells bad.
Solution: Remove any decaying material and check for overwatering.
Problem: Container fogs up.
Solution: Open the lid periodically to release excess humidity.
Troubleshooting Section
Editor’s Choice

Hanafubuki Wazakura Bonsai Scissors Made in Japan 7inch(180mm), Japanese…

Spray Bottle for Plants 2 Pack, 16oz – Ultra Fine Mist, Plant Mister Emp…
Legigo 2 QT Horticultural Charcoal- Natural Charcoal for Plants, Biochar…
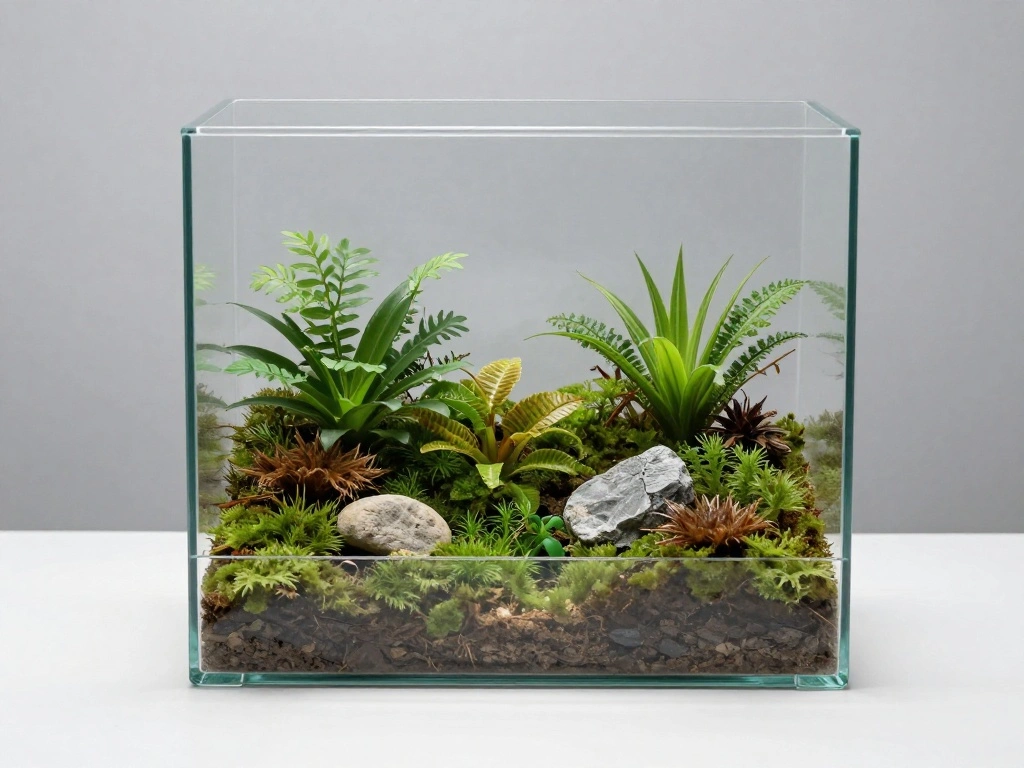
Variations/Alternative Methods
Closed Terrarium: Ideal for humidity-loving plants; requires less maintenance but watch for excess moisture.
Open Terrarium: Better for drought-tolerant plants; allows for more airflow and light.
Layering Technique: Create distinct layers with different plants for a more visually interesting setup.
Variations/Alternative Methods
Editor’s Choice

Pawfly 6 PCS 1-Way Aquarium Air Flow Control Lever Straight Valve Distri…
VELCRO Brand VEL-30071-USA ONE-WRAP Garden Ties | Plant Supports for Eff…
Portland Terrarium kit – DIY Mason Jar Terrarium Kit
FAQs
What if I don’t have a glass container?
You can use any clear container, like plastic jars or vases, as long as it allows light in.
How long should I wait to water again?
Check moisture weekly; mist again when the moss feels dry to the touch.
Is it safe to keep my terrarium indoors?
Yes, as long as it receives indirect sunlight and proper care.
What if I can’t find moss?
Look for other safe, small plants that thrive in similar conditions.
Can I use artificial plants?
While possible, it defeats the purpose of creating a living ecosystem.
FAQs
Editor’s Choice
Live Moss 4-Pack (Each 3.5″x7″) – Real Mixed Moss for Terrariums, Rept…
Spray Bottle for Plants 2 Pack, 16oz – Ultra Fine Mist, Plant Mister Emp…
Exo Terra Faunarium Small PT2255 – Plastic Reptile Terrarium and Trans…
Conclusion
Congratulations! You’ve successfully created your own moss terrarium from foraged materials. This beautiful piece of nature will not only enhance your living space but also serve as a reminder of the beauty of the outdoors. Take pride in your creation and enjoy watching it grow.
Next steps include monitoring and maintaining your terrarium, and perhaps considering a different design or plant type for your next project. Explore more about terrariums and get inspired for future creations!