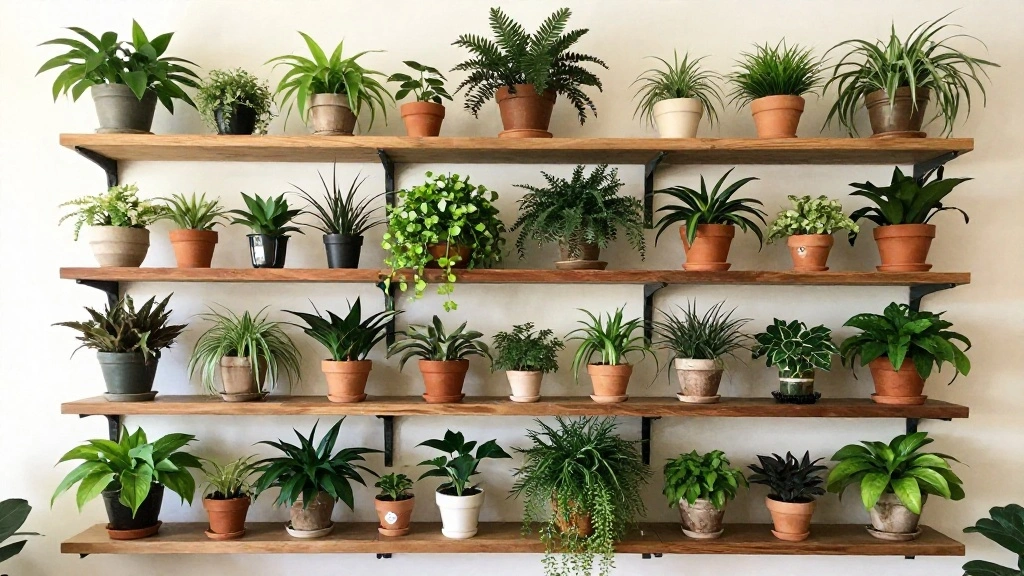
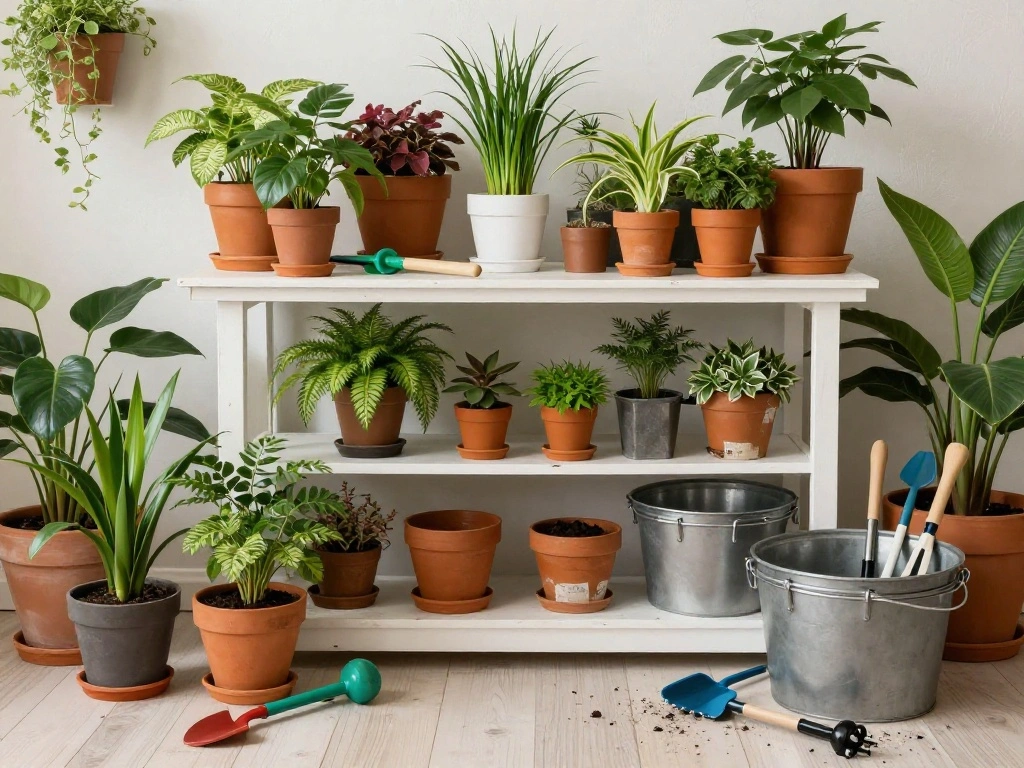
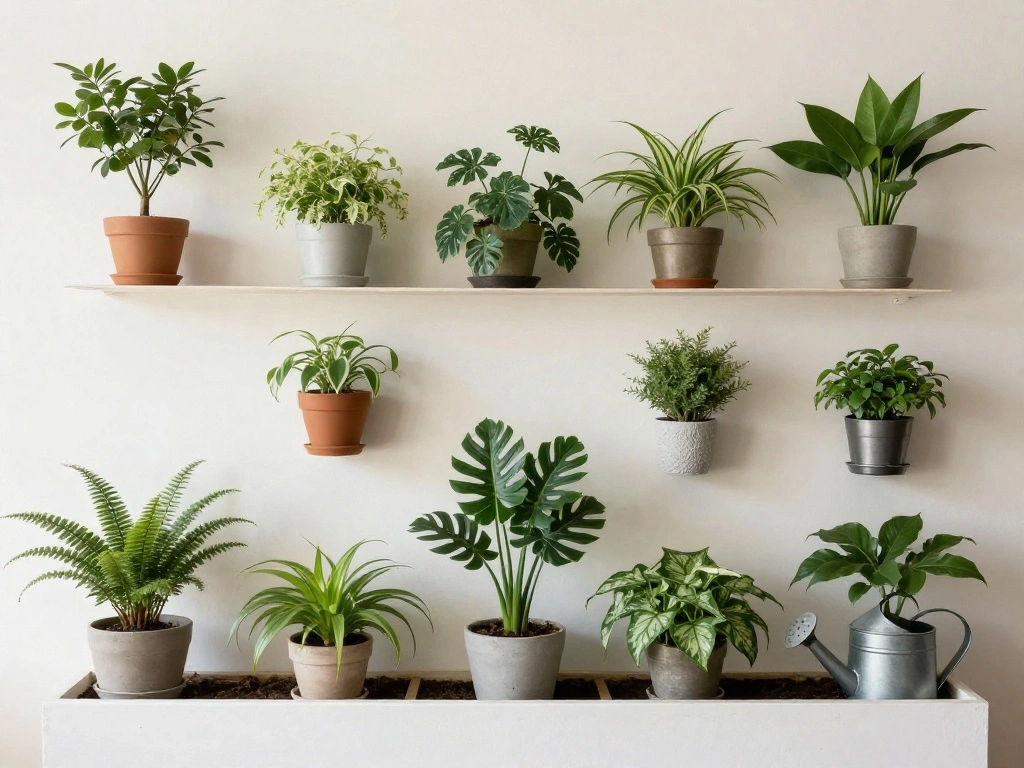
Are you feeling the need to spice up your living space but worried about making permanent changes that could jeopardize your security deposit? Many renters face the challenge of personalizing their homes without causing damage. Creating a plant wall using freestanding shelves is a fantastic solution that allows you to add vibrancy and life to your environment without any permanent alterations.
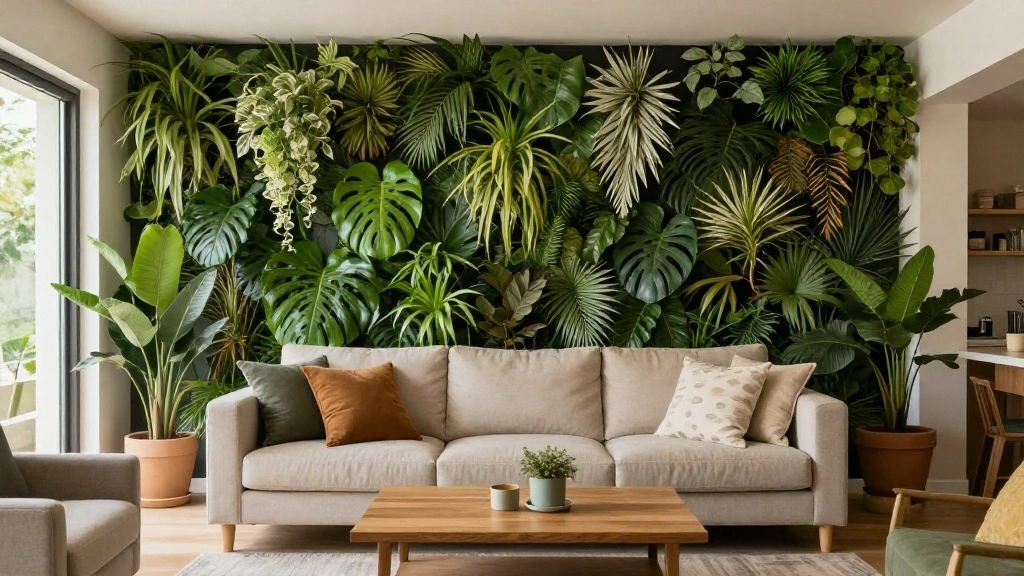
By following this guide, you’ll learn how to design and assemble a stylish plant wall that fits your space and personality. You’ll create a green oasis filled with your favorite plants, transforming your living area into a soothing sanctuary. This project not only beautifies your home but also purifies the air and boosts your mood!
This guide is suitable for beginners and will take you approximately 2-3 hours to complete. You’ll discover step-by-step instructions, tips, and tricks to ensure your plant wall comes out just right. Let’s dive into this engaging project and create a lush, renter-friendly plant wall!
TL;DR Summary
- Create a stunning plant wall with freestanding shelves.
- No permanent alterations required—perfect for renters!
- Follow simple steps to gather materials and assemble.
- Achieve this project in about 2-3 hours.
Recommended Products

Boho Window Plant Hanger:Turn your boring windows into vibrant showcases! Our window shelf for plants is ideal for turning any window sill into a lively plant haven. Let the sunshine in and watch your plants thrive in style
Perfect for Window Sills: Designed to fit most window ledges, maximizing sunlight exposure for your plants while saving valuable floor space.
TL;DR Summary
Editor’s Choice
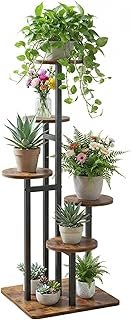
Bamworld Plant Stand Indoor Plant Shelf Outdoor Wood Plant Rack for Mult…
Ton Sin Grey Flower Pots, Texture Planter for Indoor Plants Set of 3 Cer…
Uneedem Plant Stand Indoor Outdoor, Tall Plant Shelf for Multiple Plants…
Prerequisites/Materials Needed
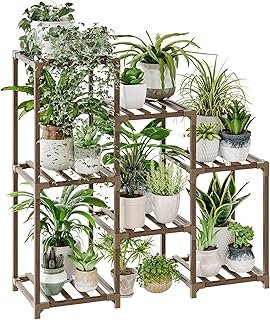
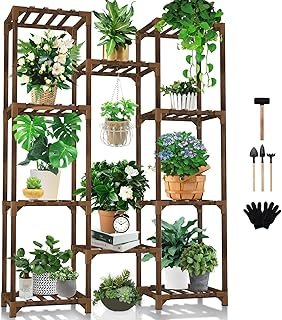
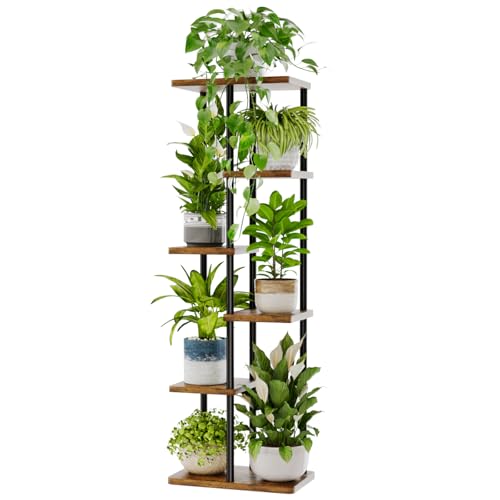
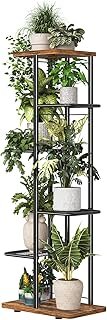
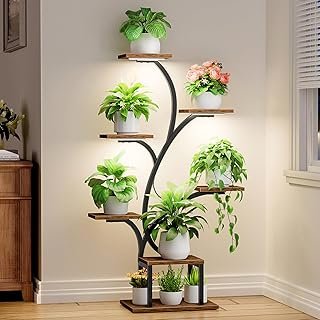
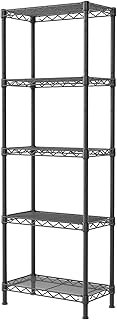
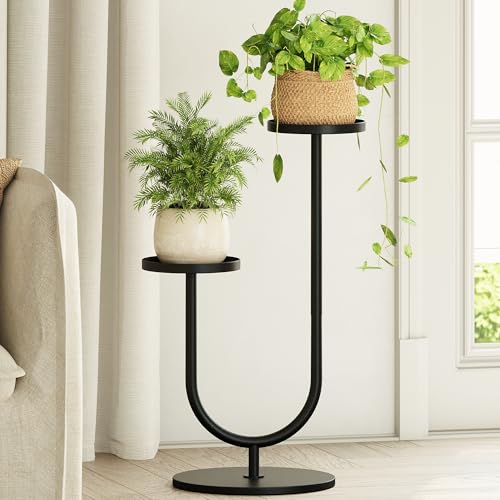
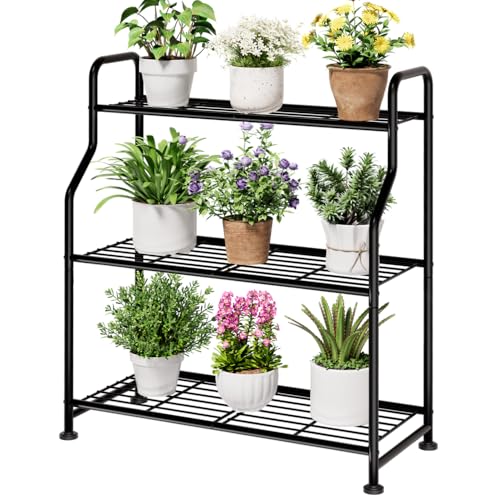
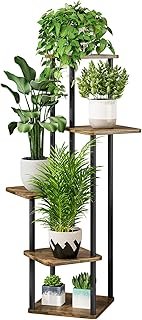
- Freestanding shelves: 1-2 units (depending on your space)
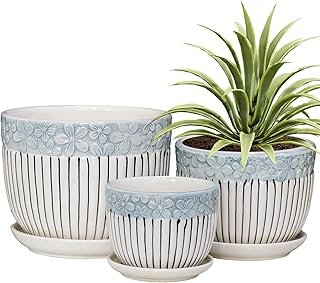
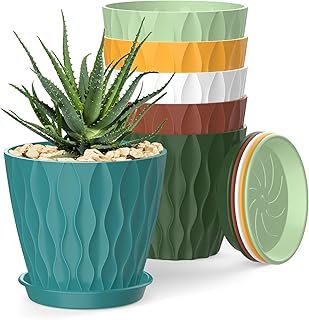
- Plant pots: 5-10 small to medium-sized pots
- Plants: Choose a mix of your favorites, such as:
- Low-light plants (e.g., pothos, snake plant)
- Succulents (e.g., jade plant, aloe vera)
- Flowering plants (e.g., peace lily, African violet)
- Potting soil: 1 bag
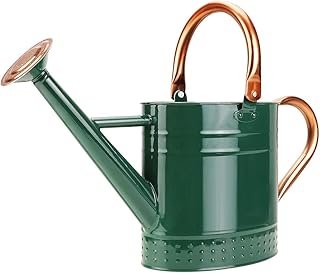
- Watering can: 1 unit
- Decorative items: Optional (e.g., plant hangers, fairy lights)
Recommended Products

【Indoor Plant stand】: Raised your lively plants in an higher place and settled it in your corner, made it attractive and eye-catching in your home. Tiered plant stand indoor in simple and natural design is suitable for all kinds of small spaces, placed in your bedroom, living room, sofa corner, hallway, and turns your boring small space into a vibrant and elegant scenery. It's widely used indoor with movable wheels.
Space-Saving Corner Design: Maximize space with this 6-tier corner plant stand, perfect for indoor plant stand or plant shelf.

[Space-Saving Design]: Our 2-pack corner plant stand is perfect for small spaces, featuring 47 "tall 6 tiered plant shelves and 4 hanging hooks to maximize vertical space. This plant stand indoor can help you arrange multiple plants neatly, turning a cluttered plant arrangement into a beautiful organized display.
Prerequisites/Materials Needed
Editor’s Choice
1 Gallon Metal Watering Can with Removable Spout, Nice Galvanized Steel …
4 Inch Plant Pots, 6 Pack Indoor Flower Pots, Planters with Drainage Hol…
Simple Trending Plant Stand Indoor Outdoor, 6 Tier Plant Shelf, Tall Cor…
Skill Level & Time Estimate
Skill Level: beginner
Total Time Estimate: 2-3 hours
Breakdown of time:
- Gathering materials: 30 minutes
- Assembling shelves: 45 minutes
- Planting and arranging plants: 1 hour
- Final touches: 30 minutes
Recommended Products
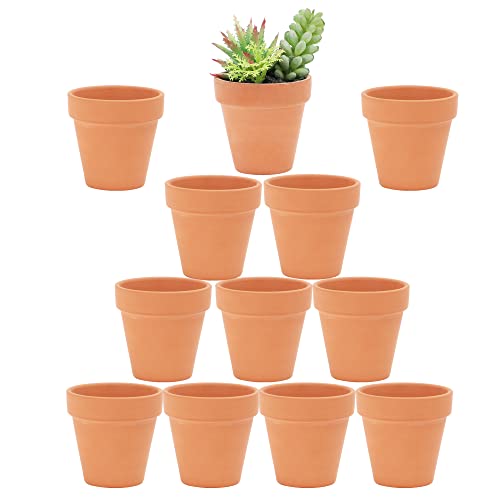
★【TERRACOTTA】Terracotta pots are classic planting pots, with a neutral and warm color that makes almost any plant look great. Terra cotta dries out more quickly than other mediums. Suitable for propagating seedling, collecting succulents and small plants like succulents, cactus, herbs, moss ball, and bring so much positivity.

Premium Quality: These terra cotta pots are constructed of high-quality clay, which allows more water and air to circulate freely within the pots while yet maintaining their structural integrity. It’s an excellent choice for cactus, succulents, and other plants that thrive in dry soil, and it’s also appropriate for areas with lower temperatures. The high air permeability of the pot walls helps the soil to dry out more quickly
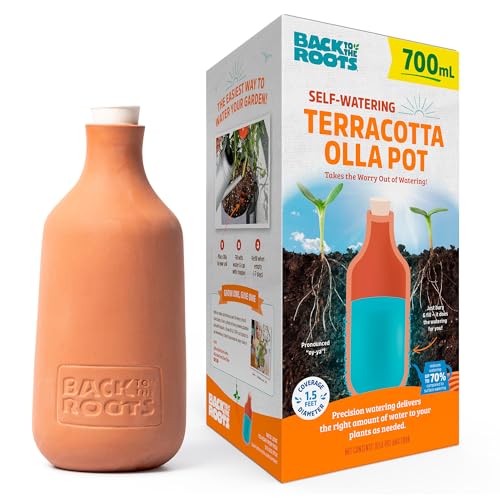
18" Diameter Coverage to support 2 large plants
Skill Level & Time Estimate
Editor’s Choice
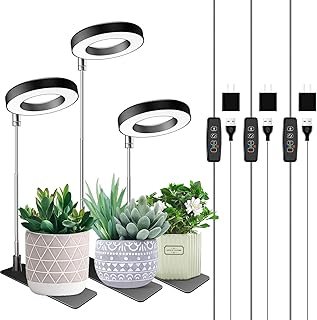
BACEKOLL Plant Stand Indoor with Grow Lights, 7 Tiered Indoor Plant Shel…
Costa Farms Live Indoor House Plants (3-Pack), Hand Selected Easy to Mai…
Step 1: Gather Your Materials
To start your project, you need to gather all the necessary materials. This ensures a smooth workflow and minimizes interruptions.
- Collect the freestanding shelves and place them in your desired location.
- Gather the pots and plants—ensure your plants are healthy and ready to be potted.
- Assemble any additional decorative items you want to include.
Pro Tip: Organize your materials in a way that makes them easily accessible during assembly. Why this matters: Having everything on hand saves time and keeps you focused on the project. Estimated time for this step: 30 minutes.
Recommended Products

Unique Design: The wall planters for indoor plants combines the design of a photo frame. A metal guardrail was designed at the front to prevent the items on the shelves from sliding forward. This wall shelf offers a fresh visual delight to your home space and can transform any wall into an attractive display

Ideal for Plant Lovers: These wall plant shelves are designed to showcase your favorite plants, turning any living room, bedroom, or bathroom into a green oasis. The floating shelf design keeps your space organized and stylish

Multipurpose Corner Shelf Stand - Adopted 90° right-angle design, the rustic brown corner shelf helps to turn corner space into functional storage. This corner industrial shelves can be used as cabinet shelf, corner bookshelf, display shelf, storage shelf or corner plant stand in any corner of the kitchen, living room, bedroom, home office, small apartment, hallway, balcony and bathroom.
Step 1: Gather Your Materials
Editor’s Choice
Xiaan Jiaju Tuscan Ceramic Plant Pots, 6.11 Inch Vintage Planters with D…
Easy to Grow Live Houseplants (6 Pack), Deluxe Collection of Assorted Ai…
SINGAYE Metal Shelves Wire Shelving:Storage Rack Standing Units Shelf …
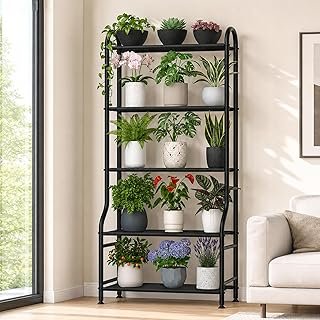
Step 2: Assemble the Shelves
Once you’ve gathered all your materials, it’s time to assemble the freestanding shelves. This step is crucial as it provides the structure for your plant wall.
- Follow the manufacturer’s assembly instructions to put the shelves together.
- Ensure the shelves are sturdy and stable—test their stability by gently shaking them.
- Position the shelves in a spot that receives adequate natural light for the plants.
Warning: Make sure your shelves are level and secure before placing any plants on them. Why this matters: A solid foundation prevents accidents and keeps your plants safe. Estimated time for this step: 45 minutes.
Recommended Products
【🌿Upgraded Craftsmanship & All-Iron Construction】 Crafted with premium wrought iron and reinforced welding technology, this plant stand ensures exceptional durability and stability. The all-iron structure supports heavier plants without wobbling or corrosion over time.
LARGE 3-TIER STORAGE SPACE: Measuring 27 × 11.4 × 29.3 inches, this spacious tiered plant stand provides generous room for potted plants, herbs, succulents, or decorative items of various sizes. The open mesh plant stands design promotes better air circulation and water drainage, keeping your plants vibrant and healthy while maintaining a tidy and organized display area indoors or outdoors.

【Full-Spectrum LED Grow Lights】No more moving your plants around to chase the sunlight! This indoor plant stand comes with 4 energy-efficient LED grow lights that keep your plants happy year-round. Choose from 3 timer settings (3/9/12H) and 10 brightness levels to match each plant’s needs. With 3 light modes — Full Spectrum (natural sunlight), Red & Blue, and Mixed — you can support every stage of growth, from seedlings to blooming
Step 2: Assemble the Shelves
Editor’s Choice
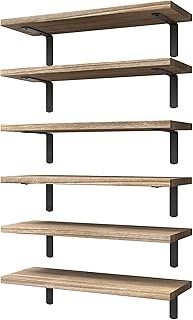
WOPITUES Wood Floating Shelves Set of 6, Shelves for Wall Decor, Farmhou…
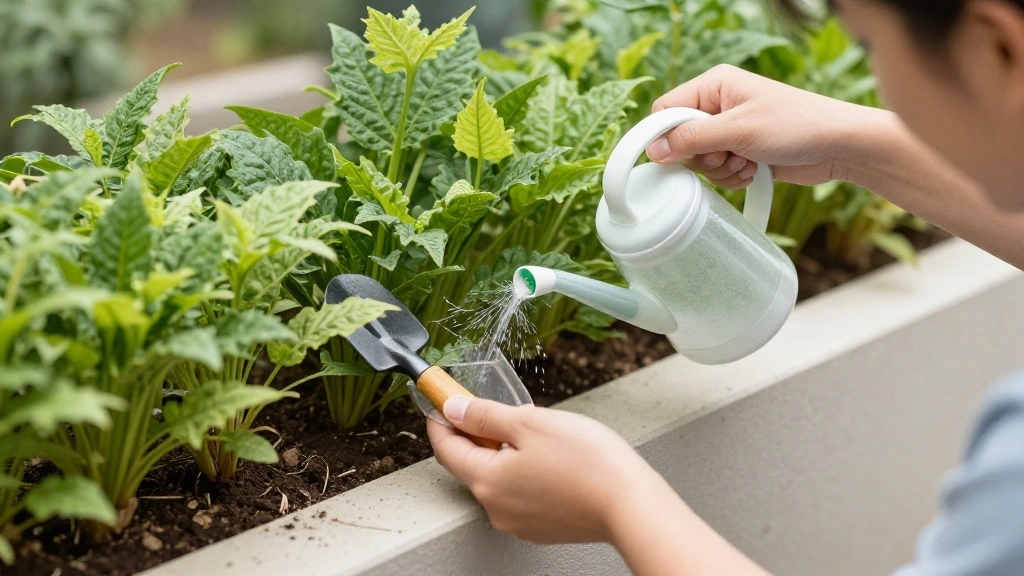
Step 3: Prepare the Pots and Soil
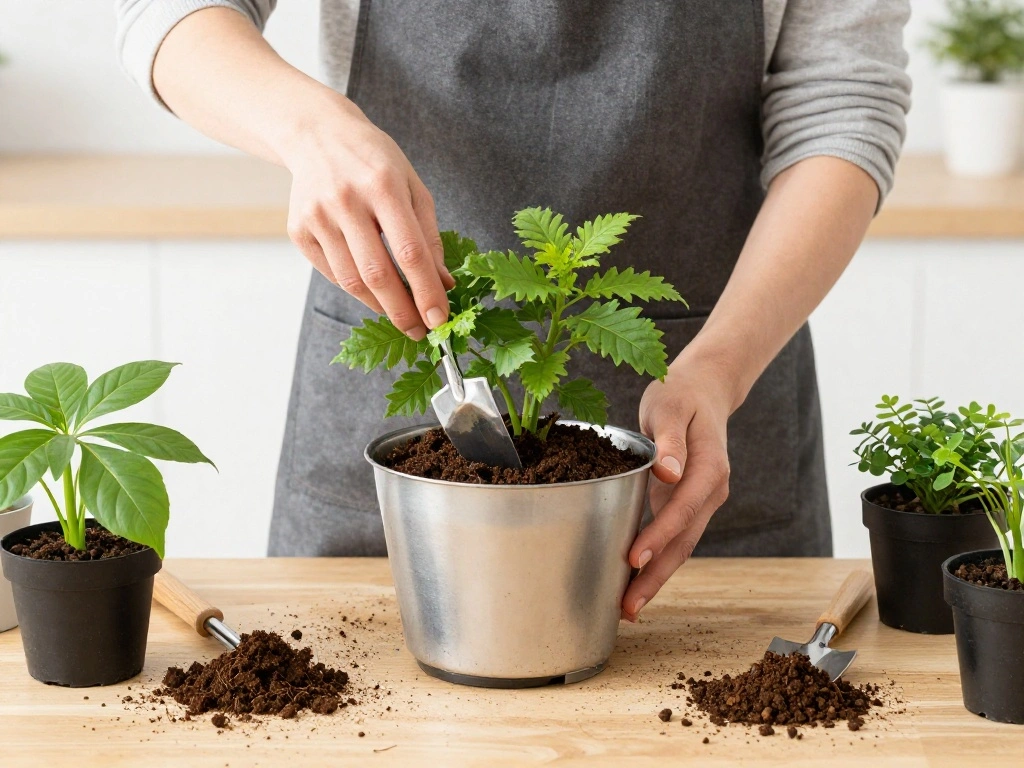
Now that your shelves are ready, it’s time to prepare the pots and soil for your plants. This step ensures that your plants have a healthy environment to thrive.
- Fill each pot with potting soil, leaving about an inch of space at the top.
- Gently remove plants from their nursery pots and loosen any tightly bound roots.
- Place each plant in its new pot and fill in with more soil as needed, ensuring the plant is secure.
Pro Tip: Water your plants lightly after potting to help settle the soil. Why this matters: Proper potting promotes healthy root growth and plant stability. Estimated time for this step: 30 minutes.
Recommended Products

Tiny Terracotta Plant Pots: This pack of miniature clay pots are perfect for small indoor and outdoor plants like succulents, herbs, flowers, greenery, and cacti.

18 Diameter Coverage to support 2 large plants

VERSATILITY: The clay pot can be used on diverse heat sources including gas stove, oven, microwave, grill, and countertop burners. engineered to withstand dramatic and temperature changes (-20 deg f to 580 deg f), it is also useable on the freeze. It is suitable for cooking and serving on the table, keeping food warm and flavorful
Step 3: Prepare the Pots and Soil
Editor’s Choice
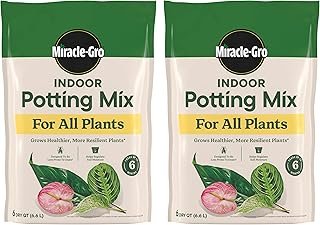
Miracle-Gro Potting Mix – For Container Plants, Flowers, Vegetables, Shr…
Bonide Bontone II Rooting Powder, 1.25 oz Ready-to-Use Dust for Housepla…
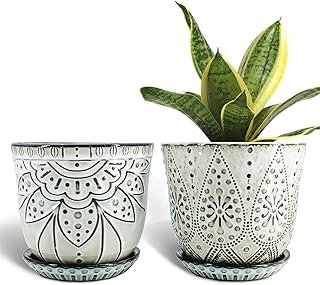
Ceramic Modern Glaze Succulent Planter Pot with Drainage Hole and Saucer…
Step 4: Arrange Your Plants on the Shelves
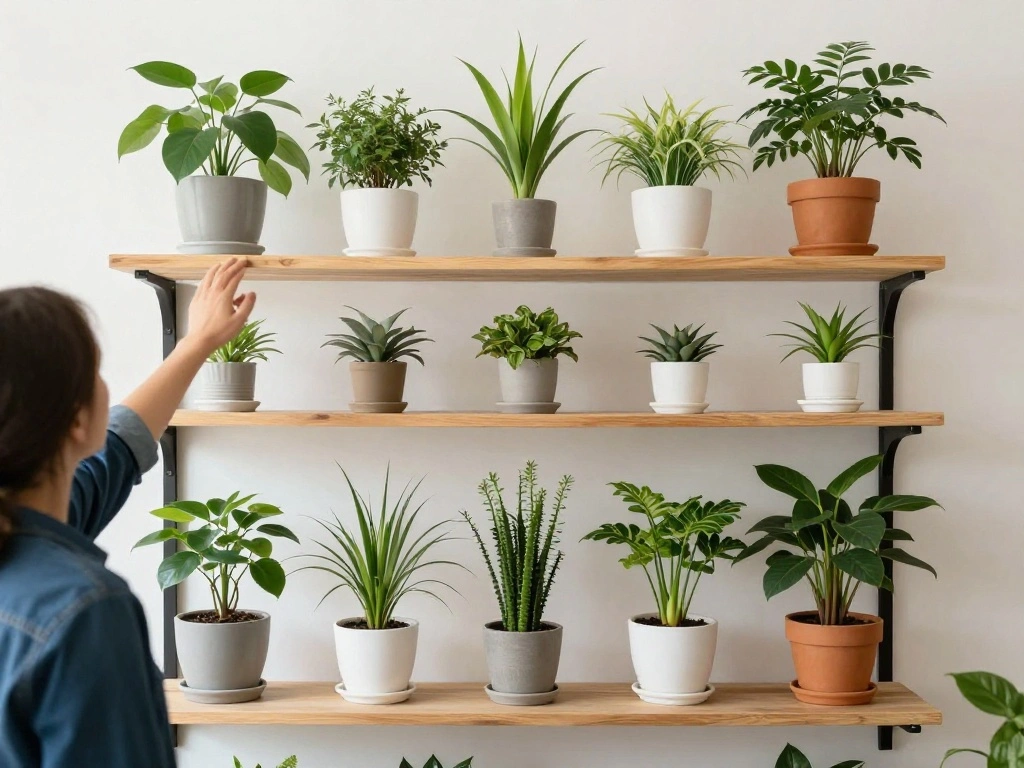
With your plants potted, it’s time to arrange them on the shelves. This step is all about aesthetics and ensuring your plants get the right amount of light.
- Start by placing taller plants on the bottom shelves and smaller ones on the higher shelves.
- Mix different plant types, colors, and textures for visual interest.
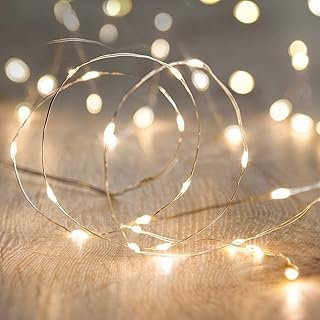
- Consider using decorative items, like fairy lights, to enhance the ambiance.
Pro Tip: Step back and evaluate your arrangement from different angles—adjust as needed. Why this matters: A well-arranged plant wall not only looks good but also allows each plant to thrive. Estimated time for this step: 30 minutes.
Recommended Products

Plant Pots / Flower Pots - Invest in a beautiful garden to harvest the seeds of love, with the set of pots for indoor or outdoor plants

【With Drain Holes and Mesh Pad】:Large drain holes are good for draining, and with leak-proof mesh pads, it keeps soil from running away, suitable for orchids, succulents, cacti, other flowers and green plants, perfect for home decoration.

Ceramic Plant Pot: The ceramic pot is high temperature fired stoneware which are durable and lightweight that convenient for you to use
Step 4: Arrange Your Plants on the Shelves
Editor’s Choice
AZERPIAN Plant Stand 5 Tier Indoor Metal Flower Shelf for Multiple Plant…
ANJAYLIA LED Fairy String Lights, 10Ft/3M 30leds Firefly String Lights G…
Step 5: Finalize Your Plant Wall
Your plant wall is almost complete! This step focuses on the finishing touches that will enhance the overall look and functionality of your display.
- Check that all plants are secure and adjust any that seem unstable.
- Add any decorative items like plant hangers or small sculptures.
- Consider placing a small watering can or plant care guide on a shelf for convenience.
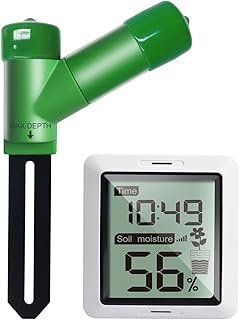
Pro Tip: Use a moisture meter to monitor your plants’ hydration levels. Why this matters: Final touches can elevate your plant wall from simple to stunning. Estimated time for this step: 30 minutes.
Recommended Products

Garden Planting Container: 20 Pack flower pots, including 5 pieces each of 4 inch;5 inch;6 inch and 7 inch clear nursery pots. These pots accommodate different plants, from small succulents to medium-sized foliage, catering to diverse gardening needs

【VERSATILE 3-POT SET 】- Includes large (6.75"D X 5.6"H), medium (5.6"D X 4.6"H), and small (4.2"D X 3.5"H) pots to accommodate various plant sizes, such as orchids, Iilies, bamboo, african violets, snake plants, peppermint plants, cactus, aloe and succulent plants.

Right Size - The 6-Pack 4-Inch Indoor Plant Pots are ideal for small indoor and outdoor Plants and flowers, such as Orchids, aloe, snake plants, peace lilies, ZZ plants, succulents, mint, cacti, and herbs.
Step 5: Finalize Your Plant Wall
Editor’s Choice
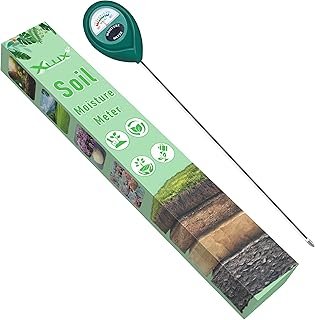
XLUX Long Probe Deep Use Soil Moisture Meter, Water Monitor Indicator Se…
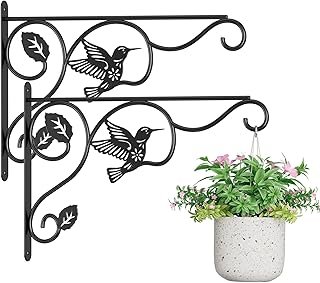
2 Pack Heavy Duty Plant Hooks for Hanging – 12 Inch Metal Wall Hangers I…
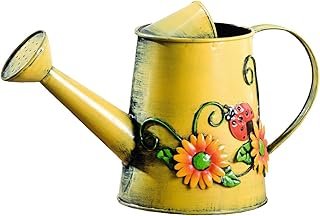
Westcharm Small 1 Liter Decorative Metal Sunflower & Ladybug Watering Ca…
Step 6: Maintain Your Plant Wall
The final step is to establish a care routine for your plants to ensure they thrive. Regular maintenance keeps your plant wall looking its best.
- Water your plants according to their specific needs—check moisture levels regularly.
- Rotate plants occasionally to ensure even light exposure.
- Trim or prune any dead leaves to promote healthy growth.
Warning: Overwatering can lead to root rot, so always check first! Why this matters: A consistent care routine ensures your plants remain healthy and vibrant. Estimated time for this step: 30 minutes.
Step 6: Maintain Your Plant Wall
Editor’s Choice
XLUX Long Probe Deep Use Soil Moisture Meter, Water Monitor Indicator Se…
Houseplant Care Guide: How to Choose, Grow, and Care for Indoor Plants a…

Fiskars Bypass Pruning Shears, 5/8″ Cut Capacity Gardening Scissors, Sel…
Pro Tips
- Light Levels: Know your plants’ light requirements to choose the perfect location for your plant wall.
- Grouping Plants: Group plants with similar watering and sunlight needs together for easier care.
- Use Plant Stands: Add height variations with plant stands to create a more dynamic display.
- Incorporate Color: Choose pots and decorations that complement your plants for a cohesive look.
- Seasonal Changes: Consider changing out plants seasonally for a fresh look throughout the year.
Pro Tips
Editor’s Choice
Bamworld Plant Stand with Grow Light Plant Shelf for Mutiple Pots Large …
Linpla 5-Pack Decent Metal Plant Stands, Heavy Duty Flower Pot Stands fo…
Gepege 6 Inch Beaded Ceramic Planter Set of 2 with Drainage Hole and Sau…
Common Mistakes to Avoid
Warning: Overcrowding shelves can lead to plant stress. Ensure each plant has enough space to grow. Warning: Using the wrong soil type can hinder plant growth. Always select potting soil suitable for your specific plants. Warning: Neglecting light requirements may lead to weak or dying plants. Research each plant’s needs before placement.
Common Mistakes to Avoid
Editor’s Choice
Miracle-Gro Indoor Potting Mix for All Plants, Use with Houseplants and …
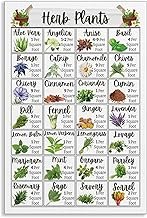
Prinajssiad Herb Plants Spacing Guide Canvas Wall Art, Seeds Square Foot…
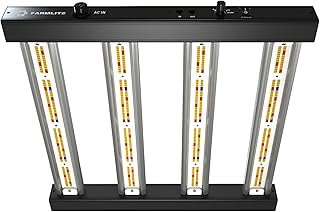
Grow Light FARMLITE Grow Lights for Indoor Plants Full Spectrum LED Grow…
Troubleshooting Section
Problem: Plants are wilting or yellowing.
Solution: Check for overwatering or underwatering. Adjust your watering schedule accordingly.
Problem: Shelves are wobbling.
Solution: Ensure the shelves are on a level surface and recheck assembly instructions for secure setup.
Problem: Plants are not thriving.
Solution: Assess light conditions and consider relocating plants to a brighter area.
Troubleshooting Section
Editor’s Choice
XLUX Long Probe Deep Use Soil Moisture Meter, Water Monitor Indicator Se…
5 Tier Plant Stand Indoor, Tiered Plant Stands for Indoor Plants Multipl…
Aokrean Plant Grow Light, 48 LEDs Full Spectrum Grow Lights for Indoor P…
Variations/Alternative Methods
Consider these variations for creating your plant wall:
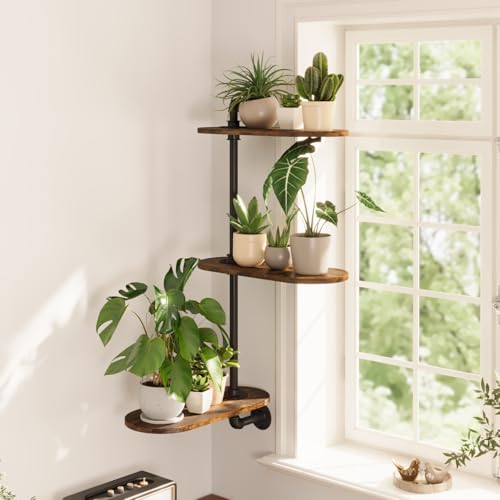
- Wall-Mounted Shelves: Use wall-mounted shelves instead of freestanding ones for a different look. Ideal for small spaces.
- Hanging Planters: Use macramé hangers to suspend plants from the ceiling for a bohemian touch.
- Vertical Garden Kits: Purchase a vertical garden kit that includes pockets for plants, simplifying the setup.
Variations/Alternative Methods
Editor’s Choice
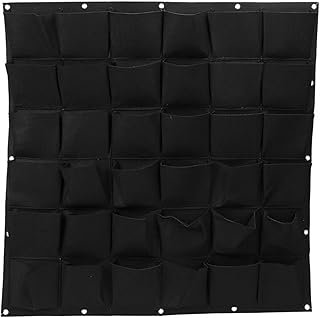
Ogrmar 36 Pockets Vertical Wall Garden Planter Plant Grow Bag for Flower…
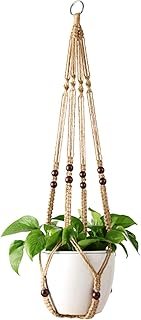
Mkono Macrame Plant Hanger Indoor Jute Hanging Planter Basket with Wood …
FAQs
What if I don’t have enough natural light? Consider using grow lights to supplement the light your plants receive.
How long should I wait before watering my new plants? Wait about a week after potting to allow plants to adjust, then follow specific watering needs.
Is it safe to place plants near windows? Yes, if they are not in direct sunlight, which can scorch leaves. Check individual plant needs.
FAQs
Editor’s Choice
ECOWITT WH0291 Soil Moisture Tester Plant Soil Moisture Sensor Meter wit…
Aokrean Plant Grow Light, 48 LEDs Full Spectrum Grow Lights for Indoor P…
5-Tier Metal Plant Stand – Heavy Duty Indoor Outdoor Flower Shelf for Mu…
Conclusion
Congratulations! You’ve successfully created a beautiful, renter-friendly plant wall that transforms your space. Take a moment to admire your hard work and the vibrant life you’ve added to your home.
Now that you have your plant wall in place, consider exploring other home décor projects or expanding your plant collection. Remember, the more you care for your plants, the more they will flourish, bringing joy to your living space.
Recommended Products

Flower Stand with Grow Light: The plant light contains 3 supplemental light modes: 1. 48 leds warm white(3000k), only 3000k high uniform light ,like sunlight improve seeding growth ; 2. Warm (660nm): promote plant growth , flowering and fruit; 3. Full Warm White (380nm-780nm), Provide universal full spectrum which can meet the light conditions your plants need most in different stages

Full-Spectrum Grow Light for All Plants: Equipped with a full-spectrum grow light, this plant shelf supports all types of plants at every growth stage. From seedlings to blooming flowers, it ensures your greens thrive year-round with optimal light conditions.

[Grow Light for Indoor Plants] Built-in grow lights with timer settings, adjustable brightness and flexible light positions help provide supplemental light for plants in dark corners, bedrooms and apartments